8. GUI – Installation
Image 8-12
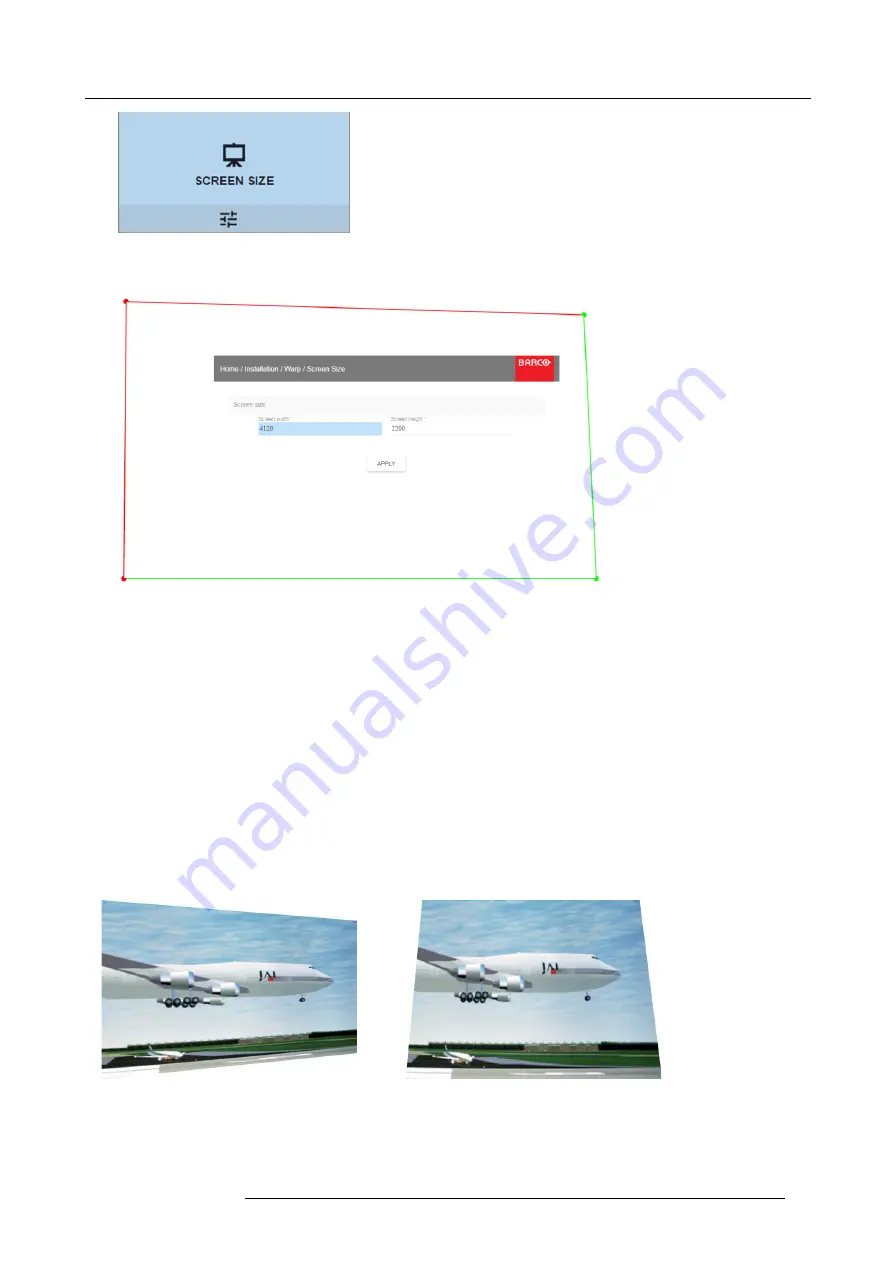
Warp Menu, Screen Size
The Screen Size menu is displayed.
Image 8-13
Screen size
2. Select either
Screen width
or
Screen height
.
3. Set the new value to shrink either the width or height of the warp outline so that the outline is equal with the active source.
Tip:
A red border will be projected along with the current image. The border is a visual tool, showing the result of the adjusted
outline.
Tip:
The value can also be entered by the numeric keys on the remote control. Press * to delete existing numbers, and enter
the new value by the numeric keys.
4. Click
Apply
.
8.4.4
Warping – 4 corners adjustment
About 4 Corners adjustment
4 corner adjustment is typically used when the mechanical installation of the projector prevents it from pointing perpendicularly at
the screen. For example, you can overshoot the screen and use 4 corner adjustment to pull your projected image corners back into
the screen.
Some examples:
Image 8-14
4 corner adjustment
How to adjust the image?
1. In the main menu, select
Installation
→
Warp
→
4 Corners
.
R5906151 XDL 17/04/2018
59
Содержание XDL-4K75
Страница 1: ...XDL User Manual R5906151 00 17 04 2018...
Страница 4: ......
Страница 16: ...1 Safety 12 R5906151 XDL 17 04 2018...
Страница 22: ...2 Pulse Remote Control Unit 18 R5906151 XDL 17 04 2018...
Страница 42: ...4 Getting Started Take note that the update process can take a long time to complete 38 R5906151 XDL 17 04 2018...
Страница 46: ...5 Graphic User Interface GUI 42 R5906151 XDL 17 04 2018...
Страница 58: ...7 GUI Image 54 R5906151 XDL 17 04 2018...
Страница 82: ...8 GUI Installation 78 R5906151 XDL 17 04 2018...
Страница 96: ...9 GUI System Settings 92 R5906151 XDL 17 04 2018...
Страница 98: ...10 Status menu 94 R5906151 XDL 17 04 2018...
Страница 104: ...11 Maintenance procedures 100 R5906151 XDL 17 04 2018...


