Aviom A-16 Personal Monitor Mixing System
44
45
Follow these steps:
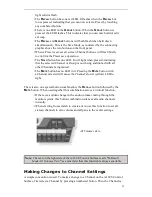
• Press the desired Channel button — its upper red LED will light.
• Turn the
V
OLUME
knob clockwise to raise the volume of the selected
Channel until you hear it in the monitors. You should see the volume
changes you’re making reflected in the Volume LED indicators. More
LEDs lit indicates higher volume.
There are twenty-four visible volume steps available in the Volume LEDs. Each LED
lights at two levels—one at half brightness, the other at full brightness.
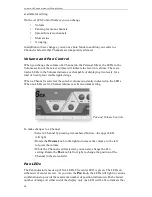
The procedure for setting the pan position for a Channel is similar. Once a Chan-
nel is selected, you can turn the
P
AN
knob left or right to move the Channel in the
stereo field. Your changes will be reflected in the Pan LEDs. Changes will be heard
immediately in any speakers or headphones connected to your Personal Mixer.
Note
: If you have connected the output of the Personal Mixer to a
mono audio system or speaker, pan position is irrelevant. Leave
all Channels panned to the center.
A Channel is heard in the center of the stereo field when only the center (green) LED
is lit. As you turn the
P
AN
knob, the Pan LEDs will light in various combinations to
indicate the pan position.
Continue this process of setting volume and pan until all the Channels have been
added to the mix.
At this point you should have a basic mix playing in your monitors. You can continue
to make changes in real time as your needs require. Remember that changes to Chan-
nel volume and pan setting affect the selected Channel only. The selected Channel
always has its red LED lit.
Saving Your New Preset
It’s important to remember that your mix is not saved if you should power the system
down unless you store the mix as a Preset. You need to save a Preset to a memory
location to be able to recall it later. The Channel buttons serve as memory location
buttons when in Save mode.
To save a Preset:
• Hold down the
R
ECALL
and
G
ROUP
buttons, found to the left of the
label strip on the A-16R and in the upper left side of the A-16CS.
• While still holding the
R
ECALL
and
G
ROUP
buttons, press the Channel
button (1 through 16) corresponding to the memory location where
you want the mix to be stored.
• Release the Channel button to store a Preset; you will see all the
Channel LEDs flash in sequence as confirmation of the save
Содержание A-16CS
Страница 6: ......
Страница 19: ...9 Rear Panel 1 2 3 1 DC power input 2 TRS Audio Inputs 3 TRS Audio Thru jacks ...


