- 22 -
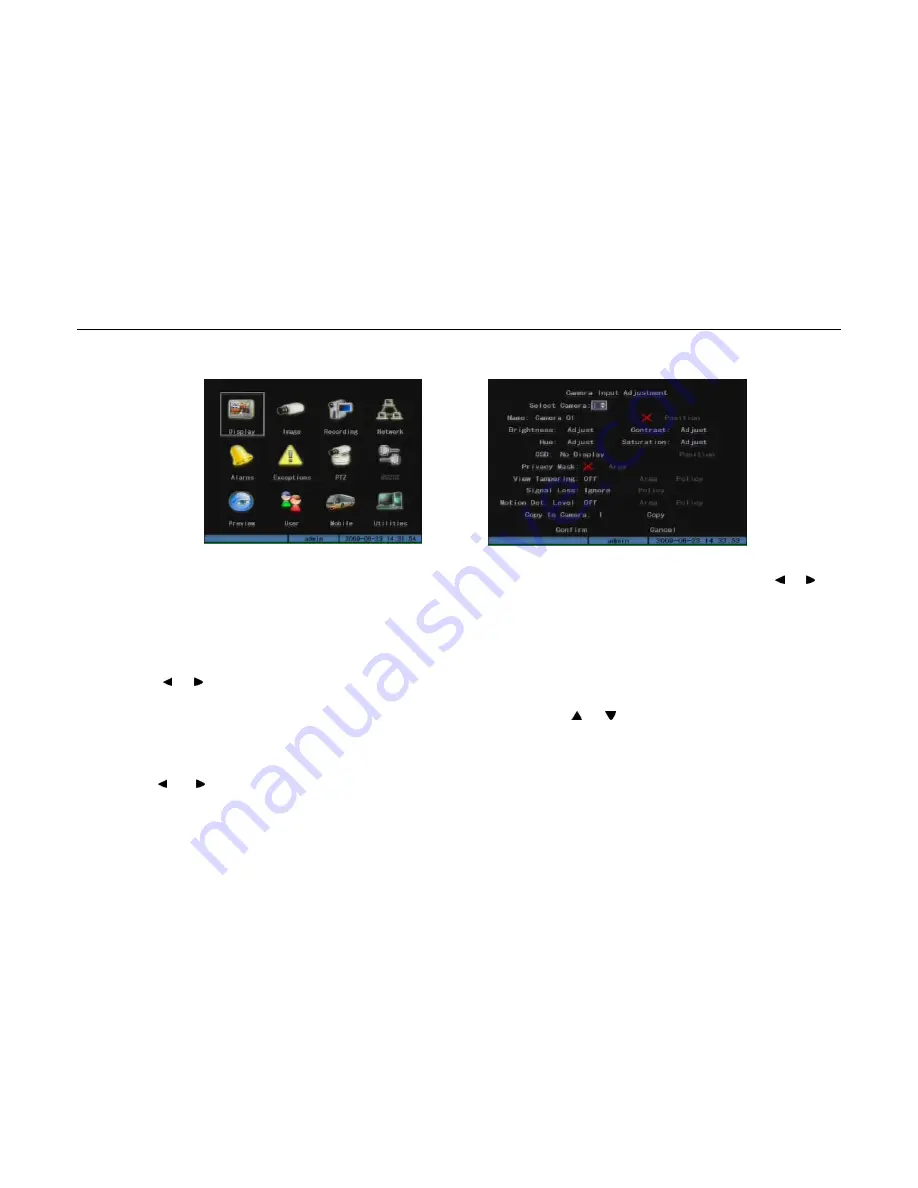
There is a rectangular box in the main menu interface, which is referred to as “Activity Frame”, you can move it from one icon to another by pressing [ ] or [ ] on
the IR control. When the “Activity Frame” stops at one icon, you can press [ENTER] to enter the submenu of corresponding icon, shown as Fig. 3.3. For example,
move the “Active Frame” to “Image” icon, press [
ENTER
] to enter into the secondary menu, show as Fig.3.4
Take “Image” interface as an example to explain the menu and operation rules:
Each menu contains different kinds of items. There is a small rectangular frame named “Active Frame” which is pointing to the selected item. This “Active Frame”
can be moved by [ ] or [ ] keys. There are such kinds of menu items:
a) Check Box: Provide 2 options, “
“ means enable and “×” means disable. You can use [
ENTER
] or [
EDIT
] key to switch over.
b) List Box: Provide more than 2 options. However, only one of them can be selected. You can use [ ]and[ ]to select one option. For example, on the right
side of “Select Camera”, there is a list box for you to select one camera.
c) Edit Box: This is for you to input characters. Press[
EDIT
]key to enter into edit status, you can input characters as following:
i. Press[
A
]key to select number, upper case, lower case or symbols;
ii. Use [ ] and [ ] keys to move cursor;
iii. Use[
EDIT
]key to delete the character in front of cursor;
Fig 3.3
Fig 3.4
User Manual of DMB-04R Embedded Mobile DVR (V1.0)


