- 40 -
In “Handle Method”, you can also setup “Audible warning”, “Upload to Center” and “Trigger
Alarm Out”.
The alarm in schedule is in “Alarm In Handling” menu.
Note: The schedule is settled by day, you can copy this to the other days.
The alarm in parameters can be copied to other alarm in channels in “Alarms” menu.
Alarm relay output setup:
In “Alarms” menu you can set output delay time. The options are: 5 Seconds, 10 Seconds, 30
Seconds, 1 Minute, 2 Minutes, 5 Minutes, 10 Minutes and Manual Stop. If you select “Manual”
option, the alarm output will not stop until you press “Stop AlmOut” button in “Utilities”. So
the actual alarm output time is made up of alarm input time and this delay time.
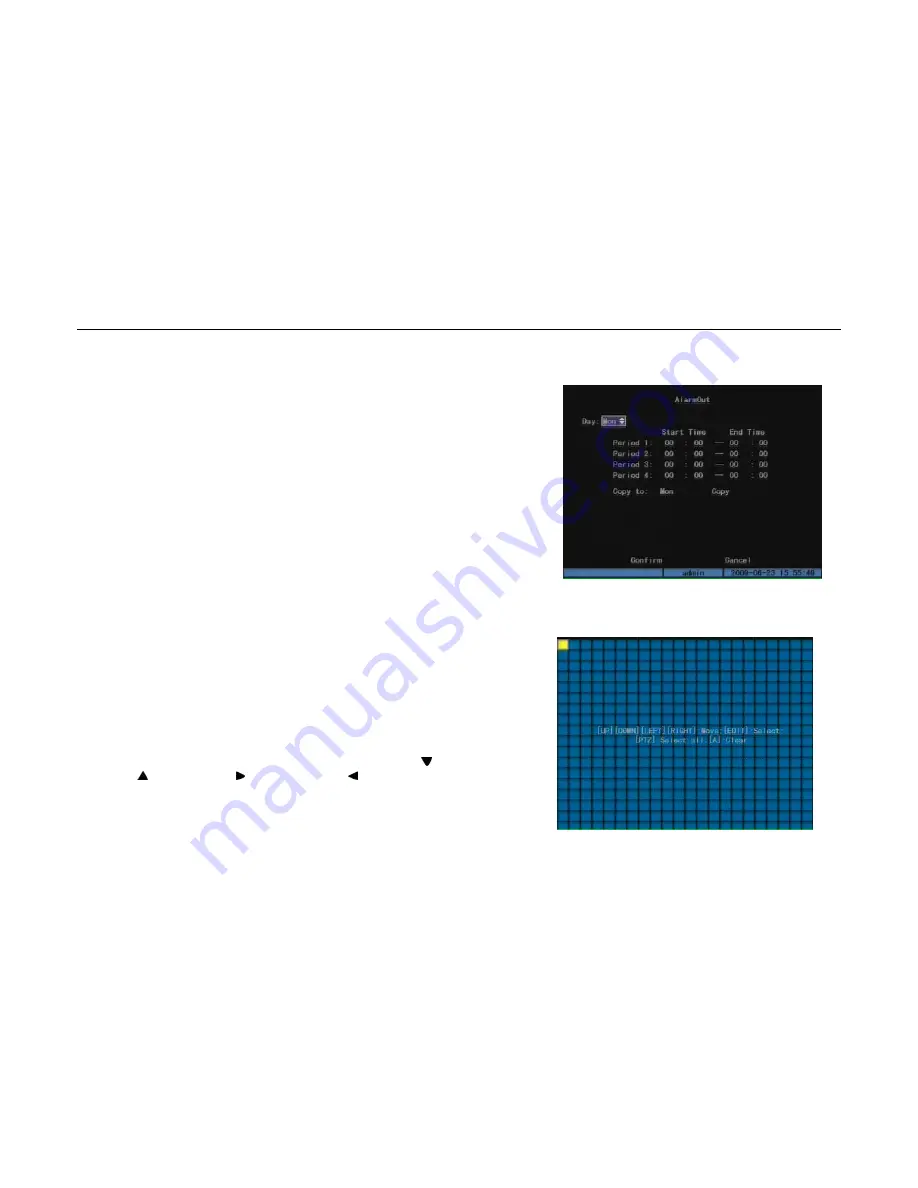
You can set the alarm output schedule by entering “Schedule” menu from “Alarms” interface.
(Fig.5.14)
5.3.2
Motion Detection Alarm
Motion Detection Alarm setup includes motion detection area, schedule and policy. In “Image
Setup” menu, you need to set detection sensitivity before the other parameters. There are 7
options, from 0 (the lowest) to 5(the highest) and “Off”.
Motion area setup:
Move active frame to “Area” button on the right of sensitivity list box and enter into “Motion Area
Setup” interface. The whole screen is divided into 22*18 panes(NTSC:22*15). There is one yellow
panel on the upper left side. Firstly, move the yellow pane to your hope position and
press[EDIT]key, the yellow pane will be turned into red, then you can use[ ]to expand
downward ,[ ]to shrink upward,[ ]to expand rightward,[ ]to shrink leftward. After you make
sure the red mask area, press[EDIT]key to save the motion area. Press[ESC]key to cancel the
motion area.
Fig.5.14
Fig.5.15 Motion Detection Area Setup
User Manual of DMB-04R Embedded Mobile DVR (V1.0)


