- 36 -
In “Display” menu, you can setup DVR system date and time.(Fig.5.6) In “Image Setup” menu
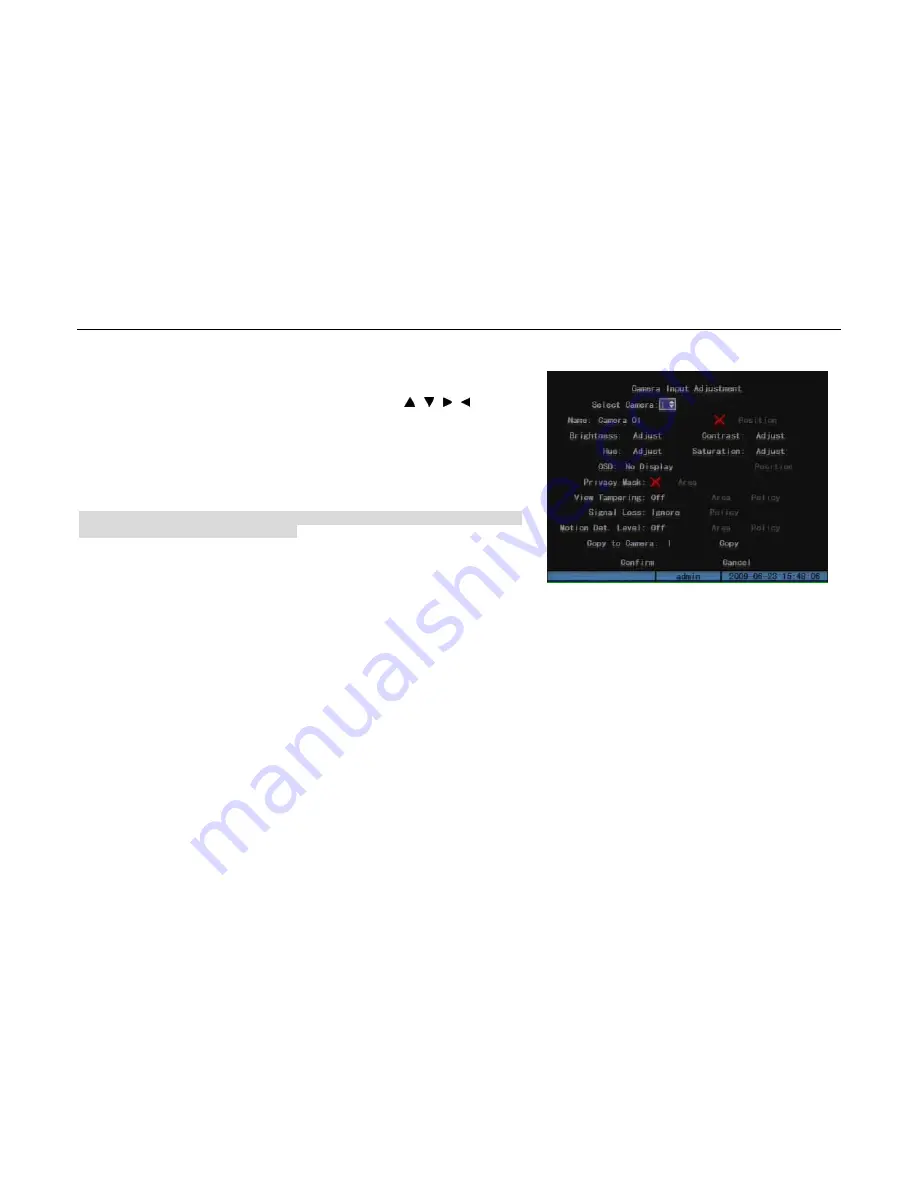
(Fig.5.7), you can setup time display position in the image. Move “Active Frame” to “Position”
button on the right side of “OSD” and enter setup image, you can use[ ],[ ],[ ],[ ]keys to
move the OSD position. Press [EDIT]key to select OSD format. There are following OSD formats:
MM DD YYYY W hh: mm: ss (default)
MM DD YYYY hh: mm: ss
YYYY MM DD W hh: mm: ss
YYYY MM DD hh: mm: ss
Note: Here YYYY means year, MM means month, DD means day, W means weekday, hh means
hour, mm means minute and ss means second.
In “Image Setup” menu, you can define name for each camera. On the right side of camera name
is “Position” button, you can setup camera name position by pressing this button. You can copy
the position to any other camera, but please note that camera’s name can not be copied.
5.2.4
Video Parameters Setup
The video parameters include brightness, contrast, hue and saturation. The parameters will affect the preview image and recorded image.
In “Image Setup” menu (Fig.5.7) , you can modify the parameters by entering “Adjust” interface.
5.2.5
Mask Area Setup
In some cases, maybe you want mask the sensitive area. This area will not be preview and recorded. You can setup the area in “Image Setup” menu.
Enable the check box beside “Privacy Mask” item, changes the flag into”
“. Press “Area” button on the right of mask check box and enter mask area setup
interface. (Fig.5.8) There is one small yellow pane on the upper left side of the interface. For PAL camera, the whole screen is divided into 22*18 panes(22*15 for
Fig.5.7
User Manual of DMB-04R Embedded Mobile DVR (V1.0)


