26
1.
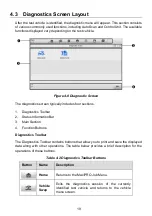
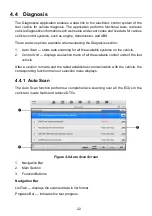
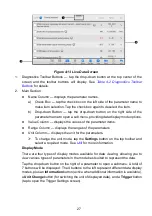
Diagnostics Toolbar
Table 4-2 Diagnostics Toolbar Buttons
for details.
2.
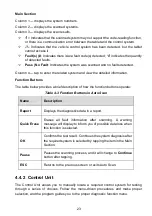
Main Section
Column 1
— displays the retrieved codes from the vehicle.
Column 2
— indicates the status of the retrieved codes.
Column 3
— detailed descriptions for the retrieved codes.
Snowflake Icon
— only displays when freeze frame data is available for viewing.
Tap the icon to display the data screen, which is similar to that of the Read
Codes interface and shares similar operations.
Column 4
— displays additional information about the retrieved fault codes.
3.
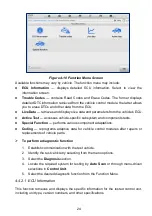
Function Button
Service Manual
— tap to view fault code information, including fault description,
condition for fault identification, and driver information.
Freeze Frame
— tap to view the freeze frame data.
Search
— tap to search related fault code information on the Internet.
ESC
— tap to return to the previous screen or exit the function.
Erase Codes
After reading the retrieved codes and making repairs, you can erase the codes from the
vehicle using this function. Before performing this function, make sure the vehicle's
ignition key is in the ON (RUN) position with the engine off.
To erase codes
1. Tap
Erase Codes
from the Function Menu.
2. A warning message displays to inform you of data loss when this function is
applied.
a) Tap
Yes
to continue. A confirmation screen displays when the operation is
successfully done.
b) Tap
No
to exit.
3. Tap
ESC
on the confirmation screen to exit Erase Codes.
4. Perform the Read Codes function again to ensure the operation is successful.
4.4.2.3 Live Data
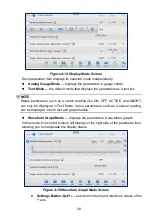
When this function is selected, the screen displays the data list for the selected module.
The parameters display in the order that they are transmitted by the ECU, so expect
variation among vehicles.
Gesture scrolling allows you to quickly move through the data list. Drag your finger(s) up
or down to reposition the parameters being displayed if the data occupies more than one
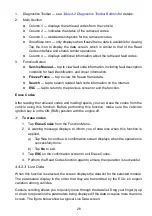
screen. The figure below shows a typical Live Data screen:


