AT-OMNI-121 / AT-OMNI-122
85
Advanced Operation
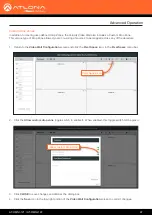
c.
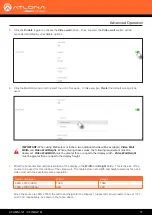
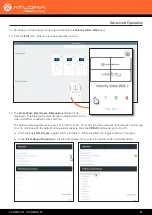
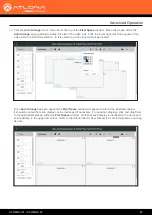
To create a custom size for the video wall, enter the desired dimensions under the
Custom
section.
Enter the width and height directly, or use the spinner controls at the far end of each field, to adjust the
values.
d.
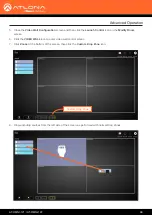
Save the video wall dimensions by clicking the
Lock Pixel Space
toggle switch to enable it.
e.
Click the
CLOSE
button to dismiss the dialog.
15.
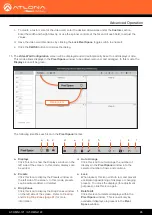
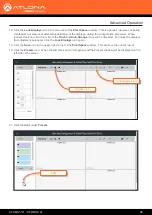
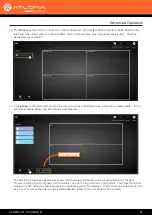
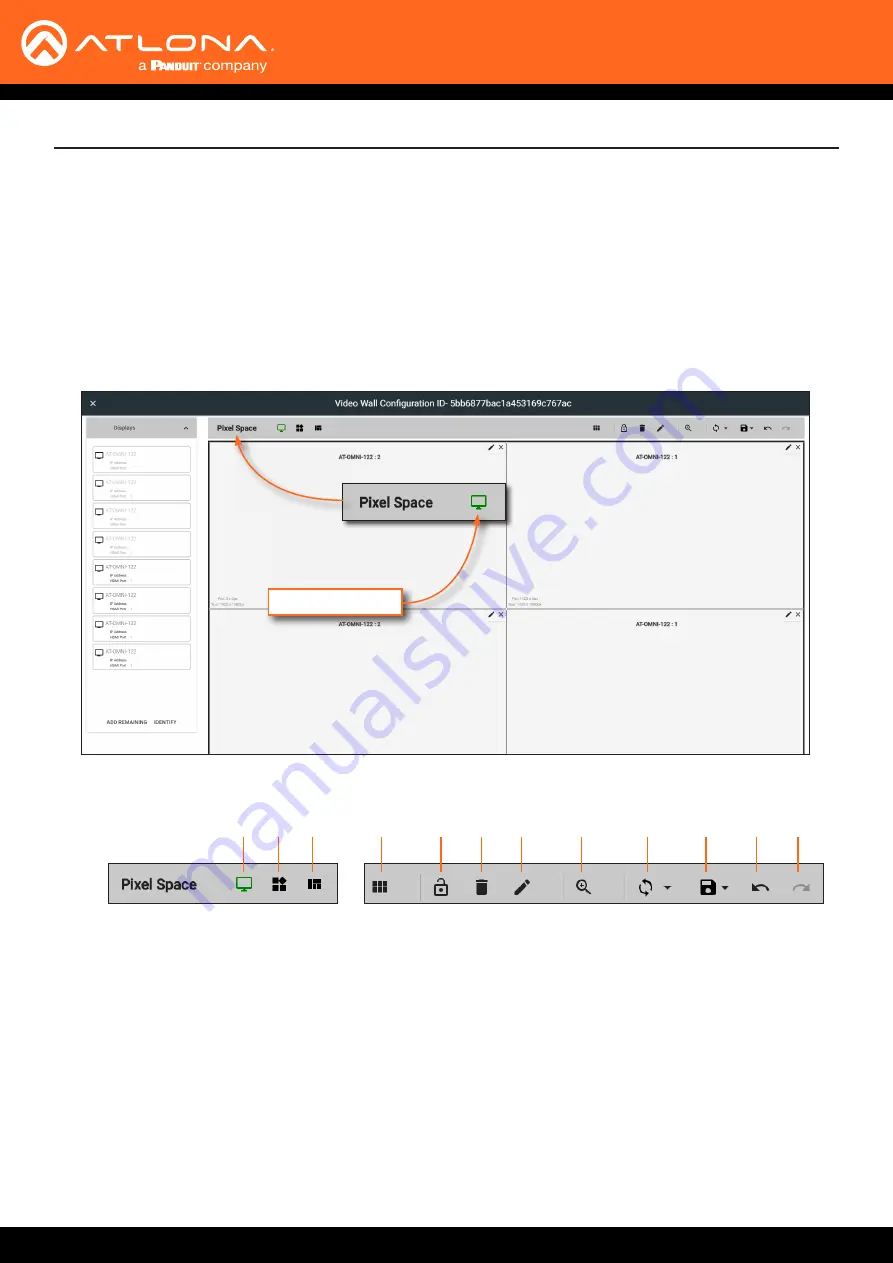
The
Video Wall Configuration
screen will be displayed and will automatically be set to edit displays mode.
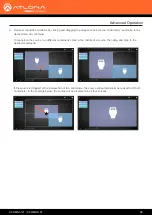
This mode allows displays in the
Pixel Space
window to be added, removed, and arranged. In this mode, the
Displays
icon will be green.
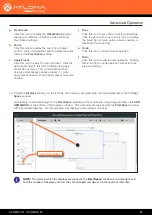
The following identifies each icon in the
Pixel Space
toolbar.
a
b
c
d
e
f
g
h
i
j
k
l
a. Displays
Click to icon to show the Displays window on the
left side of the screen. In this mode, displays can
be edited.
b. Presets
Click this icon to display the Presets window on
the left side of the screen. In this mode, presets
can be edited, added, or deleted.
c. Drop Zones
Click this icon to display the Drop Zones window
on the left side of the screen. Refer to
and Using Drop Zones (page 91)
for more
information.
d. Auto Arrange
Click this icon to auto-arrange the number of
displays in the
Pixel Space
window into the
selected number of rows and columns.
e. Lock
When locked, this icon will turn red, and prevent
accidental repositioning of displays or changing
presets. To unlock the displays (for adjustment
purposes), click this icon again.
f. Delete All
Click this icon to delete all displays within the
Pixel Space
window. This icon will only be
available if displays are present in the
Pixel
Space
window.
Displays icon


