


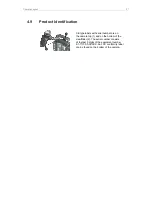


Camera Preparation
31
6
Camera Preparation
The following chapters provide information on how to attach commonly used
accessories to the camera. ARRI offers a wide range of electronic and mechanical
accessories, please see our
Camera and Accessories Configuration Overviews
.
NOTICE
To avoid damage while assembling and retrofitting, always place the camera on a
padded, firm, flat and level surface.
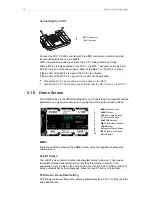
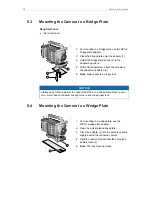
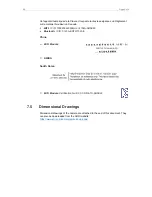
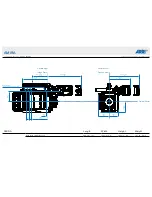
6.1
Changing a Lens
PL Mount Lenses
1. Observe maximum lens dimensions (see User Manual).
2. To remove a lens (or a lens port cap), rotate the two bayonet levers of the lens
mount anti-clockwise (1) as far as possible while grasping the lens firmly. Then
carefully slide the lens out of the port.
3. To fit a lens, align the notch in the lens flange with the index pin on the mount,
keeping the lens rotated into a position where the lens markings are visible from
either side of the camera.
4. Gently press the lens flange flat onto the lens mount.
5. Rotate the two bayonet levers clockwise (2) until the lens is seated properly and
locked securely. Do not use any force!
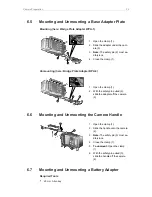
EF Mount Lenses
1. To remove a lens (or a lens port cap), rotate the two bayonet levers of the lens
mount anti-clockwise (1) as far as possible while grasping the lens firmly.
2. Press and hold the button (2) to unlock the lens.
3. Turn the lens (3) counter-clockwise, then remove it.
4. To fit a lens, align the red dots of both lens and lens mount. Then gently push the
lens into the mount.


