17
Tensor
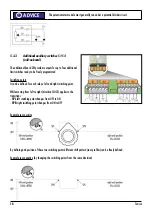
If no switching point defined, the corresponding relay is not switching. When turning on the
power supply all switching points are checked and the relays are preset or possibly switched
according to the current sensor position.
Minimum width of the cam
Both switching points must be different and must have a minimum distance. If they are programmed too close to each other, the
switching points are placed with a minimum width around the current position.
Sequential output
The relays are switched sequentially to the current reduction, i.e. if several relays are programmed on one and the same switching
position, they are switched on or off in succession of REL1 to REL4 , the delay here is max. two program cycles (about 100ms).
Forced circuit
In order to detect even short cams with fast angle changes each position crossing is stored and then processed and switched sequen-
tially. Here is the minimum switch-on or -off time one cycle (about 50ms). This may lead to a short "tracking" of the cam.
Programming of the left end position
The switch positions of the relays are independent from the programmed end positions, however, the left end position is an internal
reference. If relay switching points are defined and the left end position is changed, the relay board must be plugged in, otherwise
all switching points are deleted as a precaution!
Programming of the switching points
without
7-segment display:
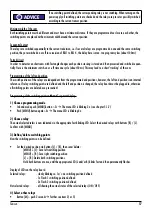
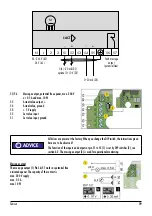
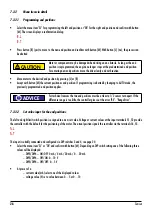
1) Choose programming mode
•
In hand mode push [MENU]-button > 2s
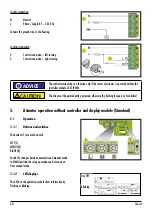
The menu LED is blinking 2x (see chapter 5.1.2)
•
Push [MENU]-button again >4s
The menu LED is blinking 4x
2) Choose relay
The actual selected relais is now indicated via the appropriate fast blinking LED. Select the desired relays with buttons [R] / [L].
Confirm with [MENU].
3) Define/delete switching points
Now the switching points can be defined.
•
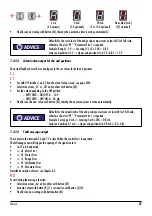
Set the desired position via buttons [L] / [R], then save/delete::
[MENU] + [L]: Save left switching position
[MENU] + [R]: Save right switching position
[L] + [R]: Delete both switching positions.
Hold both buttons at once, until the appropriate LED (L and/or R) blinks fast and then permanently flashes.
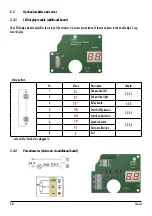
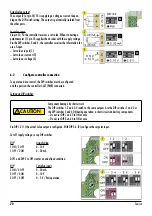
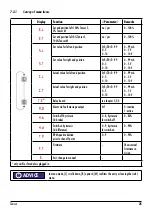
Display of LEDs on the relay board:
Selected relays:
- slowly blinking ca. 1x/s: no switching position defined
- 1x flash: 1 switching position defined
- 2x flash: 2 switching positions defined
Not selected relays:
- all showing the actual status of the selected relays (ON / OFF)
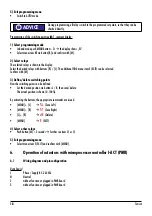
4) Select other relays
•
Button [M] > push 2 seconds
further see item 2) or 5)
ADVICE
!
Содержание TENSOR
Страница 1: ...Original declaration of incorporation with manual for ARIS actuator Tensor TE1512DE01 Stellantriebe ...
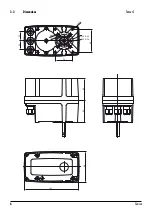
Страница 6: ...6 Tensor 3 3 Dimensions F05 Ø50 F03 Ø36 50 65 M6x9 M6x9 M5x9 25 25 60 63 86 153 Tensor S ...
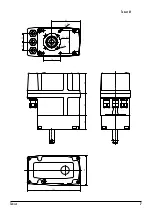
Страница 7: ...7 Tensor M6x11 M6x11 F05 Ø50 50 65 25 25 153 86 40 60 63 82 Tensor M ...
Страница 31: ......

