32
The Setup Menus
7.2
Setup Menus
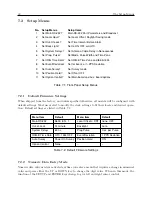
No.
Setup Menus
Setup Items
1
Set Main RS-232?
Main RS-232 Port Parameters and Broadcast
2
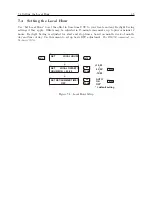
Set Local Hour?
Set Local Offset, Daylight Saving mode
3
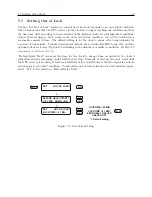
Set Out-Of-Lock?
Set Time Interval Before Alarm
4
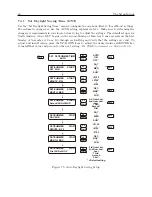
Set Back Light?
Set to ON, OFF or AUTO
5
Set System Delays?
Set Antenna Cable Delay in Nanoseconds
6
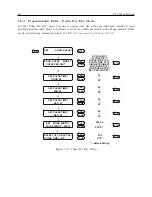
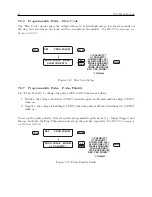
Set Prog. Pulse?
Set Mode, Pulse Width and Time Zone
7
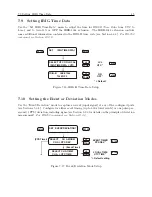
Set IRIG Time Data?
Set IRIG-B Time Zone and IEEE-1344
8
Set Event/Deviation?
Set for Event, or 1–PPS Deviation
9
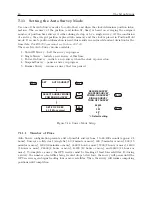
Set Auto Survey?
Set Survey mode
10
Set Position Hold?
Set ON or OFF
11
Set Option Control?
Set Main board and Aux. board options
Table 7.1: Front-Panel Setup Menus
7.2.1
Default Firmware Settings
When shipped from the factory, and unless specified otherwise, all models will be configured with
default settings. Most users elect to modify the clock settings to fit their locale and desired opera-
tion. Default settings are listed in Table 7.2.
Menu Item
Default
Menu Item
Default
Main RS-232
9600, 8, N, 1
Local Offset
&
DST
none, OFF
Out-of-Lock
01 minute
Backlight
Auto
System Delays
60 ns
Prog Pulse
Sec. per Pulse
IRIG-B Time Data
UTC, 1344 OFF
Event/Deviation
1 PPS Deviation
Auto Survey
Power On Survey
Position Hold
ON
Option Control
None
–
–
Table 7.2: Default Firmware Settings
7.2.2
Numeric Data Entry Mode
Numeric data entry mode is activated anytime you enter a menu that requires a change in numerical
value and press either the UP or DOWN key to change the digit value. When in this mode, the
function of the SETUP and ENTER keys change to give left and right cursor control.
Содержание 1092A
Страница 4: ...iv ...
Страница 18: ...xviii LIST OF TABLES ...
Страница 129: ...C 10 Option 20A Four Fiber Optic Outputs 111 Figure C 7 Option 20A Jumper Locations ...
Страница 131: ...C 11 Option 27 8 Channel High Drive 113 Figure C 8 Option 27 Jumper Locations ...
Страница 148: ...130 Options List Figure C 10 Option 29 Connector Signal Locations ...


