Settings Menu
25
Modero G5 Touch Panels - Configuration and Programming
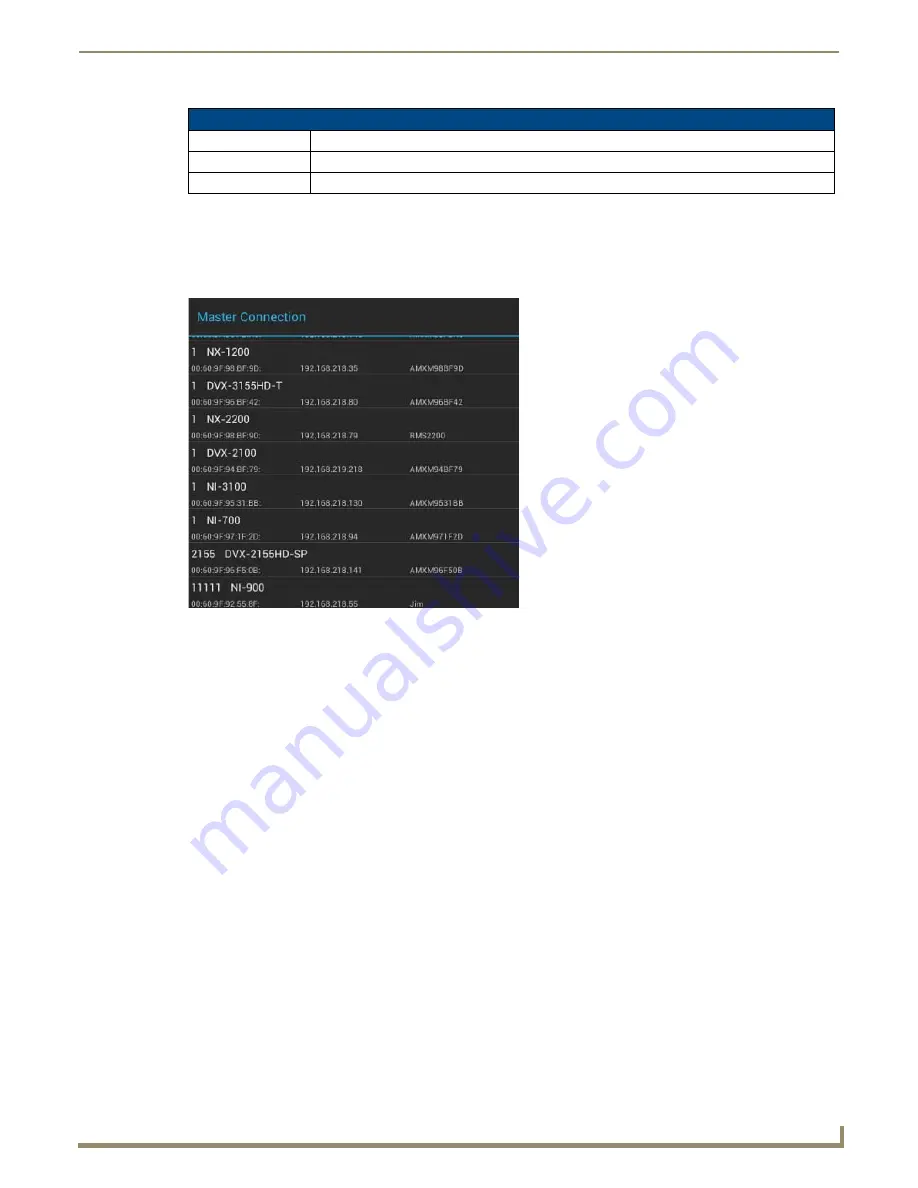
Scanning for Masters
Select
Scan For Masters
on the NetLinx page (see FIG. 38) to access the
Master Connection
window (FIG. 39). Use
this feature to quickly and easily identify all of the available Masters on the network.
The site survey on this page passively listens to network traffic and presents all the compatible Masters for easy
selection. Selecting the desired Master automatically updates the Master connection and makes an automatic connection.
To scan for available Masters:
1.
From the
NetLinx
page, press the
Scan For Masters
selection.
2.
In the
Master Connection
window, select the Master for the Modero X Series G5 panel. The
NetLinx
page will
automatically display the information on the selected Master.
Changing the Master Connection Mode
To change the Master Connection mode between
URL
,
Listen
, and
Auto
:
1.
From the
NetLinx
page, press the
Mode
field. This opens the
NetLinx
window (FIG. 40).
NetLinx page options (Cont.)
Device Number
Displays the touch panel’s device number and allows entry of a new one.
Device Name
Displays the touch panel’s device name and allows entry of a new one.
Connection Status
Displays the touch panel’s connection status to the Master.
FIG. 39
Scan for Masters - Master Connection window
Содержание Modero G5
Страница 58: ...Settings Menu 48 Modero G5 Touch Panels Configuration and Programming ...
Страница 62: ...Gestures 52 Modero G5 Touch Panels Configuration and Programming ...
Страница 66: ...MXA MP and MXA MPL Programming 56 Modero G5 Touch Panels Configuration and Programming ...
Страница 138: ...Appendix B Bargraph Functions 128 Modero G5 Touch Panels Configuration and Programming ...
Страница 143: ...Appendix C Video Streaming Troubleshooting 133 Modero G5 Touch Panels Configuration and Programming ...


