Chapter Two : Hardware Installation
25
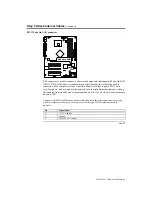
Step 4 Install the Motherboard
Note:
We encourage integrators to choose a chassis that complies with the ATX 2.01 (or later)
specification.
Step Action
1
Place the chassis on an anti-static mat. Connect the chassis to ground to avoid static damage during
installation. Connect an alligator clip with a wire lead to any unpainted part of the chassis. Ground the other
end of the lead at the same point as the mat and the wristband.
2
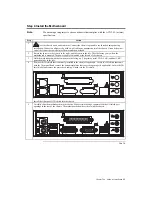
Rotate the chassis so the front is to the right, and the rear is to the left. The side facing you is where the
motherboard is mounted. The power supply is mounted at the far end of the chassis.
3
Hold the motherboard with the component-side facing up. The printer, serial, VGA, LAN, and dual USB
ports should be to the left.
4
Remove the I/O shield that is currently installed in the chassis if applicable. Locate the I/O shield that came
with the Olympus III and remove the extra metal plates that cover the openings (if applicable). Locate the I/O
shield label and remove the protective backing. Attach it to the I/O shield.
Install the Olympus III I/O shield into the chassis.
5
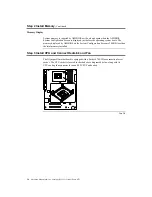
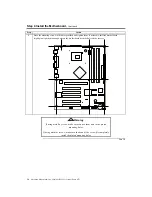
Carefully slide the motherboard into the chassis. Make certain the edge connectors fit the I/O shield port
openings in the rear of the chassis. The motherboard should rest level with the chassis.
Cont’d
Содержание Olympus III
Страница 1: ...Olympus III User s Guide MAN 875 02 02 04...
Страница 14: ...American Megatrends Inc Olympus III User s Guide Series 875 4 Rear I O Ports...
Страница 20: ...American Megatrends Inc Olympus III User s Guide Series 875 10...
Страница 138: ...American Megatrends Inc Olympus III User s Guide Series 875 128...
Страница 140: ...American Megatrends Inc Olympus III User s Guide Series 875 130...
Страница 146: ...American Megatrends Inc Olympus III User s Guide Series 875 136...

