D000161-00 Rev. C
20
Facility Screen Functions
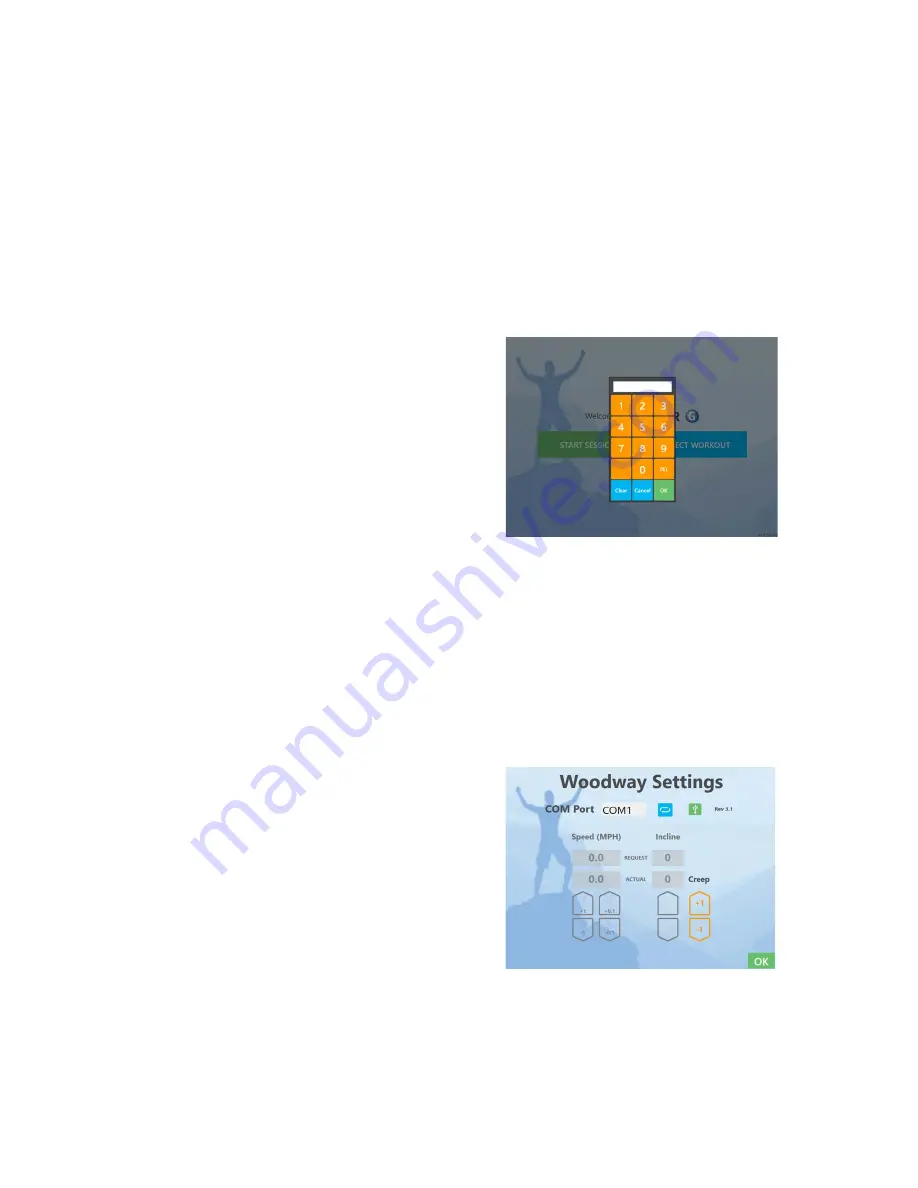
The Welcome Screen (Figure 9) has a hidden function, “Facility Settings,” that allows the user to
make adjustments to the operation of the treadmill. These adjustments are meant to be made
by facility personnel, not by the individual about to exercise.
To access the “Facility Settings” screen, double tap on the image of the man’s right fist and
enter the code “
5900
.”
When you enter the “Facility Settings,” the screen of Figure 15 will be displayed.
Here you will be able to edit or adjust:
Facility Info – Here you can add your address,
phone, etc.
Double Tap – This allows users to go straight into
reverse with one click versus having to
double click.
Cameras – You can adjust camera settings (color,
contrast, etc.), assign cameras, or reset
camera defaults.
KPH/MPH – Select which metrics you would like the
speed to be displayed in.
Treadmill Creep Adjustment
You may want to obtain a small step stool to allow easier access to the touch screen while you
adjust the treadmill creep. Stand next to the treadmill and install the oval support bar in the
vertical height adjusters and close the safety latches.
Follow these steps to access the creep control adjustments:
1. Double tap on the man’s right fist
2. Enter code “
5369
”
Notice the up and down arrows labeled CREEP
CONTROL on the screen of figure 16. These arrows
allow the user to adjust the belt so it no longer
creeps when the treadmill is in standby. If the belt is
creeping forward, pressing the green up arrow will
reduce the creep. If creeping backwards, the red
down arrow will reduce the creep. There are
several settings that will stop the creep entirely.
You want to find the “middle” setting between the
two points at which the surface begins to move.
An example best illustrates the adjustment process (refer to Figure 17). Let’s assume the belt is
creeping backwards in standby. Begin by pressing the red down arrow. We define a “press” as
a single touch that results in a beep from the user interface. Continue to press the down arrow
until the belt just stops moving. You have established the starting point for adjustment.
Continue to press the red arrow successively, counting the number of presses, until the
Figure 15
Figure 16


