Chapter 8: Installing the Transceivers and Cabling the Ports
170
Section II: Installing the Chassis
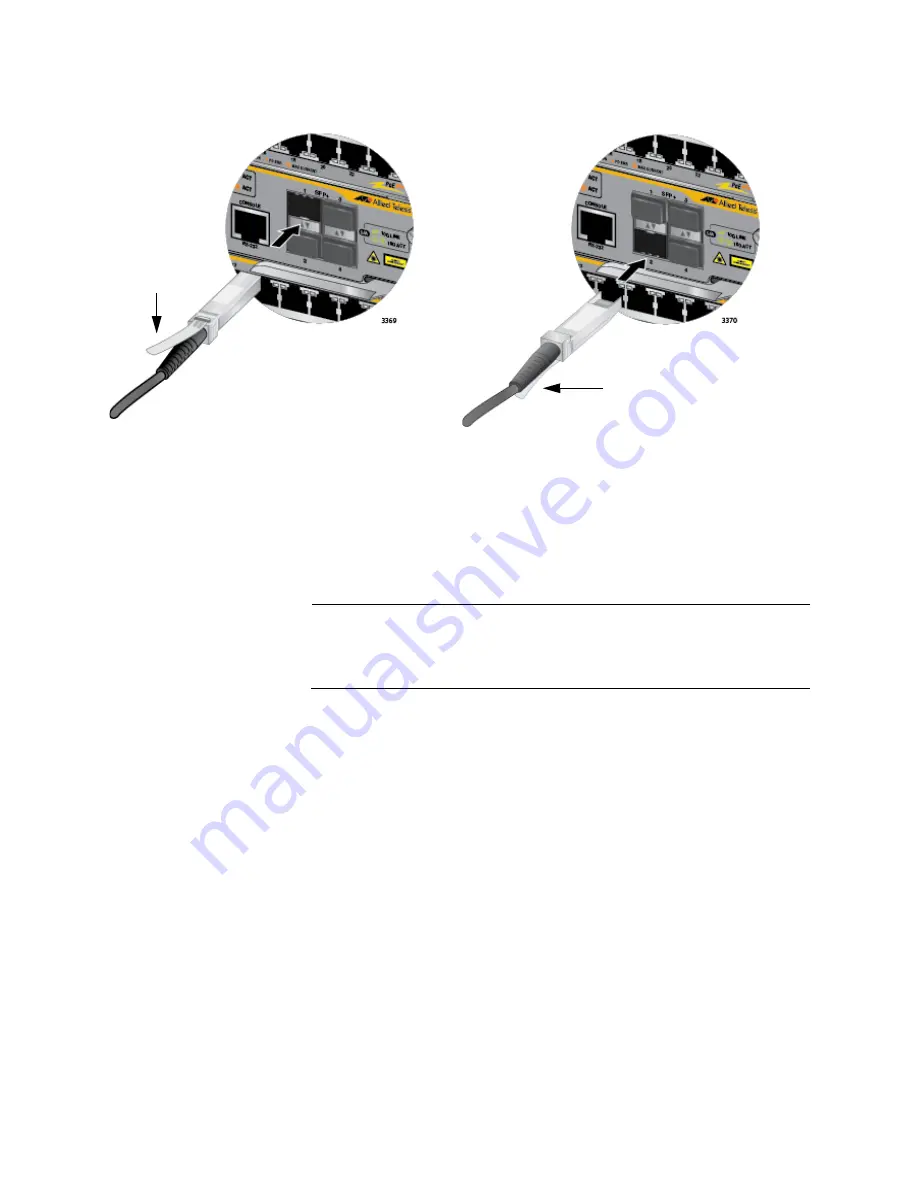
Figure 104. Installing an AT-SP10TW Cable in the AT-SBx81CFC960
Controller Fabric Card
3. Install the other end of the cable into an SFP+ slot on another network
device.
4. Repeat this procedure to install additional AT-SP10TW Cables.
Note
To remove the connector and cable from the SFP+ slot, gently push
on the connector, pull on the release tab, and slide the connector
from the slot.
5. If you are not building a stack with the VCStack Plus feature, do one of
the following:
To install and cable additional transceivers in the chassis, go to the
appropriate section in this chapter for instructions.
After cabling all the ports in the chassis, go to Chapter 9,
“Powering On the Chassis” on page 171.
6. If you are building a stack with the VCStack Plus feature, do the
following:
Double-check the wiring of the cables of the trunk between the
SFP+ slots of the controller cards of the two chassis to be sure
they are correctly connected. The possible wiring configurations
are given in “Cabling Configurations for the Trunk” on page 277.
Afterwards, go to “Powering On the Stack” on page 305.
Release Tab
Release Tab
Содержание AT-SBx81CFC960
Страница 14: ...List of Tables 14...
Страница 20: ...20...
Страница 34: ...Chapter 1 Chassis and Power Supplies 34 Section I Hardware Overview...
Страница 80: ...80...
Страница 104: ...Chapter 5 Installing the Chassis in an Equipment Rack 104 Section II Installing the Chassis...
Страница 124: ...Chapter 6 Installing the Power Supplies 124 Section II Installing the Chassis...
Страница 262: ...Chapter 12 Replacing Modules 262 Section II Installing the Chassis...
Страница 270: ...Chapter 13 Upgrading the Controller Fabric Card 270 Section II Installing the Chassis...
Страница 272: ...272...
Страница 286: ...Chapter 14 VCStack Plus Overview 286 Section III Building a Stack with VCStack Plus...


