3 Installing the BenchBot Robot workstation
Installing and removing the robot
46
BenchBot Robot Safety and Installation Guide
To attach the robot to the integration plate or attachment surface:
1
Position the robot on the integration plate or attachment surface so that
the base aligns over the mounting holes.
2
Insert the M6 screws in the four mounting holes and use the 5- mm hex
wrench to tighten the screws until snug.
Connecting the cables
Before you start
•
Make sure your laboratory meets the setup requirements. See
setup requirements” on page 11
•
Follow the instructions included with the computer for setting up the
computer. Make sure the computer and the BenchBot Robot are turned off.
•
Make sure you have the supplied power cord, Ethernet cable, and robot-
hub cable (the cable that connects the robot to the disable hub).
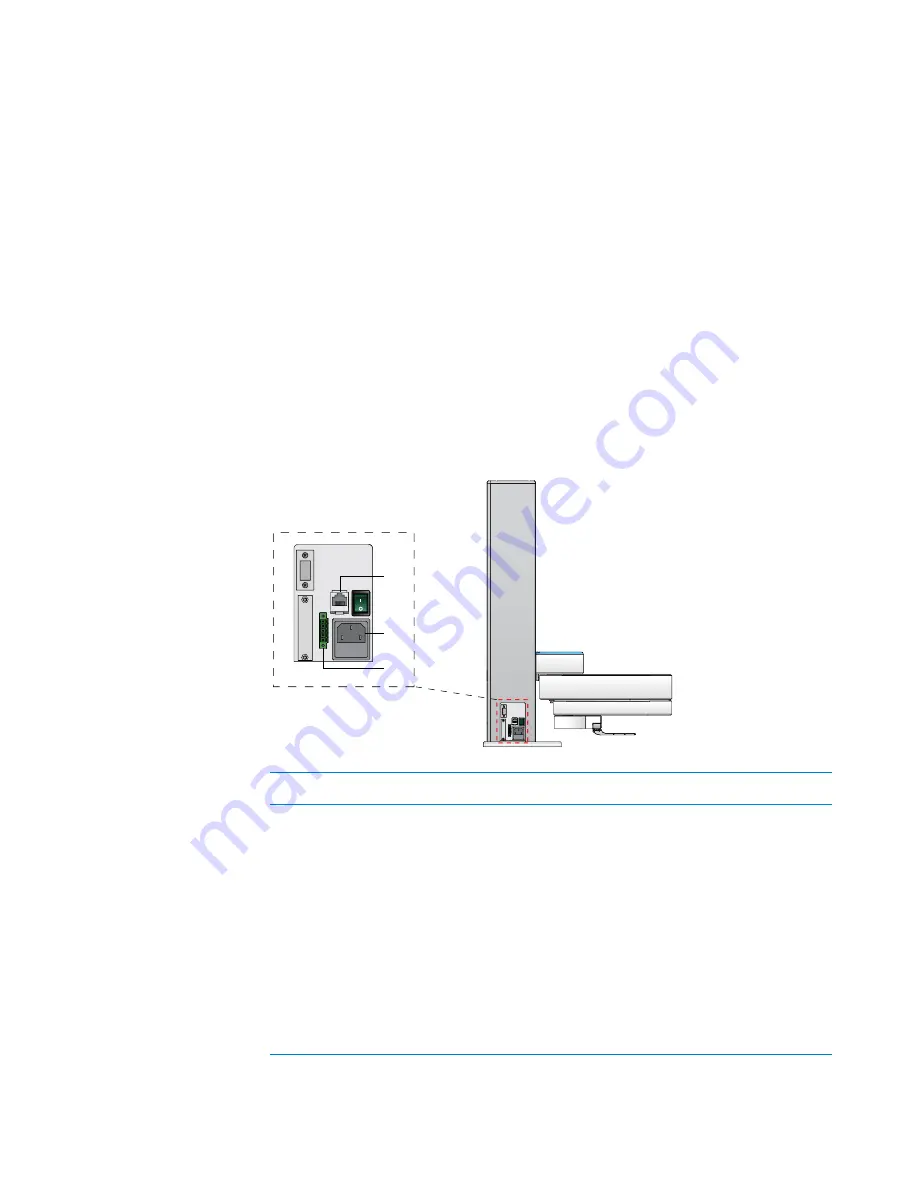
Connection panel
The power, Ethernet, and BenchBot Disable Hub connections are at the lower
left side of the robot’s mast.
2
1
3
Item
Name
Description
1
Pendant port
Connects the BenchBot Robot to
the BenchBot Disable Hub.
G5487A BenchBot Robot
(standalone/component
configuration)
. Connects the
emergency- stop pendant to the
robot. If you want to connect a
third- party box that transmits or
receives interlock circuit signals,
connect the box to the robot using
this 5- pin pendant port on the
robot. For more information, see
“Pendant port connector pinout” on
page 47
.
Содержание BenchBot
Страница 1: ...BenchBot Robot Safety and Installation Guide Original Instructions...
Страница 4: ...Contents iv BenchBot Robot Safety and Installation Guide...
Страница 10: ...Preface Reporting problems x BenchBot Robot Safety and Installation Guide...
Страница 71: ......
Страница 72: ...Safety and Installation Guide G5486 90001 Revision 01 June 2011...


