Chapter 1
19
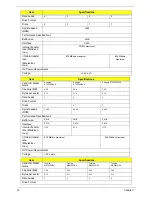
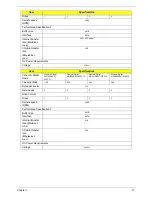
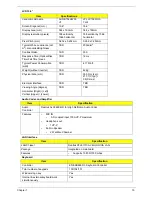
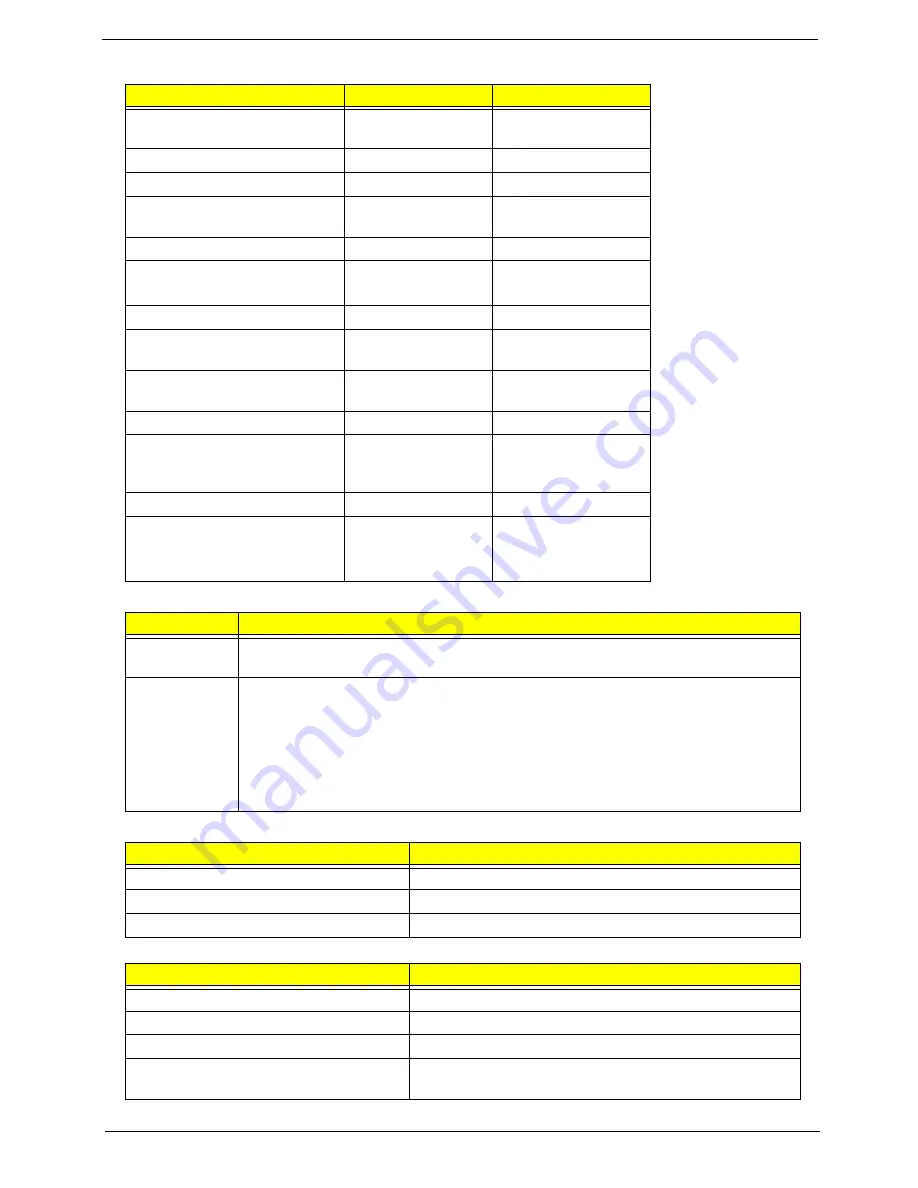
LCD 15.6”
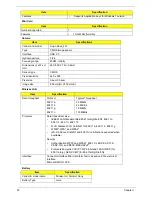
Audio Codec and Amplifier
LAN Interface
Keyboard
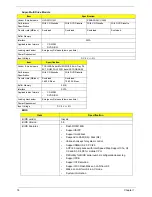
Item
Specifications
Vendor/model name
AUO B156XW03
V1
LPL LP156WH3-
TLA1
Screen Diagonal (mm.)
15.6”
15.6”
Display Area (mm)
344 x 193mm
344 x 193mm
Display resolution (pixels)
768 vertical by
1366 horizontal
768 vertical by 1366
horizontal
Pixel Pitch (mm)
0.252 x 0.252mm
0.252 x 0.252mm
Typical White Luminance (cd/
m
2
) also called Brightness
TBD
200cd/m
2
Contrast Ratio
TBD
500
Response Time (Optical Rise
Time/Fall Time) msec
TBD
16ms
Typical Power Consumption
(watt)
TBD
4.17 Watt
Weight (without inverter)
TBD
429g
Physical Size (mm)
TBD
359.5(H, typ) ×
217.1(V, typ) ×
3.8(D,max)
Electrical Interface
TBD
TBD
Viewing Angle (degree)
Horizontal (Right) / (Left)
Vertical (Upper) / (Lower)
TBD
TBD
Item
Specification
Audio
Controller
Realtek ALC269X-GR for High Definition Audio Codec
Features
•
MIC IN
•
AC-coupled input,100mVP-P maximum
•
Headphone out
•
1VP-P
•
Built-in Speaker
•
2 Watt/8cc Chamber
Item
Specification
LAN Chipset
Realtek RTL8111CA-VB-GR GIGA LAN.
Package
Integrated on mainboard
Features
•
Supports 10/100/1000 mbps
Item
Specification
Controller
ENE KB926 D3 Keyboard Controller
Total number of keypads
103/104/107
Windows logo key
Yes
Internal & external keyboard work
simultaneously
Yes
Содержание Aspire 5534 Series
Страница 6: ...VI ...
Страница 10: ...X Table of Contents ...
Страница 31: ...Chapter 1 21 Pack capacity 4400 mAh Number of battery cells 6 Package configuration 3S2P Item Specification ...
Страница 32: ...22 Chapter 1 ...
Страница 51: ...Chapter 2 41 ...
Страница 52: ...42 Chapter 2 ...
Страница 65: ...Chapter 3 55 ...
Страница 71: ...Chapter 3 61 6 Open the Keyboard FFC securing latch as shown then disconnect the FFC and remove the Keyboard ...
Страница 79: ...Chapter 3 69 ...
Страница 81: ...Chapter 3 71 5 Lift the Power Board from the Lower Cover ...
Страница 83: ...Chapter 3 73 6 Lift the right side speaker out from the Lower Cover as shown ...
Страница 89: ...Chapter 3 79 7 Disconnect the I O Board Cable from the I O Board ...
Страница 97: ...Chapter 3 87 ...
Страница 103: ...Chapter 3 93 ...
Страница 107: ...Chapter 3 97 6 Disconnect the LCD cable as shown and remove the cable from the LCD Panel ...
Страница 110: ...100 Chapter 3 ...
Страница 125: ...Chapter 3 115 3 Grasp the Thermal Module by the CPU heat sink and place onto the Mainboard as shown ...
Страница 197: ...Chapter 6 187 ...
Страница 224: ...214 ...

