184
Chapter 6
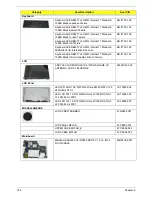
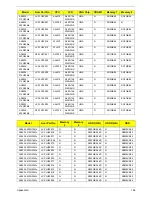
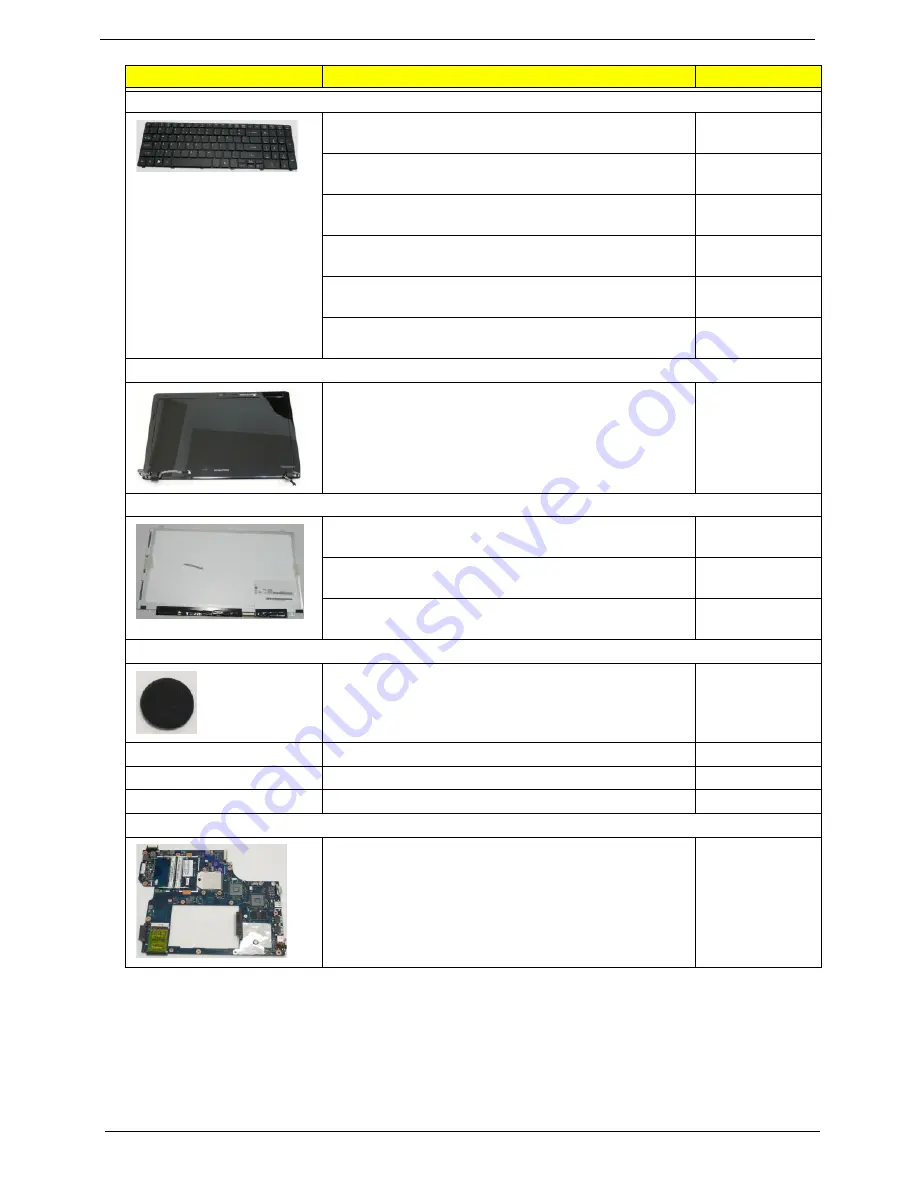
Keyboard
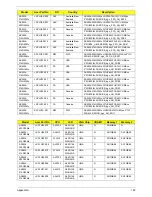
Keyboard ACER EM-7Tv2 HM51 Internal 17 Standard
103KS Black Japanese Texture
KB.I170A.128
Keyboard ACER EM-7Tv2 HM51 Internal 17 Standard
100KS Black Spanish Texture
KB.I170A.134
Keyboard ACER EM-7Tv2 HM51 Internal 17 Standard
100KS Black Turkish Texture
KB.I170A.138
Keyboard ACER EM-7Tv2 HM51 Internal 17 Standard
100KS Black UK Texture
KB.I170A.139
Keyboard ACER EM-7Tv2 HM51 Internal 17 Standard
99KS Black US International Texture
KB.I170A.140
Keyboard ACER EM-7Tv2 HM51 Internal 17 Standard
100KS Black US w/ Canadian French Texture
KB.I170A.142
LCD
ASSY LEC LCD MODULE 15.6" WXGA GLARE W/
ANTENNA, CCD 0.3M, ASPIRE
6M.PJU02.002
LCD Panel
LED LCD AUO 15.6"W WXGA Glare B156XW03 V1 LF
220nit 8ms 500:1
LK.15605.004
LED LCD LPL 15.6"W WXGA Glare LP156WH3-TLA1
LF 200nit 8ms 500:1
LK.15608.003
LED LCD LPL 15.6"W WXGA Glare LP156WH3-TLA2
LF 200nit 8ms 500:1
LK.15608.007
MISCELLANEOUS
LCD SCREW RUBBER
47.N6802.001
LCD PANEL MYLAR
47.PE902.001
UPPER CASE MYLAR_B
47.PEA02.002
LCD CABLE MYLAR
47.PEA02.003
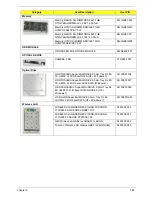
Mainboard
Mainboard AS5534 ATI RS780 SB710 V1.0 LF, INCL
DC-IN CABLE
MB.PJU02.001
Category
Acer Description
Acer P/N
Содержание Aspire 5534 Series
Страница 6: ...VI ...
Страница 10: ...X Table of Contents ...
Страница 31: ...Chapter 1 21 Pack capacity 4400 mAh Number of battery cells 6 Package configuration 3S2P Item Specification ...
Страница 32: ...22 Chapter 1 ...
Страница 51: ...Chapter 2 41 ...
Страница 52: ...42 Chapter 2 ...
Страница 65: ...Chapter 3 55 ...
Страница 71: ...Chapter 3 61 6 Open the Keyboard FFC securing latch as shown then disconnect the FFC and remove the Keyboard ...
Страница 79: ...Chapter 3 69 ...
Страница 81: ...Chapter 3 71 5 Lift the Power Board from the Lower Cover ...
Страница 83: ...Chapter 3 73 6 Lift the right side speaker out from the Lower Cover as shown ...
Страница 89: ...Chapter 3 79 7 Disconnect the I O Board Cable from the I O Board ...
Страница 97: ...Chapter 3 87 ...
Страница 103: ...Chapter 3 93 ...
Страница 107: ...Chapter 3 97 6 Disconnect the LCD cable as shown and remove the cable from the LCD Panel ...
Страница 110: ...100 Chapter 3 ...
Страница 125: ...Chapter 3 115 3 Grasp the Thermal Module by the CPU heat sink and place onto the Mainboard as shown ...
Страница 197: ...Chapter 6 187 ...
Страница 224: ...214 ...

