64
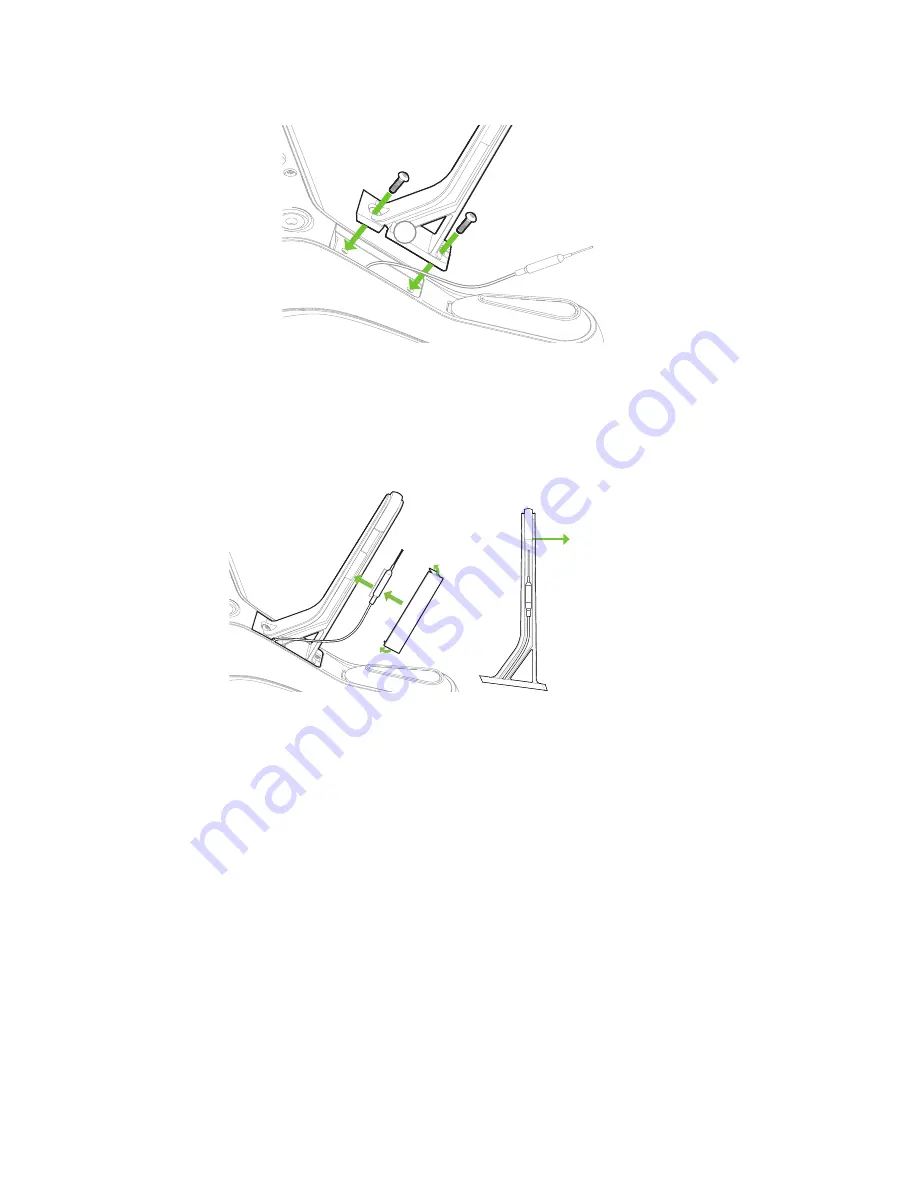
Figure 10.4.2.2: Attaching a New Leg w
2
1
ith an Existing Antenna
To secure the antenna to the new leg, use the provided Velcro to attach only the yellow-backed Velcro strip to the
Velcro on the antenna. Then remove the backing and attach the Velcro and antenna to the inside of the leg, placing
the tip of the antenna five mm from the edge of the rubber foot (1) as shown in the following illustration. Fold the
ends of a provided plastic sheet at right angles (2), remove the adhesive backing, and stick the plastic sheet to the
leg so it secures the antenna in place (3).
Figure 10.4.2.3: Attaching an Existing Antenn
5 mm between
antenna and foot
3
2
1
a to a New Leg
10.4.3 Leg #4 with Compass
Solo’s right-rear leg (#4) contains the compass module. Start by detaching the leg from the arm as you would a
standard leg, but the leg will not be removable until you disconnect the compass from Solo. To access the compass
connector, you’ll need to remove the battery tray from Solo. For battery tray removal instructions, see Section 10.5.
With the battery tray removed, locate the compass connector in the corner of the board closest to the leg being
replaced. Disconnect the compass connector from the board by holding down the tab on the far side of the
connector and lifting up the connector. Because the space between the arm and the connector is limited, it might
help to use a screwdriver to press the tab.
Содержание Solo
Страница 1: ...User Manual ...
Страница 81: ......


