


Page 9 of 88
Copyright 1010music LLC 2020
Bitbox Micro User Manual 1.0.7
Connect a MIDI controller to the MIDI In jack to trigger
pads and modulate parameters. Use the included Mini-
TRS to MIDI 5-PIN DIN adapter if needed. This TRS jack
supports both Mini-TRS type A and Mini-TRS Type B
connections.
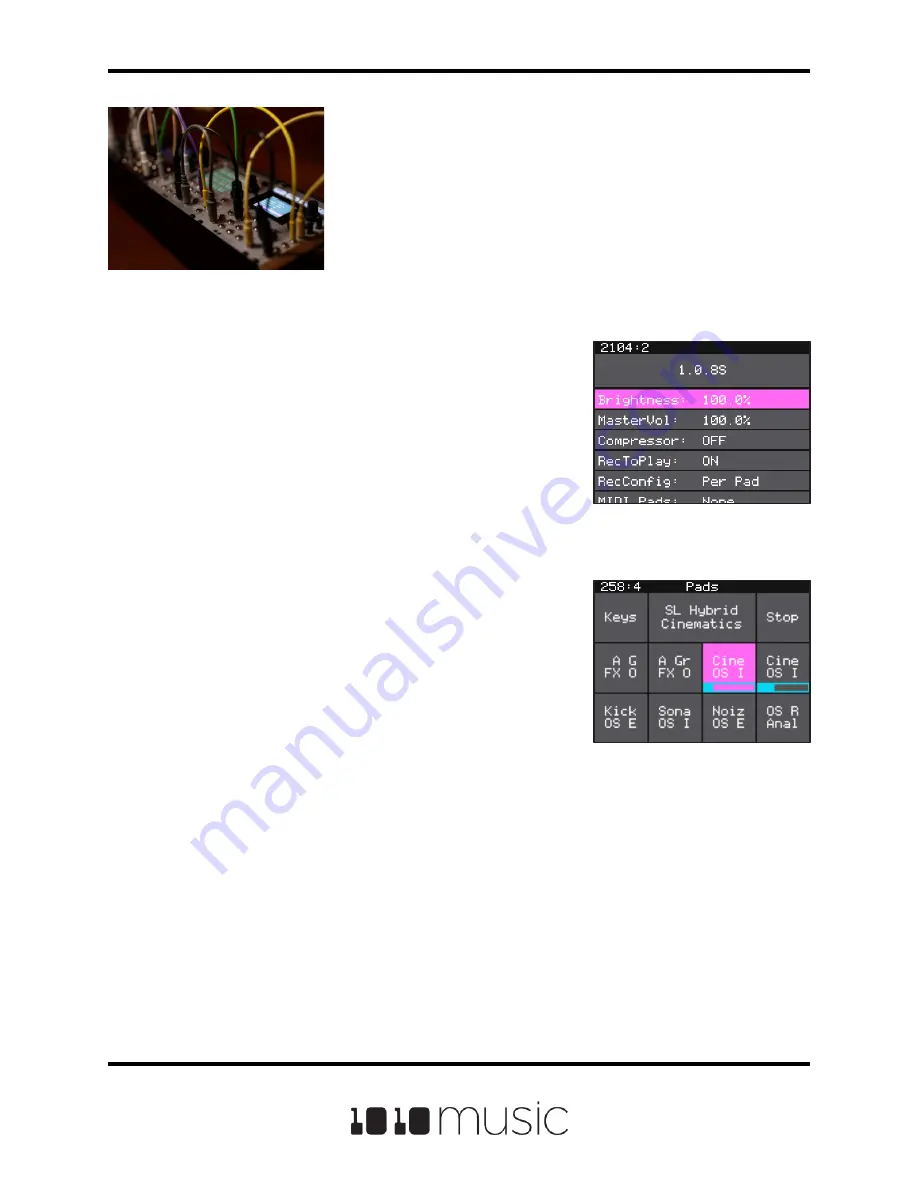
Control the Volume
By default, the bitbox micro is configured to play at 80%
volume. Here’s how to adjust that if needed:
1.
Touch Tools one time to display the Settings
screen.
2.
Turn the top knob until the MasterVol
parameter is highlighted pink.
3.
Turn the bottom knob to the desired value.
Test Your Setup
Now let’s see what the module sounds like.
1.
Push the Home button until you see the Pads
screen.
2.
Touch a pad to trigger playback. You should
hear the sample playing out through the
connected audio output. The pad you touched
will turn pink to show that it is selected. A blue
playback progress bar will grow across the
bottom of the pad as the WAV file play
progresses.
If you don’t hear anything, try touching a different pad. If you still don’t hear anything,
push Tools then Home to make sure you really are on the Pads screen. (It will say Pads
at the very top middle of the screen.) Then try touching a pad. Next, check your output
connections and your volume (See above.)
Pads Screen
Settings Screen


