Chapter 5 Access Point Mode
EMG3425-Q10A User’s Guide
32
5.3.1 Setting your EMG3425-Q10A to AP Mode
1
Log into the Web Configurator if you haven’t already. See the Quick start Guide for instructions on
how to do this.
2
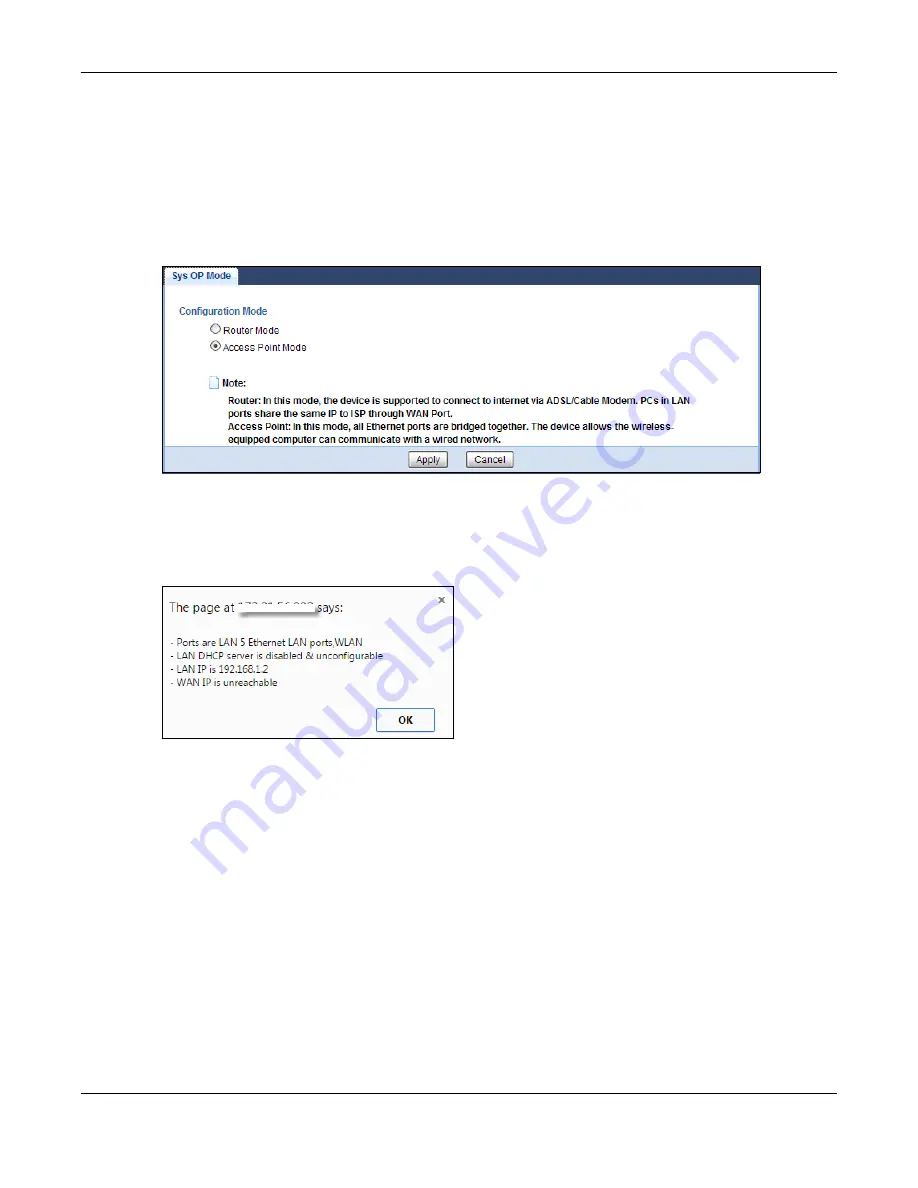
To use your EMG3425-Q10A as an access point, go to
Maintenance > Sys OP Mode
and select
Access Point Mode
.
Figure 12
Changing to Access Point mode
Note: You have to log in to the Web Configurator again when you change modes. As soon
as you do, your EMG3425-Q10A is already in Access Point mode.
3
When you select
Access Point Mode
, the following pop-up message window appears.
Figure 13
Pop up for Access Point mode
Click
OK
. Then click
Apply
. The Web Configurator refreshes once the change to Access Point mode
is successful.
5.3.2 Accessing the Web Configurator in Access Point Mode
Log in to the Web Configurator in Access Point mode, do the following:
1
Connect your computer to the LAN port of the EMG3425-Q10A.
2
The default IP address of the EMG3425-Q10A is “192.168.1.2”. In this case, your computer must
have an IP address in the range between “192.168.1.3” and “192.168.1.254”.
3
Click
Start > Run
on your computer in Windows. Type “cmd” in the dialog box. Enter “ipconfig” to
show your computer’s IP address. If your computer’s IP address is not in the correct range then see
for information on changing your computer’s IP address.
Summary of Contents for EMG3425-Q10A
Page 11: ...11 PART I User s Guide...
Page 18: ...Chapter 1 Introduction EMG3425 Q10A User s Guide 18 Figure 4 Wall Mounting Example...
Page 49: ...Chapter 6 Tutorials EMG3425 Q10A User s Guide 49...
Page 50: ...50 PART II Technical Reference...
Page 239: ...Appendix D Legal Information EMG3425 Q10A User s Guide 239 Environmental Product Declaration...


