


Networking
HFA3 Instructions for Use
2660021166131 Rev. A 2018-11
7-4
Storage Commitment: Enable this service to perform a storage commitment request. This service is
used to confirm that exam data have been permanently stored by the DICOM system.
Advanced DICOM Settings
We recommend that you use the default values shown in the Specific settings dialog. Experienced
network administrators may adjust these settings to optimize performance or allow for slow network
connections.
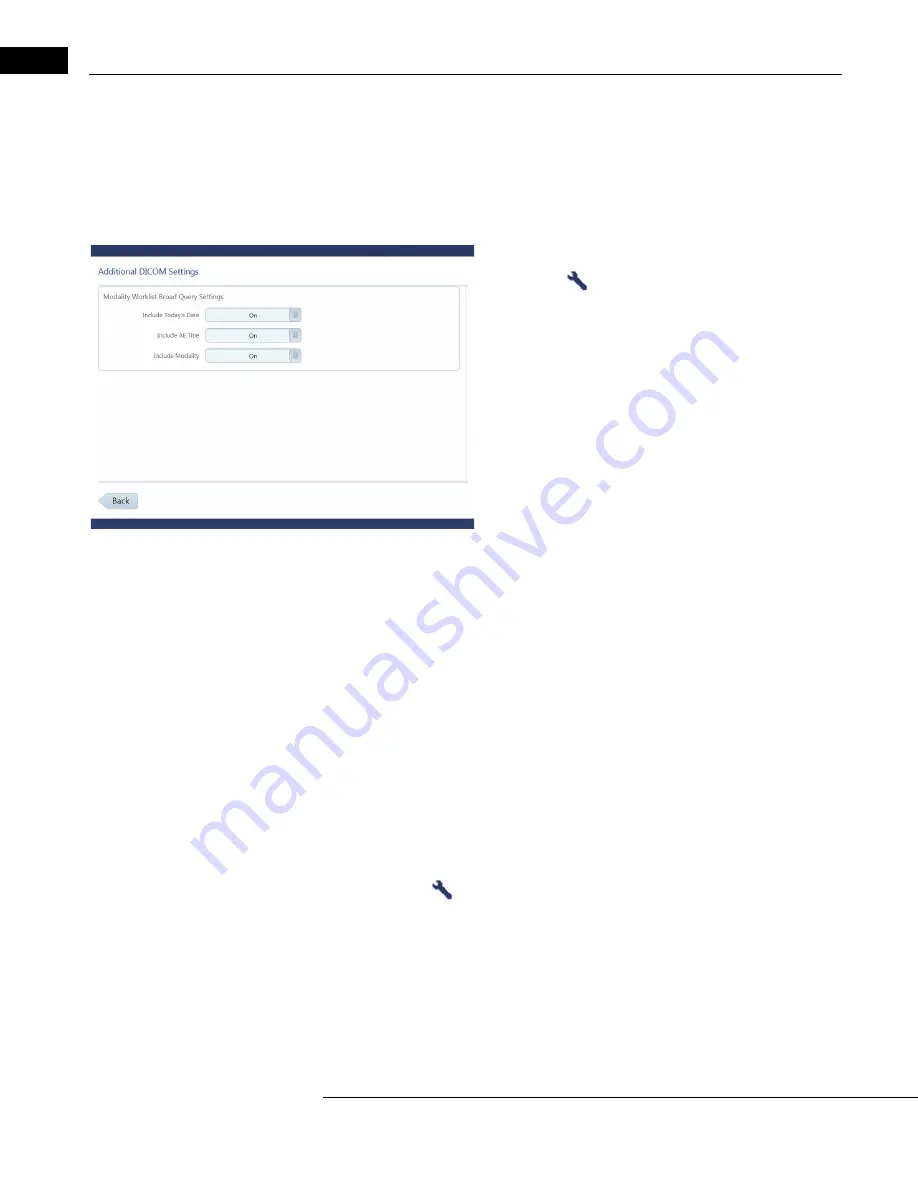
Configure DICOM
Select Settings
> Specific settings> Report Output >DICOM to
access the Additional DICOM Settings screen.
Use these settings to adjust the configuration to your DICOM system.
Consult your service provider for query settings that are specifically
required by your DICOM compatible system.
Include Today’s Date: Includes/excludes today’s system date in the
worklist query.
Include AE Title: Includes/excludes HFA3’s AE title in the worklist
query.
Include Modality: Includes/excludes OPV in the worklist query.
DICOM Configuration Overview
The process for a complete DICOM solution includes the following steps:
1. DICOM Server Setup: Set up the DICOM storage to recognize the AE titles of the instruments
that will be connecting to the server. Please consult your DICOM user manual or system
administrator to configure your system.
2. Network the HFA3: Configure the HFA3 instrument to connect to the network with an Ethernet
cable. See your IT administrator and
“Configure Networking Settings on the HFA3,” on
for more information.
3. Configure the DICOM System: Configure your system to communicate with the designated
Storage and Modality worklist servers and perform a connection test.
4. Use DICOM: Query the Modality worklist server for scheduled exams, perform these exams,
and export the results back to the DICOM server.
Connect to FORUM
Configure Network Settings
1. Make sure you are logged in as an Administrator user.
2. Select Settings
> Network to display the Network screen.
3. Under Connection Configuration, set DICOM network to Enabled to display connection
settings.
4. Enter values for Station name, AE title, and Port. Enable Automatic MWL update.
5. Configure DICOM Services automatically or manually.
Configure DICOM Services automatically:
1. Select the AutoConnect...
button to display a list of detected FORUM servers.


