


Networking
HFA3 Instructions for Use
2660021166131 Rev. A 2018-11
7-6
Configuring Export to an EMR
1. Select Settings
> Specific settings> Report Output.
2. In the End of Test Settings screen, go to DICOM Output, and turn off Forum Test Database.
If Forum Test Database is enabled, the Reports and Tests buttons will not be visible in the
Patient screen.
3. Select Settings
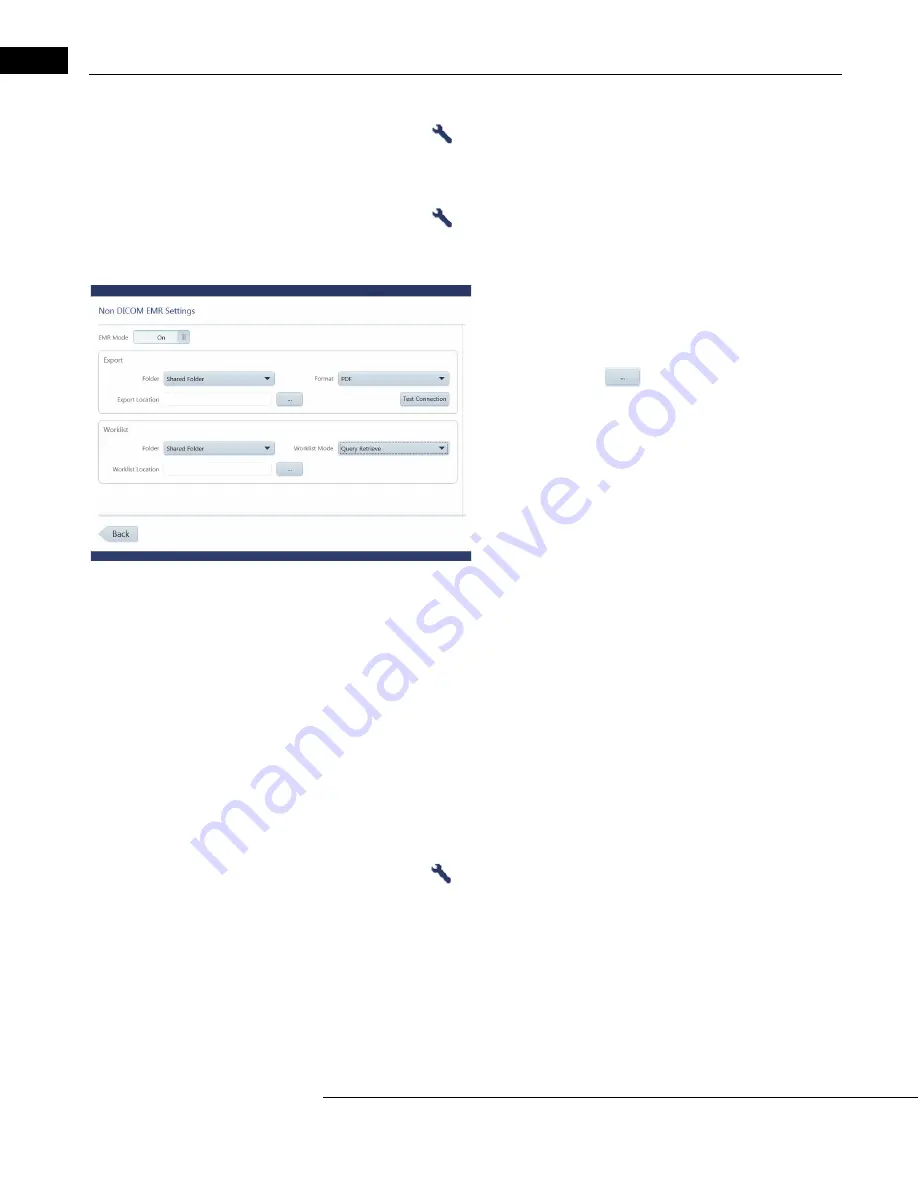
> Specific Settings > Non DICOM EMR Settings.
4. Turn on EMR Mode.
5. Under Export, select the export settings.
To export to a shared folder:
A. From the Folder drop-down menu, select Shared Folder.
B. In the Network screen, map a path to the shared folder previously
set up on the PC/Server (see page
). Select the mapped folder by
selecting the triple dot
button.
C. Initiate a test connection to the HFA3 on your EMR system. Select
Test Connection on the HFA3. If you do not initiate a test on the EMR
system, the connection will fail.
D. Select the export format.
To export to an already existing FTP (File Transfer Protocol) folder:
A. Select FTP from the Folder drop-down menu.
B. Enter the FTP server address in FTP Server. Begin the address with ftp://. Do not enter a
backslash at the end, or the address will be invalid.
C. Enter the folder name in the Folder field.
D. Enter User name and Password for the FTP folder.
E. Initiate a test connection to the HFA3 on the EMR system. Then select Test Connection on
the HFA3.
F. Select the export format.
6. Under Worklist, select the Worklist Mode. If you select Query Retrieve you can limit the
selection by Accession Number, Last Name, First Name, and Patient ID.
7. Map the location of the worklist, either to a shared folder or an FTP folder (see step 5).
Configure Network Settings
1. Select Settings
> Network to display the Network screen.
2. Scroll down to Connection Configuration and enable DICOM network.
3. Under Local application entity, disable Automatic MWL update.
4. Under Remote application entity, manually disable Storage, Retrieve, Query, and Storage
Commitment services (see steps 1, 2, and 3 in
“Configure DICOM Services automatically:,” on
5. Highlight the MWL service and select Manually connect...


