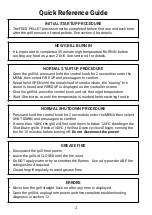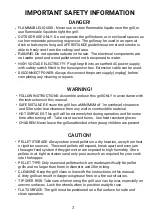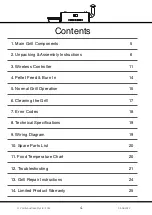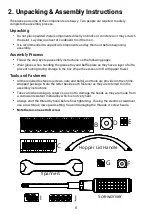
7
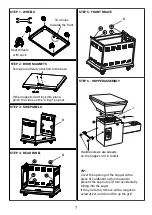
STEP 5 - FRONT BRACE
STEP 4 - REAR PANEL
STEP 1 - WHEELS
STEP 6 - HOPPER ASSEMBLY
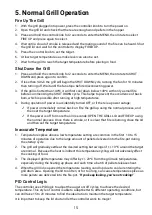
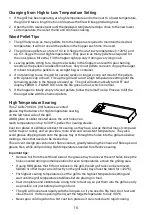
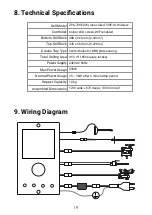
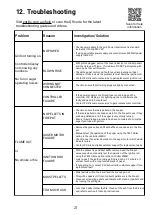
TIP:
Cover the opening of the hopper with a
piece of cardboard or this manual to
prevent the kep nuts (J) from accidentally
falling into the auger.
If they do fall in, remove with a magnetic
screwdriver and do not fire up the grill.
STEP 2 - DOOR MAGNETS
STEP 3 - SIDE PANELS
Two holes
towards the front
Rear Wheels
with Lock
B
I
J
B
B
Screws are already attached to the base
If the magnets don’t lock into place,
pinch the sides so the “wings” pop out.
Handle screws are already
on the hopper, not in toolkit


