


1-8
IM AQ6380-02EN
No.
Name
Function
See
6
Center wavelength Displays and sets the center wavelength or
center frequency
Section 2.3*
7
Start wavelength
Displays and sets the start wavelength or start
frequency
Section 2.3*
8
Appears when the zoom feature is in use.
Section 4.1*
9
Shortcut keys
Shortcuts to frequently used settings. You
can quickly specify settings by simply clicking
them. When a setting is on, the shortcut key is
highlighted.
Section 1.4
10
Stop wavelength
Displays and sets the stop wavelength or stop
frequency
Section 2.3*
11
Wavelength axis
scale
Displays the wavelength axis scale per
division.
You can set it directly by clicking the value.
Section 2.1*
12
Overview screen
Appears only when the zoom feature is in use. Section 4.1*
13
Soft key menu
For configuring various settings.
Section 4.1
14
Trace setting area Displays the status of each trace. Click to
display the setup screen.
Chapter 4*
15
Year, month, day,
time
Section 4.4
16
Parameter display
area
Displays the parameter entered numerical
values.
Section 4.3
17
Parameter input
area
Enters numerical values using the nemeric
keypad.
Section 4.3
18
Label area
Up to 56 characters
Section 4.3
19
Appears when measurement conditions are
changed.
Section 2.3*
* See the relevant chapter or section in IM AQ6380-01EN.
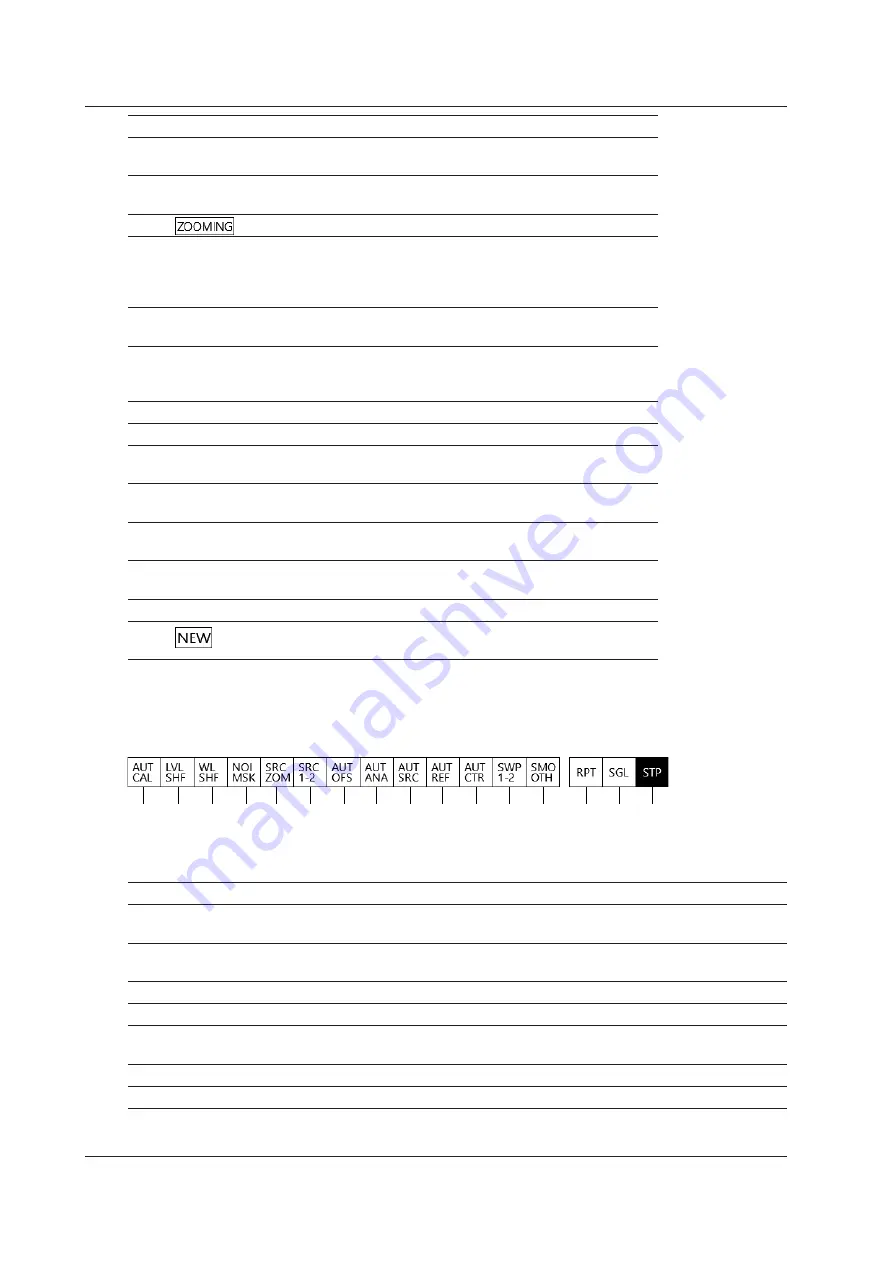
Shortcut Keys
The states of frequently used settings are displayed below the waveform display area at all times.
1
2
3
4
5
6
7
8
9
10 11 12 13
14 15 16
You can change the following settings by tapping them. You can also set them using the function
menus.
1
Configure auto wavelength calibration.
9
Turn on or off auto search.
2
Set the amount of level shift.
10
Turn on or off the auto configuration of the reference
level.
3
Set the amount of wavelength shift.
11
Turn on or off the auto configuration of the center
wavelength or center frequency.
4
Set the noise mask value.
12
Turn on or off the inter-line marker sweep.
5
Turn on or off the zoom area analysis/search.
13
Turn on or off smoothing.
6
Turn on or off the inter-line marker analysis/
search.
14
Start a repeat sweep.
7
Turn on or off auto offset.
15
Start a single sweep.
8
Turn on or off auto analysis.
16
Stop sweeping.
1.4 LCD Screen


