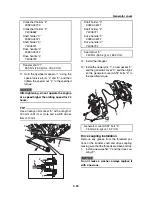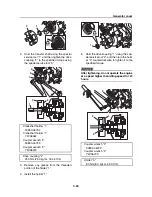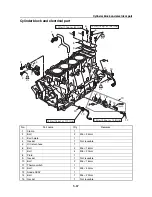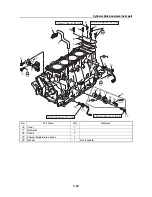
5-79
Crankcase, connecting rod, and piston
2.
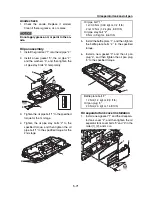
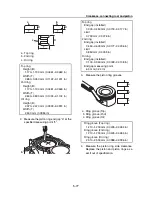
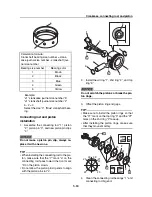
Measure the crankshaft runout. Replace if
out of specification.
Crankshaft pin oil clearance check
1.
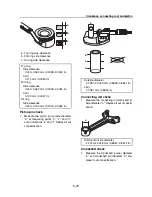
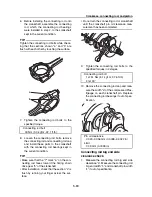
Clean the connecting rod bearings “1” and
connecting rod big end.
2.
Install the upper bearing into the connect-
ing rod “2” and lower bearing into the con-
necting rod cap “3”.
TIP:
• Install the connecting rod bearings “1” in their
original positions.
• Fit the protrusion “a” on each bearing into the
slots “b” in the connecting rod cap “3” and
connecting rod “2”.
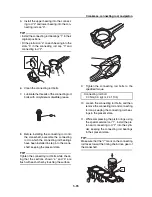
3.
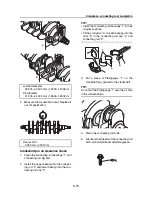
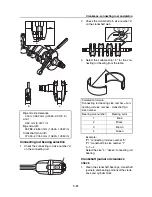
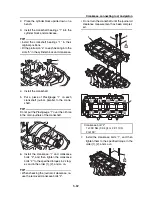
Put a piece of Plastigauge “1” on the
crankshaft pin, parallel to the crankshaft.
TIP:
Do not put the Plastigauge “1” over the oil hole
in the crankshaft pin.
4.
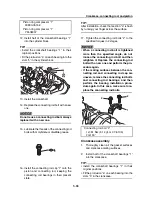
Clean the connecting rod bolts.
5.
Lubricate the threads of the connecting rod
bolts with molybdenum disulfide grease.
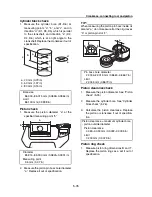
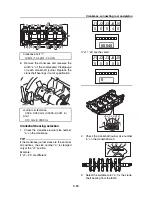
Journal diameter
39.976–40.000 mm (1.5739–1.5748 in)
Pin diameter
41.976–42.000 mm (1.6526–1.6535 in)
Runout limit
0.030 mm (0.0012 in)
a
b
b
a
3
2
1
b
1
Summary of Contents for Waverunner VXS VX1800
Page 1: ...SERVICE MANUAL WaveRunner VXS VX1800 F2W VXR VX1800A F2W F2W 28197 ZU 11 ...
Page 12: ...How to use this manual 1 7 UP Upside YDIS Yamaha Diagnostic System Abbreviation Description ...
Page 40: ...Technical tips 1 35 MEMO ...
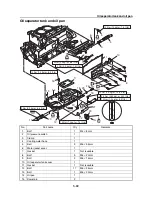
Page 163: ...Oil separator tank and oil pan 5 72 3 4 4 4 4 4 9 4 1 5 6 10 11 7 2 3 8 ...
Page 180: ...Crankcase connecting rod and piston 5 89 MEMO ...
Page 204: ...6 23 Intermediate housing Intermediate housing bolt 2 17 Nm 1 7 kgf m 12 5 ft lb 1 2 3 ...
Page 205: ...Intermediate housing 6 24 MEMO ...
Page 251: ...Indication system 7 44 MEMO ...
Page 278: ...8 25 Exhaust system 6 Install the band Rubber hose clamp 2 3 5 Nm 0 35 kgf m 2 58 ft lb ...
Page 290: ...Deck and hull 8 37 MEMO ...
Page 312: ...Engine unit troubleshooting 9 21 MEMO ...
Page 313: ...A Appendix Wiring diagram A 1 How to use the wiring diagram A 1 VXS VXR A 2 ...
Page 317: ......
Page 318: ...Mar 2015 CR E ...

