5-8
Phaser 34
25
Laser Printer Service Manual
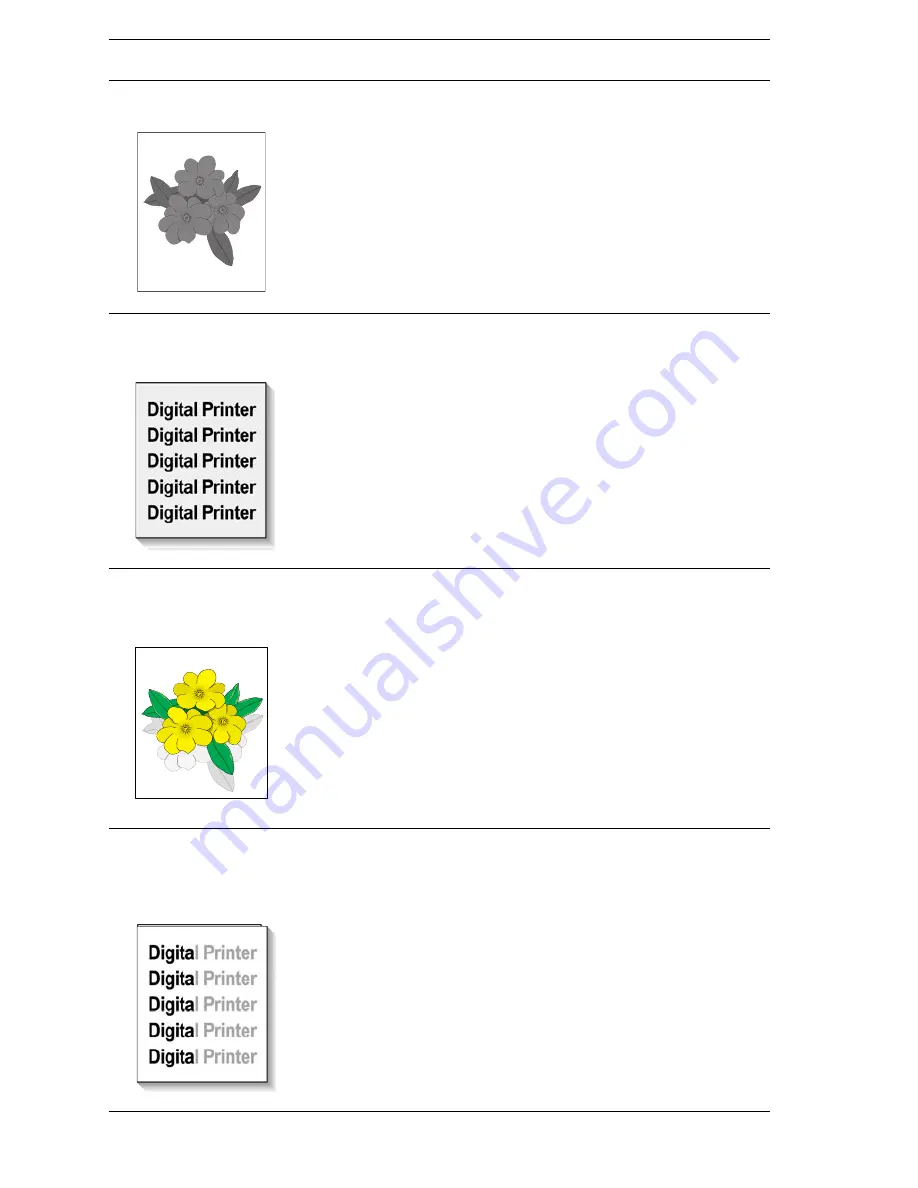
Dark Image:
All areas of
the print are too dark.
■
Verify Remote Control
Panel settings.
■
Print Cartridge.
■
Incorrect high-voltage
outputs (Developer
Bias voltage).
■
Laser assembly
■
Verify Remote Control Panel
setting for the Toner Density
menu is not set to "dark.”
■
Verify that the high-voltage
contacts are operational and
make good contact with the print
cartridge.
■
Replace the following in order:
■
Print Cartridge
■
Power Supply Board
■
Laser assembly
Background:
Uniform
toner contamination in
non-image area
■
Media (paper).
■
Operating
environment.
■
Print Cartridge.
■
Transfer Roller.
■
Incorrect High Voltage
outputs.
■
Verify that paper meets printer
specifications. Print 20 to 30
pages using recommended
paper. If using recycled paper, try
non-recycled paper.
■
Printer is installed in specified
environment?
■
Replace Print Cartridge.
■
Inspect Transfer Roller for
contamination and good electrical
contact, replace if required.
■
Clean PTL
■
Replace Power Supply Board
Ghosting:
Image from
the previous page prints
on consecutive pages.
■
Operating environment
■
Media (paper)
■
Print Cartridge
■
Transfer Roller
■
Fuser assembly
■
Incorrect high voltage
outputs.
■
Printer is installed in specified
environment?
■
Verify that paper meets printer
specifications. Print 20 to 30
pages using recommended
paper.
■
Determine ghosting pitch and
replace the corresponding
assembly.
NOTE: Refer to "Defects
Associated with Specific Printer
Components" on page 5-2 for
defect pitch
.
■
Replace Power Supply Board.
Non-Uniform Image:
The Line darkness and
solid-area density image
vary across the print.
■
Print Cartridge
■
Print Cartridge
grounding
■
Unstable high voltage
output.
■
Transfer Roller
contamination.
■
Laser Window or optic
contamination.
■
Ensure that Cartridge is not out of
toner. Inspect Drum for
deterioration or contamination.
■
If defective, replace the Print
Cartridge.
■
Verify Print Cartridge ground.
Check continuity between
cartridge ground contact and
frame ground. Ensure that drum
contact is clean and undamaged.
■
Inspect the Transfer Roller spring
tension and bearing contacts.
■
Remove Laser assembly, clean
window or replace assembly as
necessary .
■
Replace Power Supply Board.
Image Defect
Possible Cause
Solution
S6200-284
Summary of Contents for Phaser 3425
Page 1: ...Service Manual P h a s e r L a s e r P r i n t e r 3425 ...
Page 2: ......
Page 14: ...xii Phaser 3425 Laser Printer ...
Page 20: ...xviii Phaser 3425 Laser Printer ...
Page 29: ...General Information 1 9 Consumables 1 Print Cartridge 1 ...
Page 48: ...2 14 Phaser 3425 Laser Printer Service Manual ...
Page 93: ...6 Chapter Adjustments and Calibrations In this chapter Margin Calibration Resetting NVRAM ...
Page 98: ...7 4 Phaser 3425 Laser Printer Service Manual ...
Page 144: ...8 46 Phaser 3425 Laser Printer Service Manual ...
Page 145: ...9 Chapter Parts Lists In this chapter Using the Parts List Print Engine Parts Xerox Supplies ...
Page 175: ...10 6 Phaser 3425 Laser Printer Service Manual ...
Page 179: ......
Page 180: ......


