02/2000
3-22
DocuPrint N2125
IQ RAP 12 , IQ RAP 13
Initial Issue
Image Quality Repair Analysis Procedures
Y
N
Replace the Fuser Assembly (
).
Panic stop the printer half way through the print cycle. Look at the image on the drum. The
image on the drum has even density.
Y
N
Replace the Laser Assembly (
).
Look at the print on the paper before the Fuser. The print on the paper has even density.
Y
N
Replace the BTR (
).
Replace the Fuser Assembly (
).
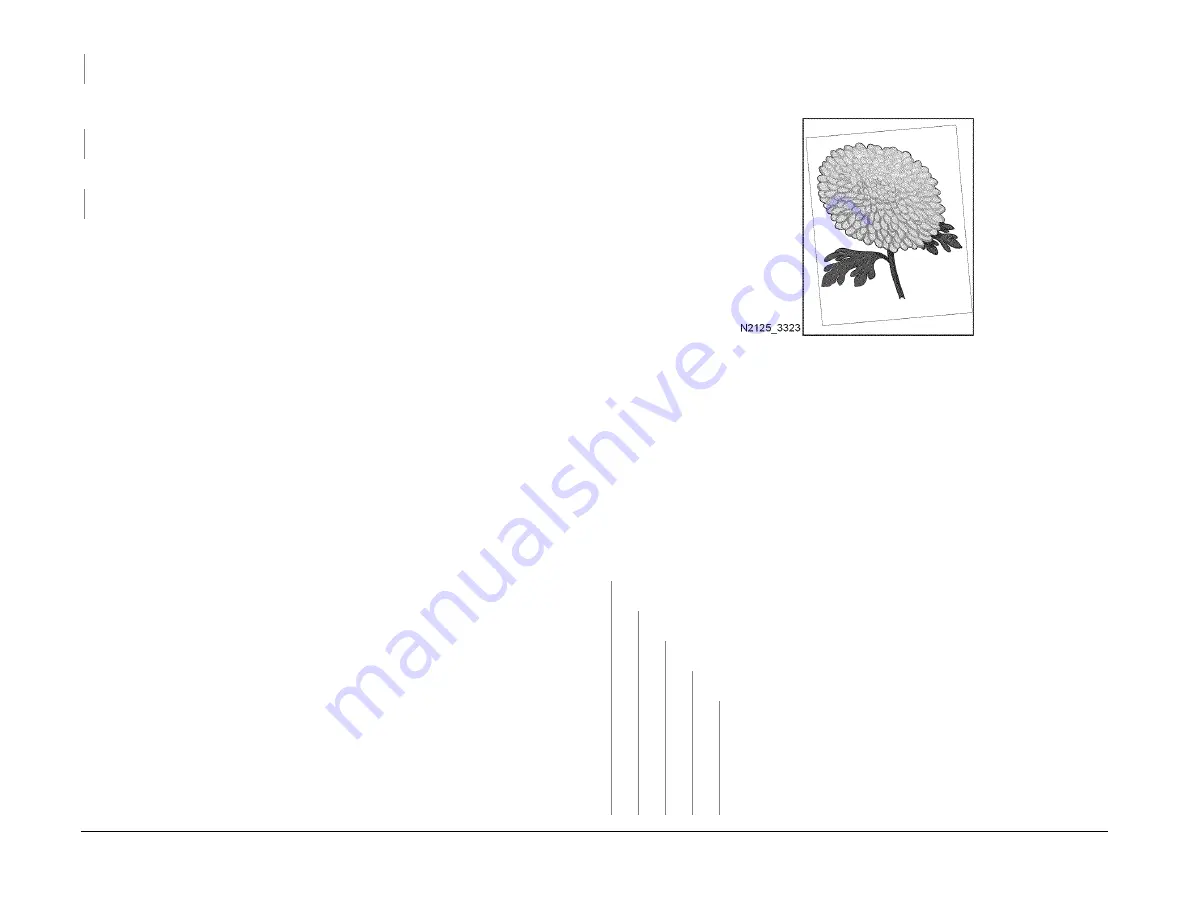
IQ RAP 13 Skewed Image
The image is not parallel to the edges of the print sheet (
).
Figure 1 Skewed Image
Initial Actions
•
Check the paper tray(s) installation and the paper in the tray(s).
•
Load fresh dry paper.
•
Paper meets specification.
•
Check the paper path for any obstructions or debris that might hamper the passage of the
paper.
•
Ensure the Print Cartridge is properly installed.
Procedure
Run 5 test prints, single sided, from each paper tray. If the printer has a Duplex Assembly, run
five duplexed prints from each tray. The skewed image appears only on duplexed prints.
Y
N
The skewed image occurs on prints fed from all trays.
Y
N
The skewed image occurs on prints fed from the MBF Tray.
Y
N
The skewed image occurs on prints fed from Tray 1.
Y
N
The skewed image occurs on prints fed from Tray 2.
Y
N
•
Check the Tray 3 Feed Rolls. Clean or replace if necessary.
•
Check the Tray 3 Retard Roll. Clean or replace if necessary.
•
Check the Nudger Roll. Clean or replace if necessary.
•
Check the Tray 3 Transport Rolls. Check for obstructions or con-
tamination. Clean as necessary.
•
Check the feed chute between Tray 3 and Tray 2. Check for
obstructions or contamination. Clean as necessary.
A
B
C
D
E
Summary of Contents for N2125N - DocuPrint B/W Laser Printer
Page 11: ...02 2000 1 2 DocuPrint N2125 Initial Issue Service Call Procedures...
Page 17: ...02 2000 1 8 DocuPrint N2125 1 5 Initial Issue Service Call Procedures...
Page 19: ...02 2000 2 2 DocuPrint N2125 Initial Issue Status Indicator Repair Analysis Procedures...
Page 73: ...02 2000 2 56 DocuPrint N2125 RAP 66 Initial Issue Status Indicator Repair Analysis Procedures...
Page 75: ...02 2000 3 2 DocuPrint N2125 Initial Issue Image Quality Repair Analysis Procedures...
Page 103: ...02 2000 4 4 DocuPrint N2125 Introduction Initial Issue Repair Adjustment...
Page 111: ...02 2000 4 12 DocuPrint N2125 REP 1 11 REP 1 12 Initial Issue Repair Adjustment...
Page 117: ...02 2000 4 18 DocuPrint N2125 REP 2 5 Initial Issue Repair Adjustment...
Page 135: ...02 2000 4 36 DocuPrint N2125 REP 4 10 Initial Issue Repair Adjustment...
Page 153: ...02 2000 4 54 DocuPrint N2125 REP 7 4 REP 7 5 Initial Issue Repair Adjustment...
Page 165: ...02 2000 4 66 DocuPrint N2125 REP 9 12 Initial Issue Repair Adjustment...
Page 177: ...02 2000 4 78 DocuPrint N2125 REP 10 18 Initial Issue Repair Adjustment...
Page 191: ...02 2000 4 92 DocuPrint N2125 REP 11 19 REP 11 20 Initial Issue Repair Adjustment...
Page 201: ...02 2000 4 102 DocuPrint N2125 REP 12 13 REP 12 14 Initial Issue Repair Adjustment...
Page 213: ...02 2000 4 114 DocuPrint N2125 REP 13 17 Initial Issue Repair Adjustment...
Page 215: ...02 2000 4 116 DocuPrint N2125 ADJ 1 1 Initial Issue Repair Adjustment...
Page 217: ...02 2000 5 2 DocuPrint N2125 Initial Issue Parts list...
Page 241: ...02 2000 6 2 DocuPrint N2125 Initial Issue General Procedures Information...
Page 243: ...02 2000 6 4 DocuPrint N2125 Introduction Initial Issue General Procedures Information...
Page 263: ...02 2000 6 24 DocuPrint N2125 GP 2 11 Initial Issue General Procedures Information...
Page 297: ...02 2000 6 58 DocuPrint N2125 GP 4 1 Initial Issue General Procedures Information...
Page 299: ...02 2000 6 60 DocuPrint N2125 GP 5 1 Initial Issue General Procedures Information...
Page 301: ...02 2000 7 2 DocuPrint N2125 Initial Issue Wiring Data...


