Using the Menu System
Chapter 1: Configuring the Printer
❖
1-43
Output Dest
Set the default paper output
destination. The available values are:
Face Down Bin*
Face Up Bin
Mailbox 1 - Mailbox 10
Sorter
Mailbox bins 1 through 10 are
only available when the optional
10-bin Mailbox/Collator is
installed.
For more information on printing to
the Mailbox/Collator, see
“Using the
10-bin Mailbox/Collator”
(page 2-29).
1. Press
Menu Up
or
Menu
Down
until you see:
Menus
System Menu
2. Press
Item Up
or
Item
Down
until you see:
System Menu
Output Dest
3. Press
Value Up
or
Value
Down
until you see:
O u t p u t D e s t
=
New Value
4. Press
Enter
. You will see:
System Menu
Output Dest
5. Press
On Line
. You will see:
Ready
Staple Mode
Set the default staple position.
The available values are:
Off*
Position 1 (Front)
Position 2 (Rear)
Dual (Two in middle)
This item appears only when the
Finisher is installed.
1. Press
Menu Up
or
Menu
Down
until you see:
Menus
System Menu
2. Press
Item Up
or
Item
Down
until you see:
System Menu
Staple Mode
3. Press
Value Up
or
Value
Down
until you see:
Staple Mode
=
New Value
4. Press
Enter
. You will see:
Staple Mode
Output Dest
5. Press
On Line
. You will see:
Ready
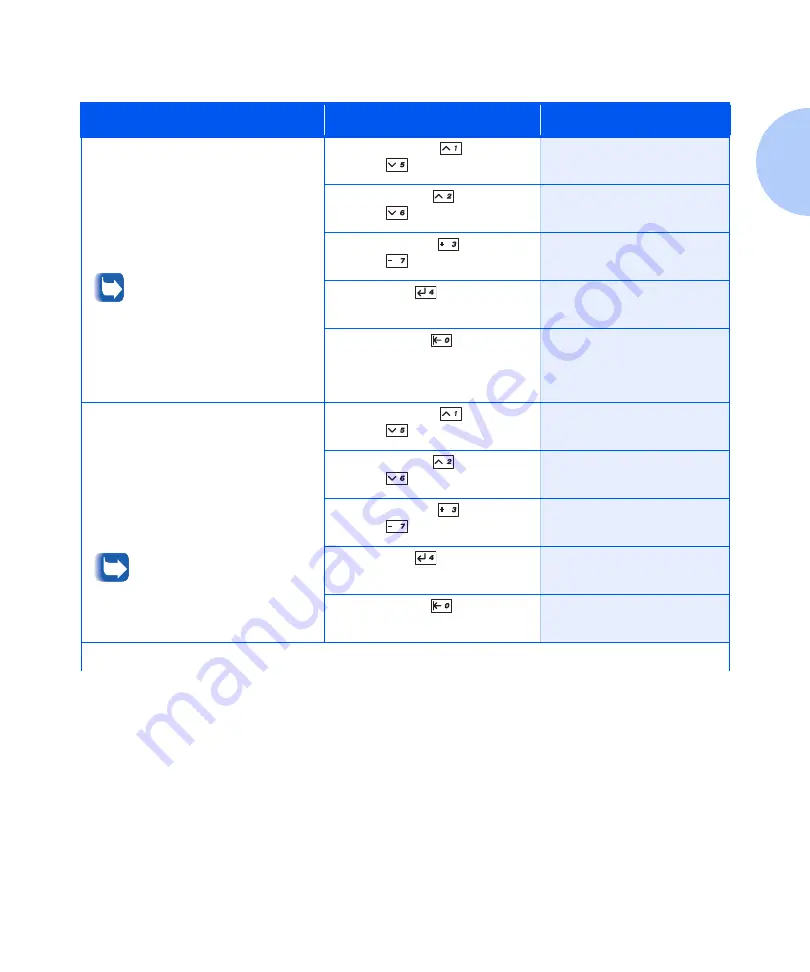
Table 1.14 System Menu functions
(continued)
Menu Item and Function
Keystrokes
Display
Table 1.14 Page 8 of 11
Summary of Contents for DocuPrint N3225
Page 1: ...The Xerox DocuPrint N3225 and N4025 Network Laser Printers System Administrator Guide ...
Page 8: ...System Administrator Guide ...
Page 144: ...Using the Finisher 1 136 System Administrator Guide ...
Page 168: ...Using the Hard Disk Drive for Secure and Proof Jobs 3 14 System Administrator Guide ...
Page 192: ...Cleaning the Printer 4 24 System Administrator Guide ...
Page 304: ...Finisher 6 62 System Administrator Guide ...
Page 305: ...Appendix A Printer Specifications A 1 Printer Specifications A p p e n d i x A ...


