4. Under Text, select an option:
•
Text
: Enter the text in the field, then specify the font.
•
Time Stamp
: Specify the date and time options, then specify the font.
•
Picture
: To locate the picture, click the Browse icon.
5. Specify the scaling angle and position of the watermark.
• Select the scaling option that specifies the size of the picture in relation to the original image.
Use the arrows to scale the image in increments of 1%.
• To define the angle of the image on the page, specify the position option, or to rotate the
image left or right by increments of 1, use the arrows.
• To define the location of the image on the page, specify the position option, or to move the
image in each direction in increments of 1, use the arrows.
6. Under
Layering
, select how to print the watermark.
•
Print in Background
prints the watermark behind the text and graphics in the document.
•
Blend
: This option combines the watermark with the text and graphics in the document. A
blended watermark is translucent, so you can see both the watermark and the document
content.
•
Print in Foreground
prints the watermark over the text and graphics in the document.
7. Click
Pages
, then select the pages to print the watermark:
•
Print on All Pages
prints the watermark on all pages of your document.
•
Print on Page 1 Only
prints the watermark only on the first page of the document.
8. If you select a picture as a watermark, specify the lightness settings for the image.
9. Click
OK
.
O
Orriieennttaattiioonn
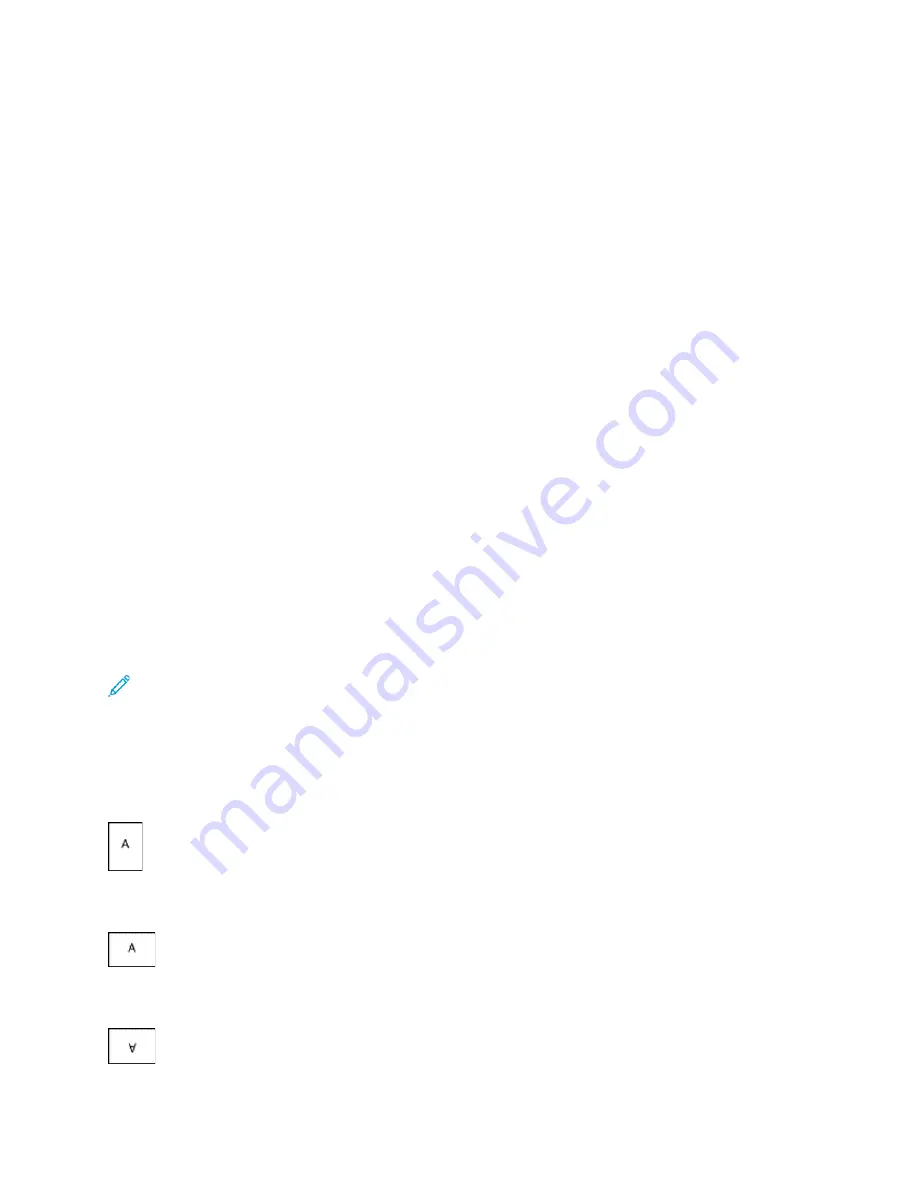
Orientation allows you to select the direction that the page prints.
• To locate orientation options in Windows, on the Document Options tab, click
Orientation
.
Note:
The orientation setting in your application print dialog box can override the orientation
options in the print driver.
• To locate orientation options on Macintosh, in the Print window, click
Show Details
.
The following options are available:
•
Portrait
: Orients the paper so that the text and images print across the short dimension of the
paper.
•
Landscape
: Orients the paper so that the text and images print across the long dimension of the
paper.
•
Rotated Landscape
: Orients the paper so that the content is rotated 180 degrees and with the
long bottom side up.
172
Xerox
®
AltaLink
®
C81XX Series Color Multifunction Printer
User Guide
Summary of Contents for AltaLink C81 Series
Page 20: ...20 Xerox AltaLink C81XX Series Color Multifunction Printer User Guide Safety...
Page 76: ...76 Xerox AltaLink C81XX Series Color Multifunction Printer User Guide Personalize...
Page 180: ...180 Xerox AltaLink C81XX Series Color Multifunction Printer User Guide Printing...
Page 274: ...274 Xerox AltaLink C81XX Series Color Multifunction Printer User Guide Maintenance...
Page 346: ...346 Xerox AltaLink C81XX Series Color Multifunction Printer User Guide Troubleshooting...
Page 370: ...370 Xerox AltaLink C81XX Series Color Multifunction Printer User Guide Specifications...
Page 396: ...396 Xerox AltaLink C81XX Series Color Multifunction Printer User Guide Product Symbols...
Page 411: ......
Page 412: ......


