76
WPS-365-DVR-9CH & 16CH Installation and Users Manual
9. REMOTE ACCESS
The following section discusses DVR remote viewing and control options from PCs and Smart phones.
9.1. PC REMOTE ACCESS
After completing the initial setup, the DVR can be remotely accessed from a PC using a 32bit Internet Explorer
web browser. Refer to Section 6.11 and the appendices (or the Quick Installation Guide included in the box)
for initial network setup instructions.
To log onto the DVR, launch Internet Explorer and enter the IP address of the DVR in the Location/Address field
of the web browser. The DVR’s address will look similar to this:
http://AAA.AAA.AAA.AAA:BB/ie.htm
• AAA.AAA.AAA.AAA should be replaced with the IP address of the DVR
• If set to a port number other than the default 80, BB should be the HTTP port entered into the DVR
and it must match port forwarding set up in the router
• /ie.htm is the extension for the DVR and must be included at the end of the DVR
Alternatively use the DDNS domain name address if this feature has been enabled and properly setup.
Note: Up to 6 users can log into this DVR simultaneously.
9.2. PC REMOTE DISPLAY AND OPERATIONS
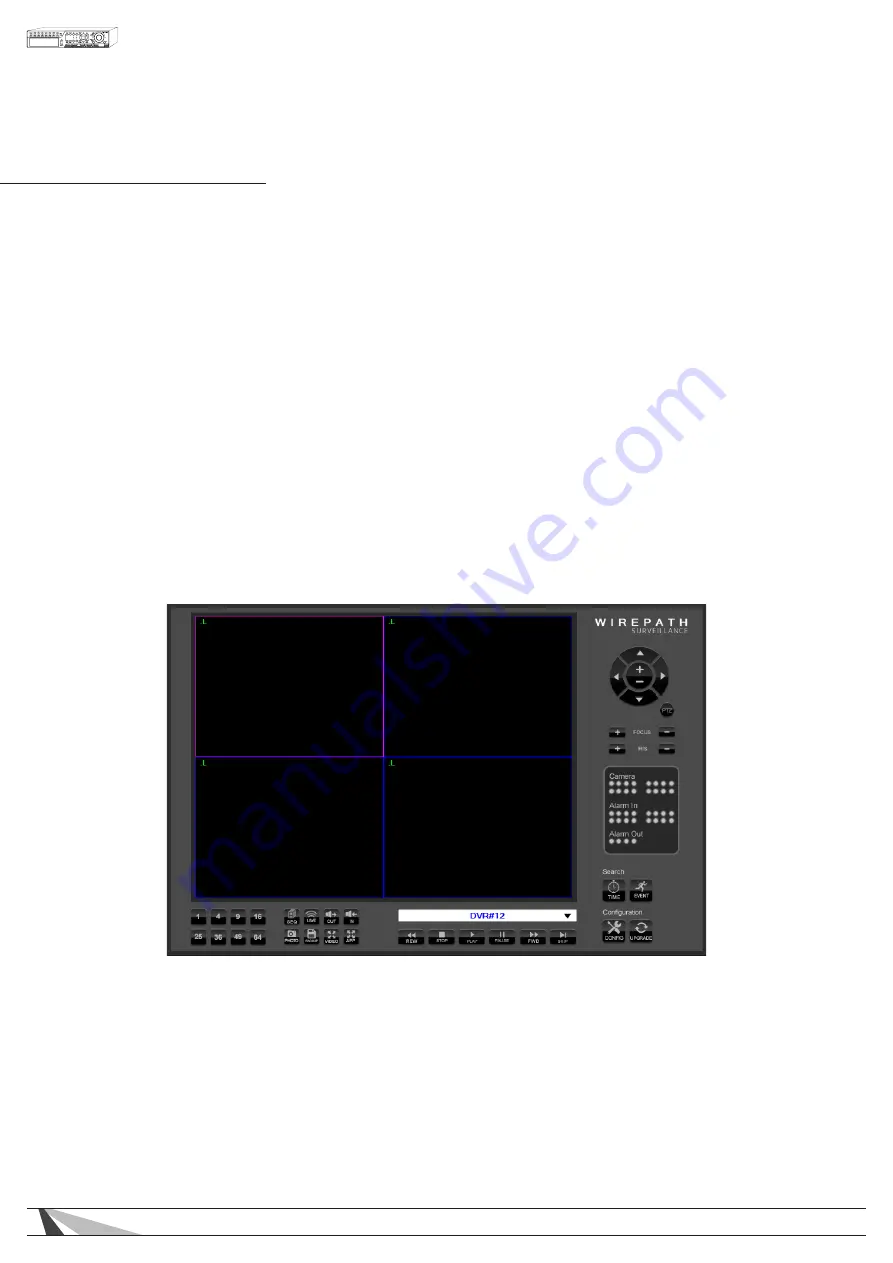
Video images can be displayed in several types of split-window screens including 1/4/9-Window options for a
single DVR and 16/25/36/49/64 options if connected to multiple DVRs.
• The focus window is the window surrounded by a purple frame border.
• The “.L” following the camera title denotes Live video display (text is green).
• The “.P” following the camera title denotes Playback (text is red).
• A white box will appear around the camera title when motion is detected.
• The white text in the top right of each camera window denotes date and time.
Note: The frame rate is limited by the bandwidth of the network and the pre-record FPS of the camera
(Section 9.3.5). The picture quality depends on the recording resolution set in the DVR (Section 9.3.4) and
quality of the camera. See Section 9.4 for Video Streaming options.


