22
WPS-365-DVR-9CH & 16CH Installation and Users Manual
5.3. VIDEO ADJUSTMENT
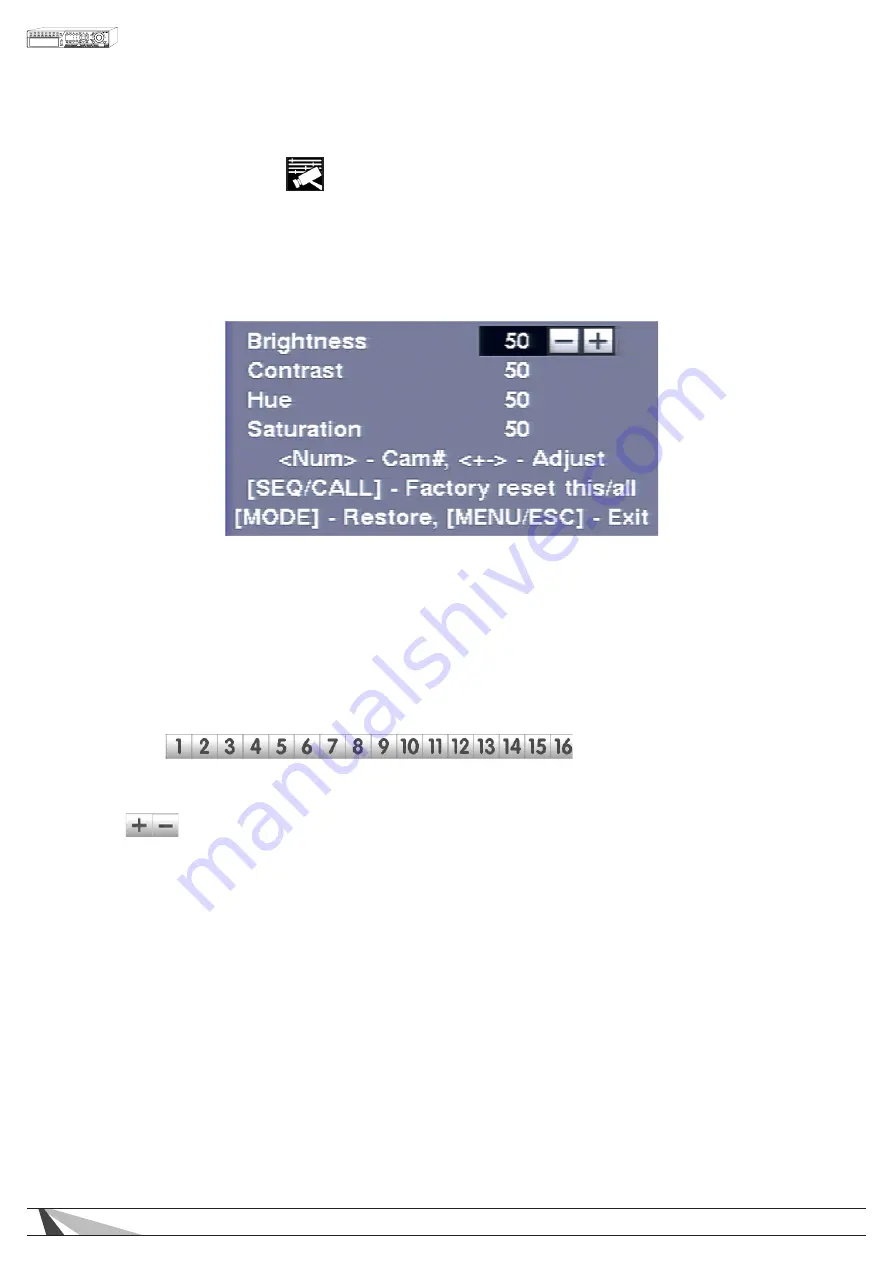
The Video Adjustment menu allows for the adjustment of Brightness, Contrast, Hue, and Saturation for each
video input.
Once in the main Menu display, press
▲▼◄►
on the front panel of the DVR or remote control to select Video
Adjustment and then press ENTER to display the menu as shown. Alternatively use the mouse to click on the
Video Adjustment icon.
The following is a brief description for each item in the sub menu and its specific operations:
•
▲▼◄►
Press these buttons on the front panel of the DVR or remote control to select an item.
Alternatively use the mouse to select an item.
• CAMERA SELECTION
Press the appropriate button for the desired adjustment.
• NUMERIC
Press these buttons on the front panel of the DVR or remote control to change the camera. Alternatively
use the mouse to select the desired camera.
• +/-
Press these buttons on the front panel of the DVR or remote control to change the settings. Alternatively
use the mouse to make these changes.
• SEQ
Press this button on the front panel of the DVR or remote control to reset the video settings for the camera
being viewed to factory default values.
• CALL
Press this button on the front panel of the DVR or remote control to reset the video settings for all cameras
to factory default values.
• MODE
Press this button on the front panel of the DVR or remote control to restore the values.
• ESC
Press the ESC button on the front panel of the DVR or remote control to escape from this menu
and return to the main Menu display. Alternatively use the mouse to exit the sub menu by clicking
on the “X.” If the contents in this menu have been modified, a Save dialog box will be displayed
requesting the user to save the changes. Press ENTER on the front panel of the DVR or remote control
to exit and save, ESC to exit without saving. Another method to escape is to use the mouse to “right-click,”
and exit the sub menu.


