page 2 – 6
VP-8IP / Sep 2013
F E A T U R E S
Operating the
VP‑8
iP
Remotely – Installing the GUI Software
For remote operation via the Guru software supplied with the unit, insert the
VP‑8
iP
software CD into a Windows computer and follow the on screen instructions to install
the software. If the software installation does not automatically start when the CD is
inserted into the drive, you can start the installation manually by:
- Click Start
- Then click Run
- Then click Browse
- Browse the “My Computer” device tree to locate the CDROM device and then
double click it.
- When the contents of the CDROM drive appear in the window, locate the
VP‑8ipGUISetup_x_x_x.exe
file (where x_x_x is the version number) on the
CDROM and double click it.
- Follow the on screen instructions to complete the Guru installation.
Configuring the
VP‑8
iP
TCP/IP Address
*
Once the Guru has been installed you must configure it and the
VP‑8
iP
so that they
can communicate with each other. This requires configuration for both the
VP‑8
iP
(if
changing from the factory-programmed default IP address, subnet, and gateway settings)
and the remote GUI so that they agree on the networking parameters.
Before starting the configuration procedure, please locate and carefully make a note
of the
VP‑8
iP
’s 12-digit MAC Address which is printed on a label either on the top cover
or the rear panel. This address will be in the format 00:50:C2:xx:xx where xx:xx:xx are
the digits unique to your
VP‑8
iP
. You can also read the MAC Address from the
VP‑8
iP
front panel.
*
The
VP‑8
iP
does not support DHCP (Dynamic
Host Configuration Protocol) and therefore re
‑
quires a static TCP/IP address on the network.
Its presence on the network will not interfere with
DHCP addressing of other network connected de‑
vices as long as the IP address that is configured
for the
VP‑8
iP
does not conflict with the address
of any other device on the network. Please consult
your friendly IT manager if necessary.
Note that if the MAC address is not entered
carefully and correctly in the following steps, the
VP‑8
iP
’s IP address will not be changed!
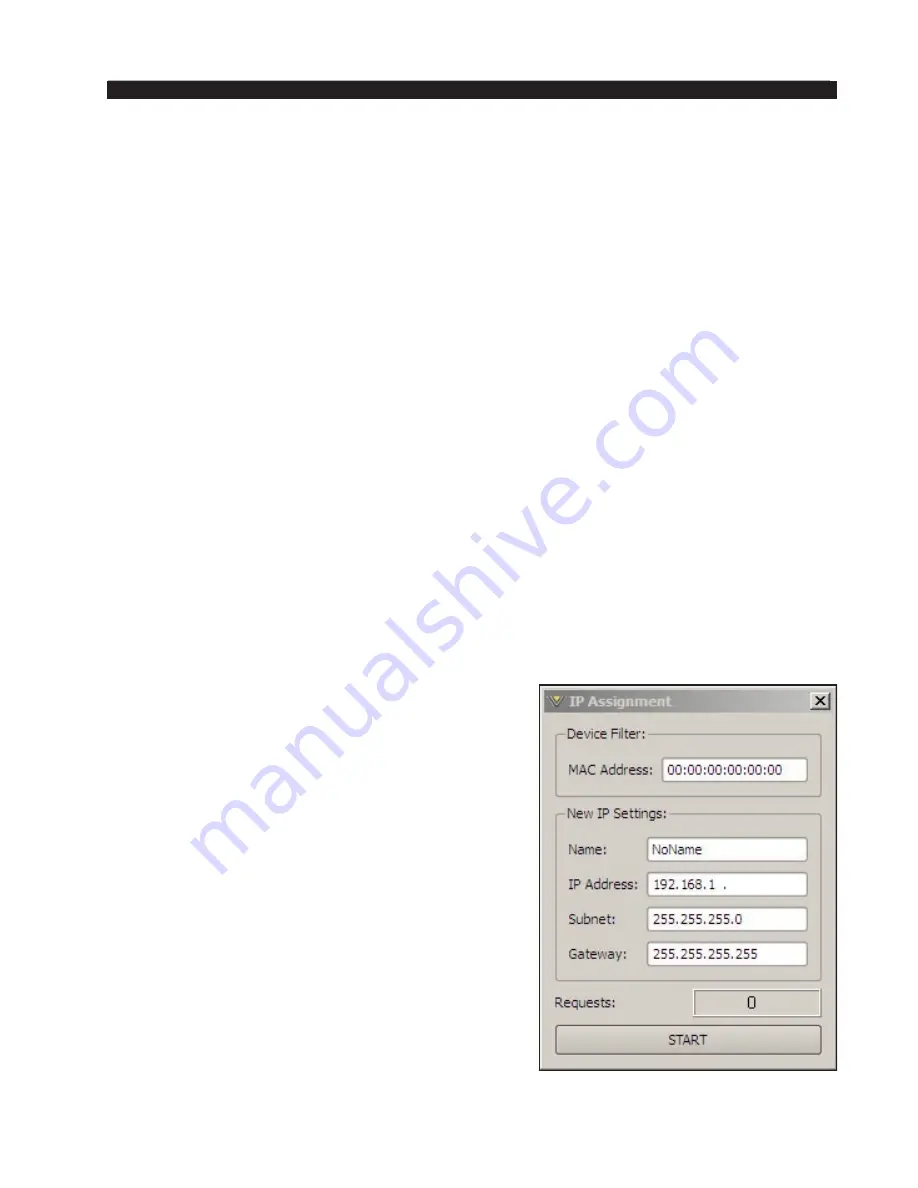
- Start the
VP‑8
iP
Guru software. Then right
click on the control area of the GUI and select
Hardware/Assign IP Address. The window on
the right (Figure 1) will appear.
Figure 1
VP‑8
iP
IP Address Configuration


