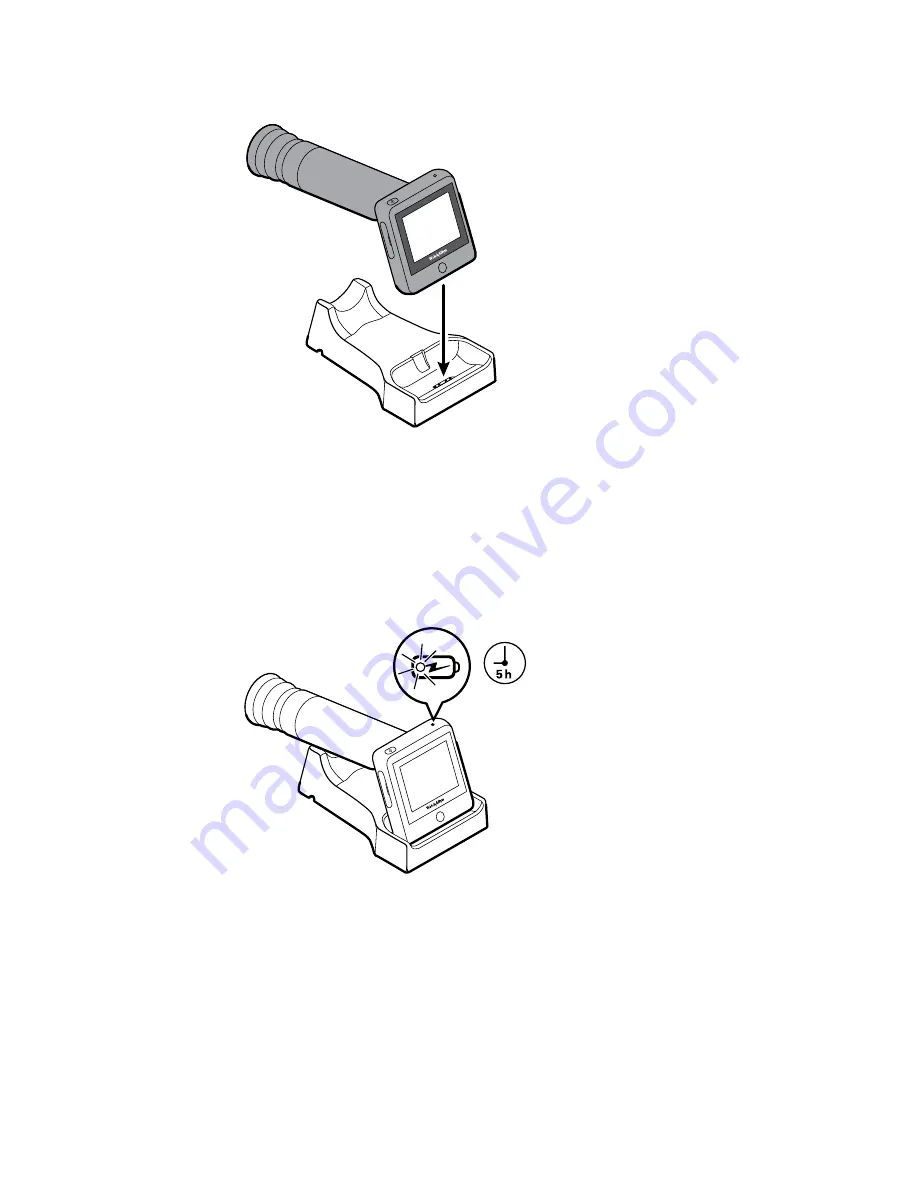
5. Before the first use, allow the RetinaVue 100 Imager to charge for 5 hours on the
docking station charger.
Note
The power indicator light turns amber to indicate that the
RetinaVue 100 Imager is in the processing of charging. If the
power indicator light does not turn on, ensure that the
contact pins of the RetinaVue 100 Imager are touching the
contact pins of the docking station charger and reseat the
RetinaVue 100 Imager into the docking station. Charging is
impacted if the pins are not properly touching.
Note
The removal of the plug from the socket provides the means
of isolation from the mains power supply. The user is
reminded to keep this means of disconnection easily
accessible in case of emergency.
Startup
Power
The Power button, located on the upper-left corner of the RetinaVue 100 Imager,
performs multiple functions:
18 Using the RetinaVue 100 Imager
Welch Allyn RetinaVue™ 100 Imager
Summary of Contents for RetinaVue 100 Imager
Page 1: ...Welch Allyn RetinaVue 100 Imager Directions for use Software version 6 XX...
Page 8: ...4 Symbols Welch Allyn RetinaVue 100 Imager...
Page 14: ...10 Introduction Welch Allyn RetinaVue 100 Imager...
Page 59: ...Directions for use Using the RetinaVue 100 Imager 55...
Page 86: ...82 General compliance and standards Welch Allyn RetinaVue 100 Imager...
Page 112: ...108 Appendix Welch Allyn RetinaVue 100 Imager...
Page 114: ......
Page 115: ......
Page 116: ...Material No 411492...


