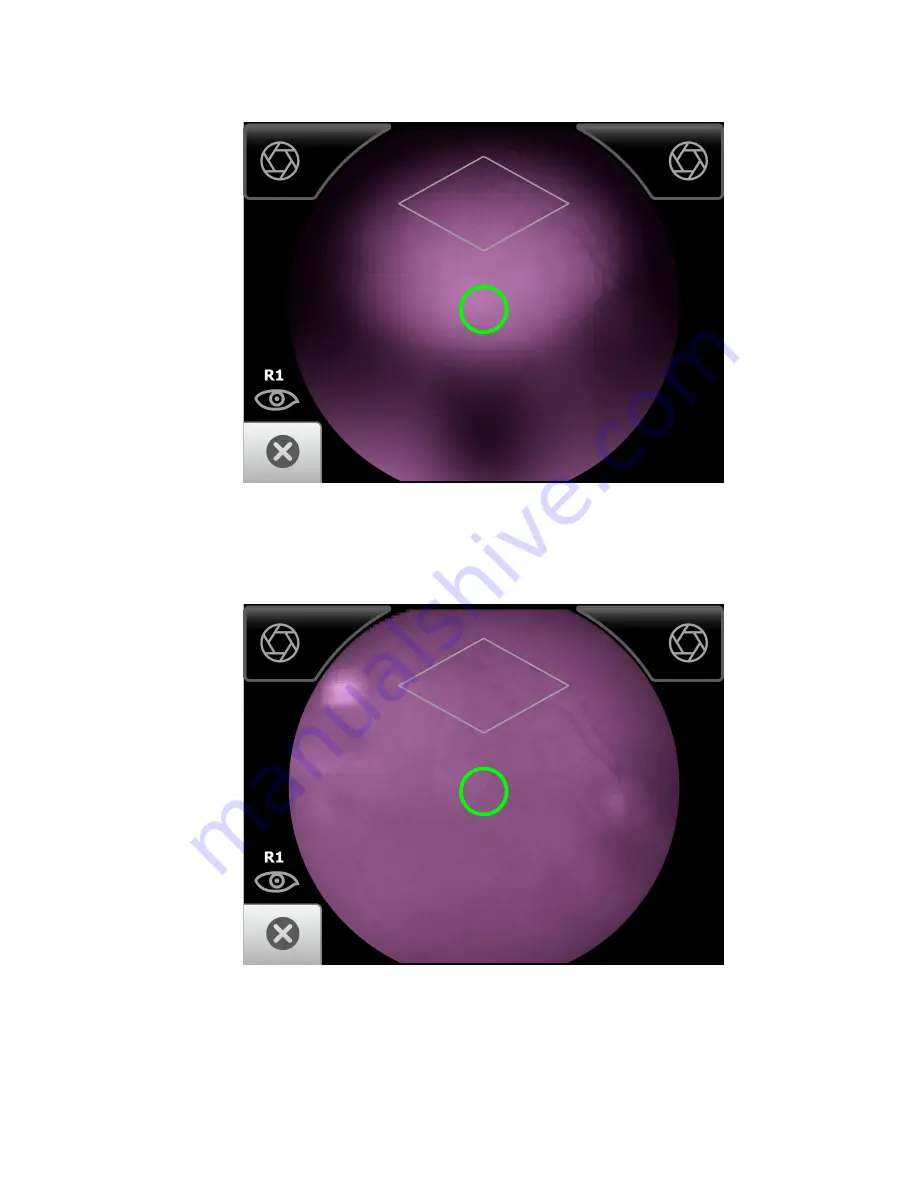
9. Once the reflection has filled the screen, push slightly forward until a “bubble”
appears.
10. Keep the RetinaVue 100 Imager in line. Slightly adjust the RetinaVue 100 Imager
away from any shadows that appear.
11. Move the patient end of the RetinaVue 100 Imager toward the bubble.
12. Align the bubble inside the diamond icon.
52 Using the RetinaVue 100 Imager
Welch Allyn RetinaVue™ 100 Imager
Summary of Contents for RetinaVue 100 Imager
Page 1: ...Welch Allyn RetinaVue 100 Imager Directions for use Software version 6 XX...
Page 8: ...4 Symbols Welch Allyn RetinaVue 100 Imager...
Page 14: ...10 Introduction Welch Allyn RetinaVue 100 Imager...
Page 59: ...Directions for use Using the RetinaVue 100 Imager 55...
Page 86: ...82 General compliance and standards Welch Allyn RetinaVue 100 Imager...
Page 112: ...108 Appendix Welch Allyn RetinaVue 100 Imager...
Page 114: ......
Page 115: ......
Page 116: ...Material No 411492...


