


1
Houseport
®
USB Z-Wave
®
Adapter with Stand for
Apple
®
Mac
®
User Manual
for Model WDUSB-10MAC
Create, Manage and automate your Home
Control System from your Mac
®
computer
Thank you for purchasing the Houseport
®
USB Z-Wave
®
Adapter for Mac
®
computers. Z-Wave
®
products
by Wayne-Dalton allow you to control your home by remote control. You can create a complete Home
Control and Access Network by combining your Houseport
®
USB Z-Wave
®
Adapter with other Z-Wave
®
certified products. Indoor and outdoor lighting, security systems, garage door openers, and thermostats
are just a few of the items you can easily control with additional Z-Wave
®
certified products.
Your new USB Z-Wave
®
Adapter is compatible with the complete range of Wayne-Dalton Z-Wave
®
certified
products. Furthermore, other Z-Wave
®
enabled modules, regardless of brand, will also work with your
Houseport
®
USB Z-Wave
®
Adapter . Please consult with your module supplier for more details.
Home Control Basics
Z-Wave
®
certified products will allow you to easily control multiple devices in a home with the push of a
button in what is known as a “scene”. Turning on your home’s interior lights and activating the set-back
on your thermostat from your in-vehicle remote as you come home is an example of a scene. Dimming
the lights and automatically closing your curtains to watch TV with a single push of a button is another
example of a scene.
Visit www.wayne-dalton.com/access to get ideas on how to create scenes with your Houseport
®
USB
Z-Wave
®
Adapter for Apple
®
Mac
®
and other Z-Wave
®
certified products.
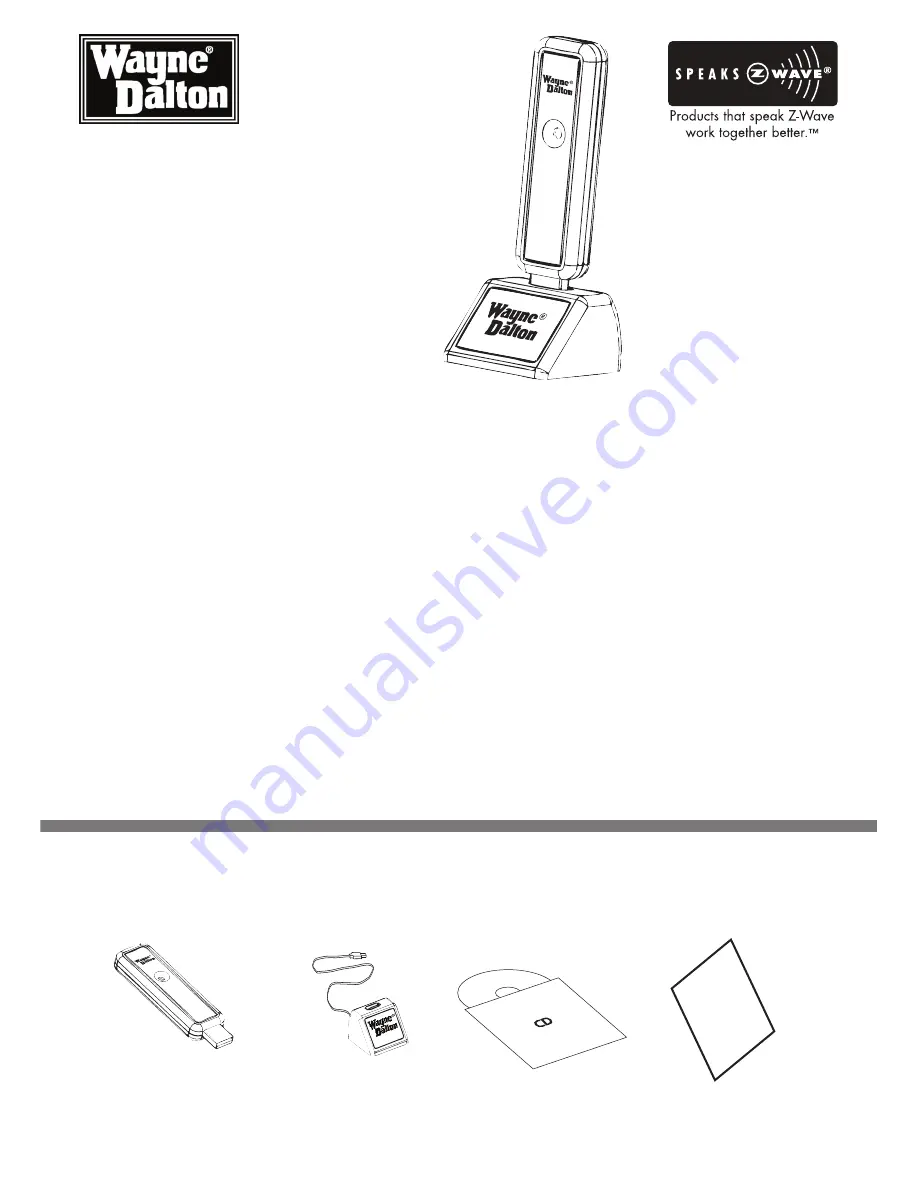
PACkAge CoNTeNTS
Mac
®
USB Z-Wave
®
Adapter
USB Stand Houseport
®
Software on CD Quick Start guide
Quick
Start
Guide
CD