


Disclaimer
The information contained in this manual is subject to change without notice
from AERCO International, Inc. AERCO makes no warranty of any kind with
respect to this material, including, but not limited to, implied warranties of
merchantability and fitness for a particular application. AERCO International is
not liable for errors appearing in this manual, not for incidental or consequential
damages occurring in connection with the furnishing, performance, or use of
these materials.
Heating and Hot Water Solutions
AERCO International, Inc.
• 100 Oritani Drive • Blauvelt, NY 10913
USA: T: (845) 580-
8000 • Toll Free: (800) 526
-
0288 • AERCO.com
Technical Support
• (800) 526
-
0288 • Mon
-Fri, 8 am - 5 pm EST
© 2019 AERCO
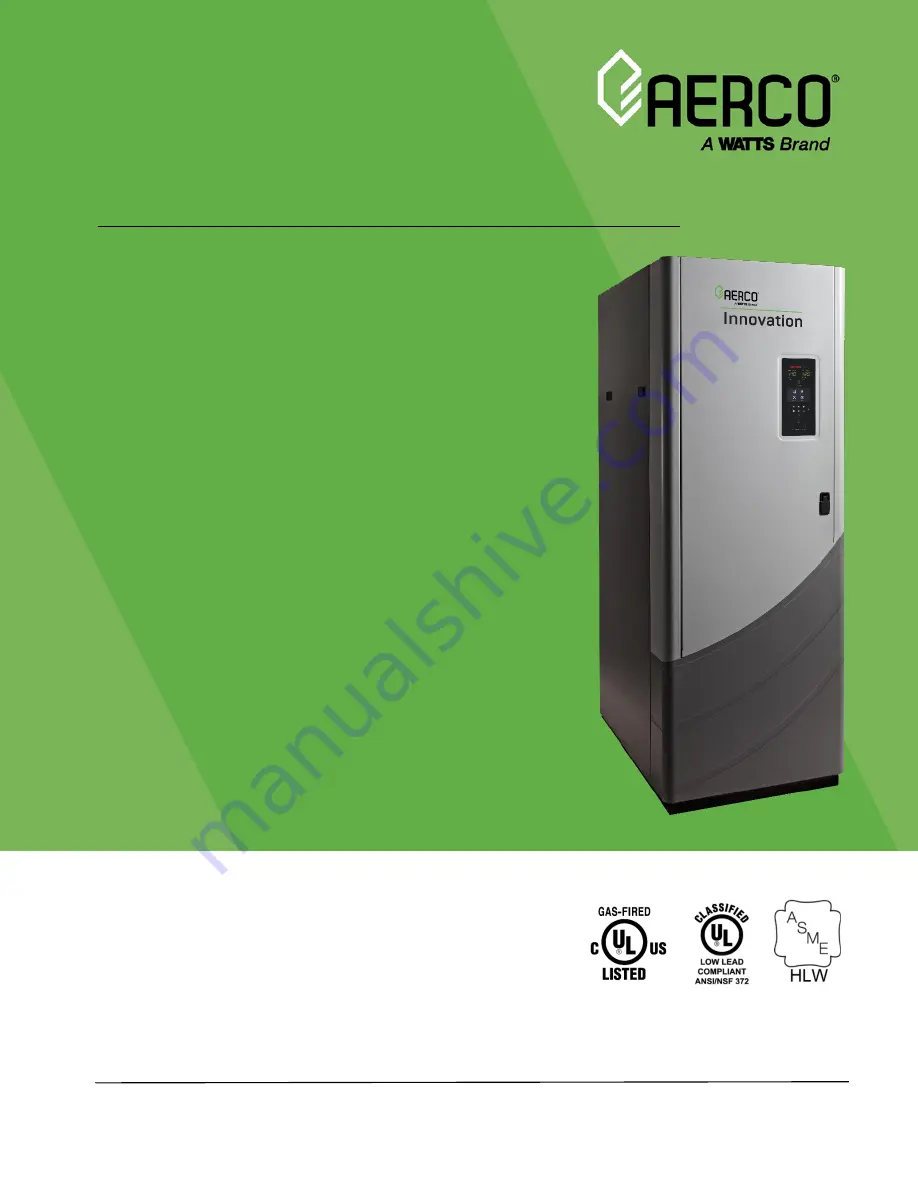
Innovation Water Heaters
With Edge [i] Controller
Installation, Operation and Maintenance Manual
OMM-
0143_A • GF
-216
•
9/6/2019
Applies to models:
•
INN 600N
•
INN 800N
•
INN 1060N
•
INN 1350N
Other documents for this product include:
•
GF-5036 Gas Supply Design Guide
•
GF-5056 Venting & Combustion Air Design Guide
•
GF-5066 Electric Power Design Guide
•
GF-5086 Sizing Guide
This manual applies to serial numbers:
G-19-2230 and above
U.S. Patent No. 9,243,848


