


29
1.
Use the Up and Down arrow buttons to select a recording to play back. The alarm condition which caused the file
to be recorded is indicated in the list. For instance, in the screen shot shown here, the letter M next to a file indicates
that the file was recorded after motion was detected by the camera. indicates that the file was recorded after a GPIO
event. An asterisk (*) before the date indicates that the file is locked.
2.
Press the OK button to confirm. The chosen recording is played back.
3.
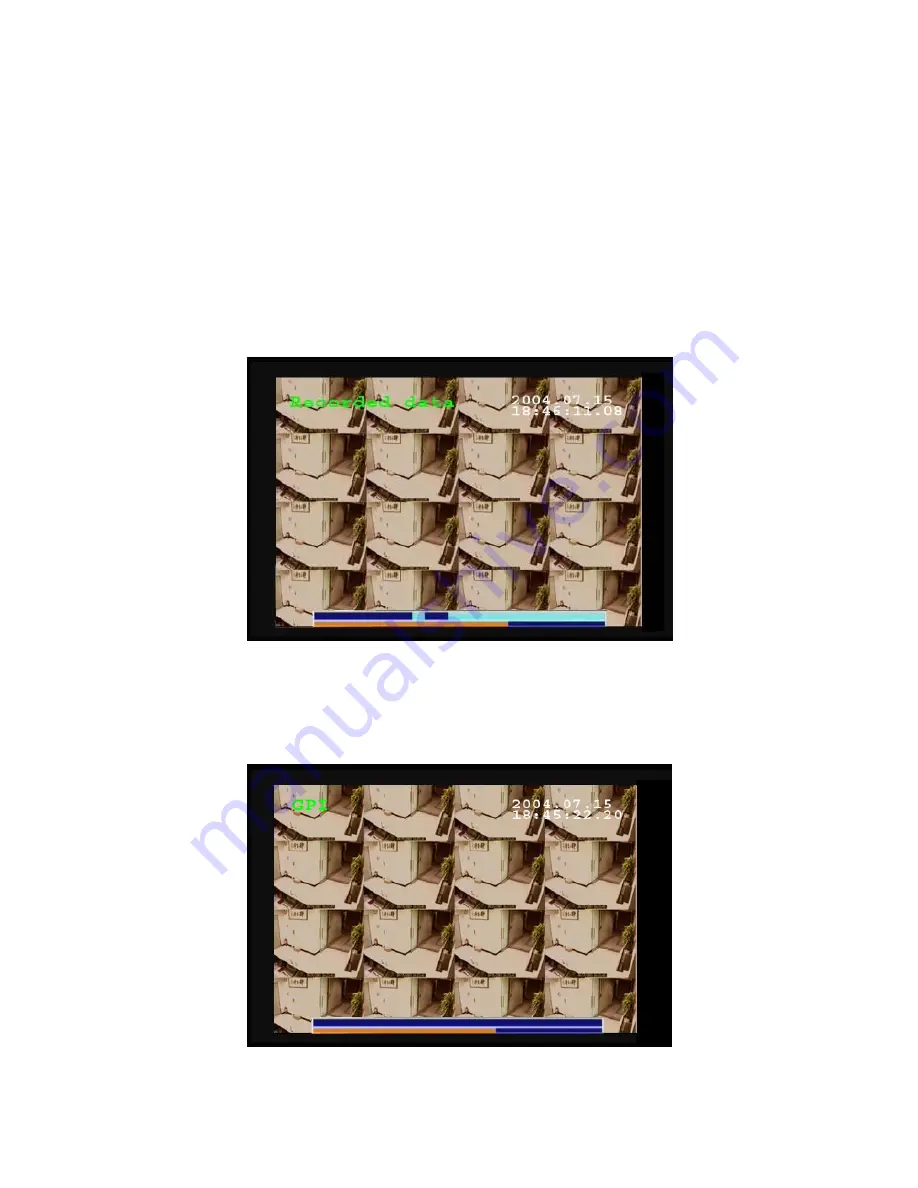
Press the Display button on the remote control to display various properties of the recorded file. The date “A one
hour time line is displayed at the bottom of the screen with the moving orange line indicating the status of playback.
Recorded Data -
The aqua colored line represents how much of the one hour time interval was recorded. A full blue
line means that the whole hour interval was recorded.
Motion Detection -
The screen shows where Motion Detection triggers were generated. The red bar shows the triggers.
To move to the next motion detection, press the Right/Left arrow buttons.
GPI -
The screen shows where alarm triggers were generated. The red bar shows the triggers. To move to the next alarm
trigger event, press the Right/Left arrow buttons.


