


20
3. Select the Enable field and use the Left and Right arrow buttons to toggle between Yes, to enable the motion
detection feature, and No, to disable it.
4. Select the Sensitivity choice and use the Left/Right arrow buttons to decrease/increase the sensitivity. We recommend
that you keep the sensitivity level to its default setting. If the sensitivity level is adequate, an orange square is
displayed in the upper left-hand corner of the screen when motion is detected.
5. Select the Set Detect Area option and press the Right arrow button to configure the area as follows:
a. The highlighted area in red is the area monitored by motion detection. Use the Arrow buttons to move the cursor.
b. Press the OK button to cut off any areas where you want to disable motion detection. If you want motion detection
enabled in the entire field of vision of the camera, leave the screen completely red.
c. Press the Cancel button to return to the previous menu when done.
6. Select the Save option and press the OK button to save all your changes.
7. Use the Prev Page and Next Page buttons to move to the motion detection menus for all connected cameras.
8. Press the OK button when settings are correct.
To enter E-mail details:
1.
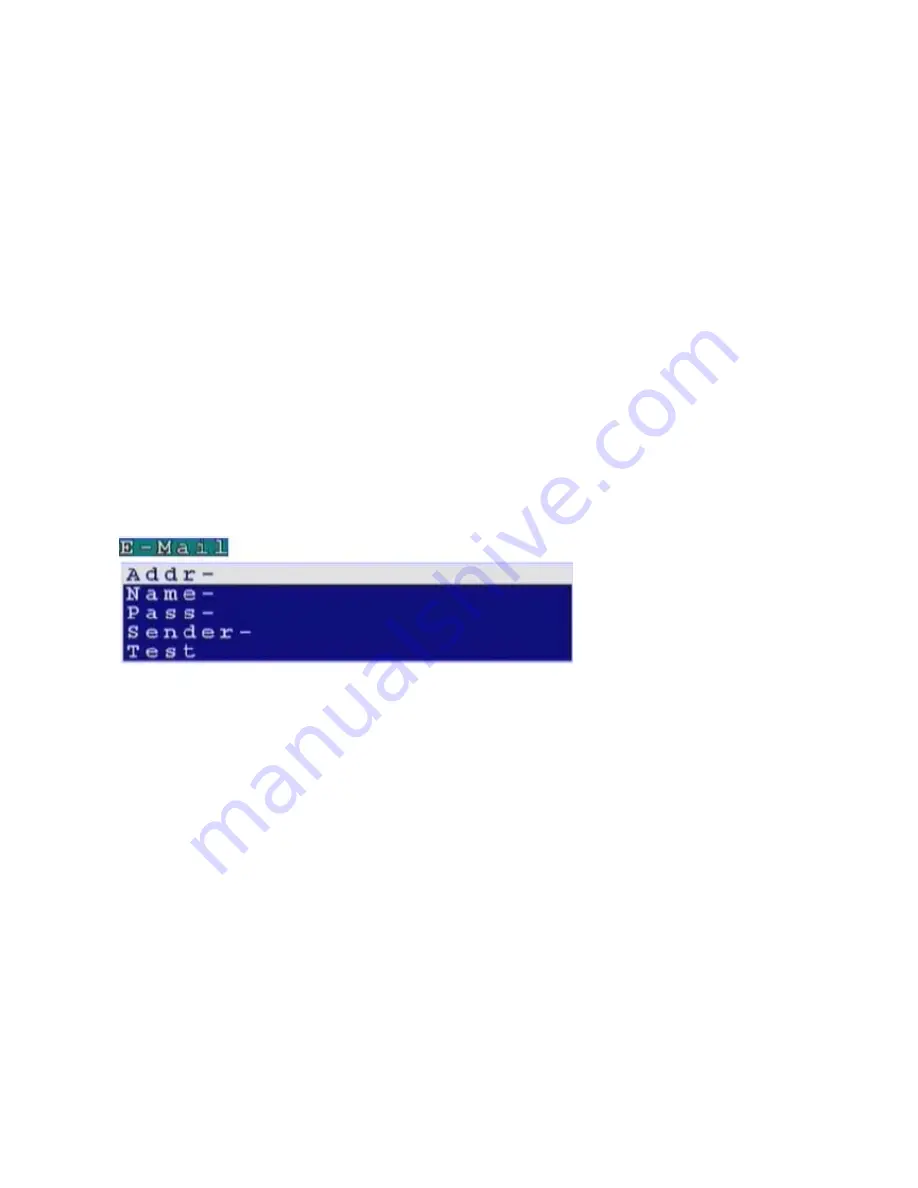
Select the E-Mail option from the Alarm menu.
2.
Press the Right button to confirm. The E-Mail submenu is displayed.
3.
In the E-Mail menu, use the Up and Down buttons to select a field from the following:
Addr
-
Type the name of your mail server. See your network administrator for details about the address of your mail
server.
Name
-
Type your user name.
Pass
-
Type your password.
Sender
-
Type the e-mail address of the sender.
Test
-
Checks the validity of the provided E-mail address by sending E-mail.
4.
Press the Right arrow button to confirm your selection.
5.
Press the Key Pad button on the remote control to display the on-screen keyboard.
6.
Use the Arrow keys to select the letters you need to complete the field and press the OK button to confirm.
7.
When the field is complete, press the Key Pad button to turn off the on-screen keyboard.
8.
Press the OK button to save your changes.


