Page 32
Setup
9.DVD+R High Compatibility Mode
DVD+R High Compatibility Mode:
On
DVD+R High Compatibility Mode:
Off
Setup
11. Disable Drives
Save Changes?
Drive 1 Port 1.0
[*]Enable [ ]Disable
Drive 1 Port 1.0
[ ]Enable [*]Disable
Setting Saved!
Please Restart
Setup
10.ISRC
ISRC
On
ISRC
Off
11.9 DVD+R High Compatibility Mode
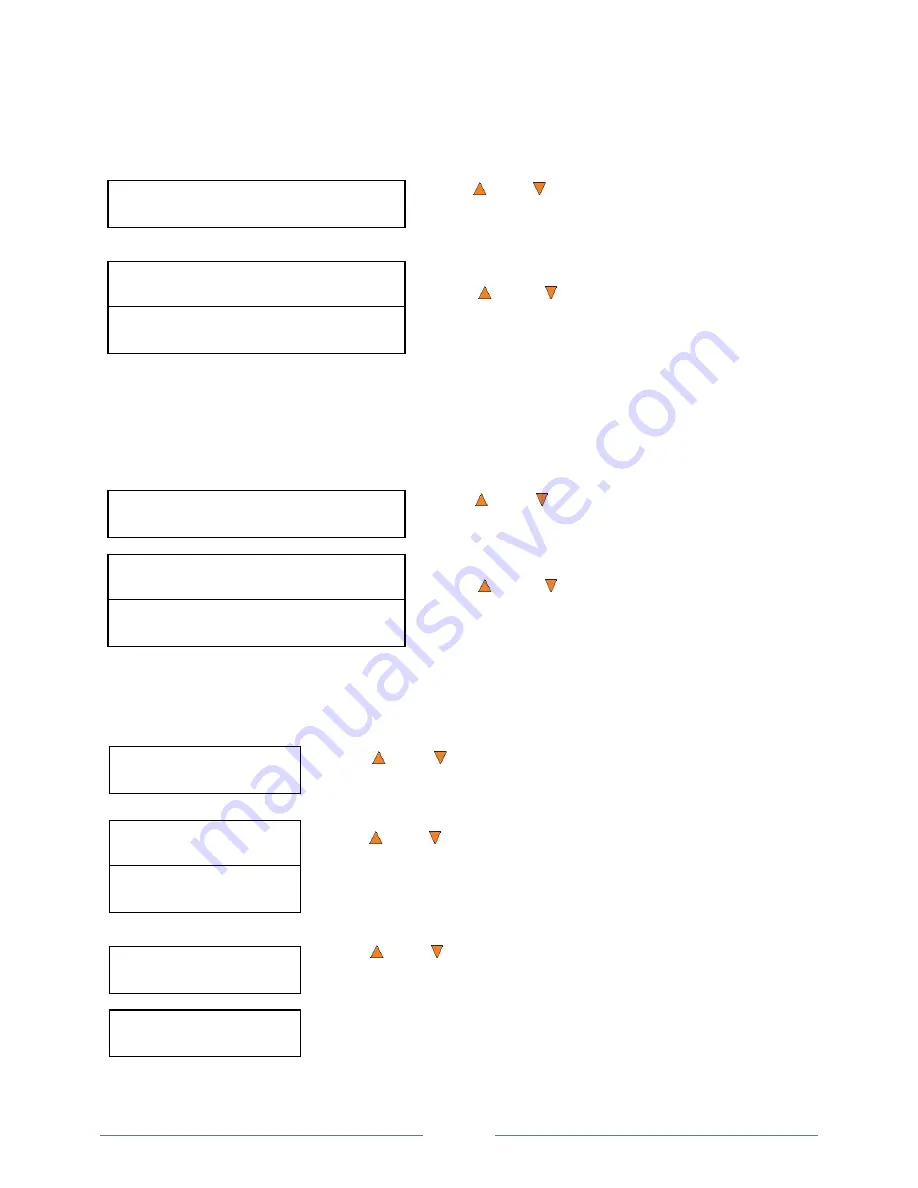
This feature allows you to turn the DVD+R High Compatibility Mode feature ON or OFF. The purpose of this
feature is to increase the compatibility of DVD+R media with a broader range of DVD Video players. This
process will increase the amount of time required to duplicate your disc(s).
Use the
Up or
Down
button to select the
DVD+R High
Compatibility Mode
menu and press the
ENT/Enter
button
to enter that menu.
Use the
Up or
Down
button to select whether the
DVD+R High Compatibility Mode
is on or off, and press the
ENT/Enter
button to select that option.
11.10 ISRC
This option will allow you to enable/disable copying ISRC code of the Audio CD. ISRC is the serial number
of the audio tracks that uniquely identifies the song in that audio track. This ISRC code is commonly found
in commercial Audio CDs and rarely seen on the home made Audio CDs. By enabling this feature, the
duplication performance will be lowered.
Use the
Up or
Down
button to select the
ISRC
menu
and press the
ENT/Enter
button to enter that menu.
Use the
Up or
Down
button to select whether the
ISRC
is ON or OFF, and press the
ENT/Enter
button to
select that option.
11.11 Disable Drives
This feature allows you to disable certain drives/trays when those drives/trays are producing high failure
rates or not functioning properly.
Use the
Up or
Down
button to select the
Disable Drives
menu and
press the
ENT/Enter
button to enter that menu.
Use the
Up or
Down
button to select the desired drive/trays you would
like to enable/disable. Then press
ENT/Enter or
ESC/Escape
button to
move the asterisk in front of “Enable” or “Disable”
Use the
Up or
Down
button until you see the “Save Changes” screen
and press the
ENT/Enter
button to save the changes you made.
Once the changes are saved, you shall see the
“Please Restart” screen and
restart the system to have the new setting take effect.
Summary of Contents for ROBOTIC AUTOLOADER 3.5
Page 1: ...User s Manual v3 5...


