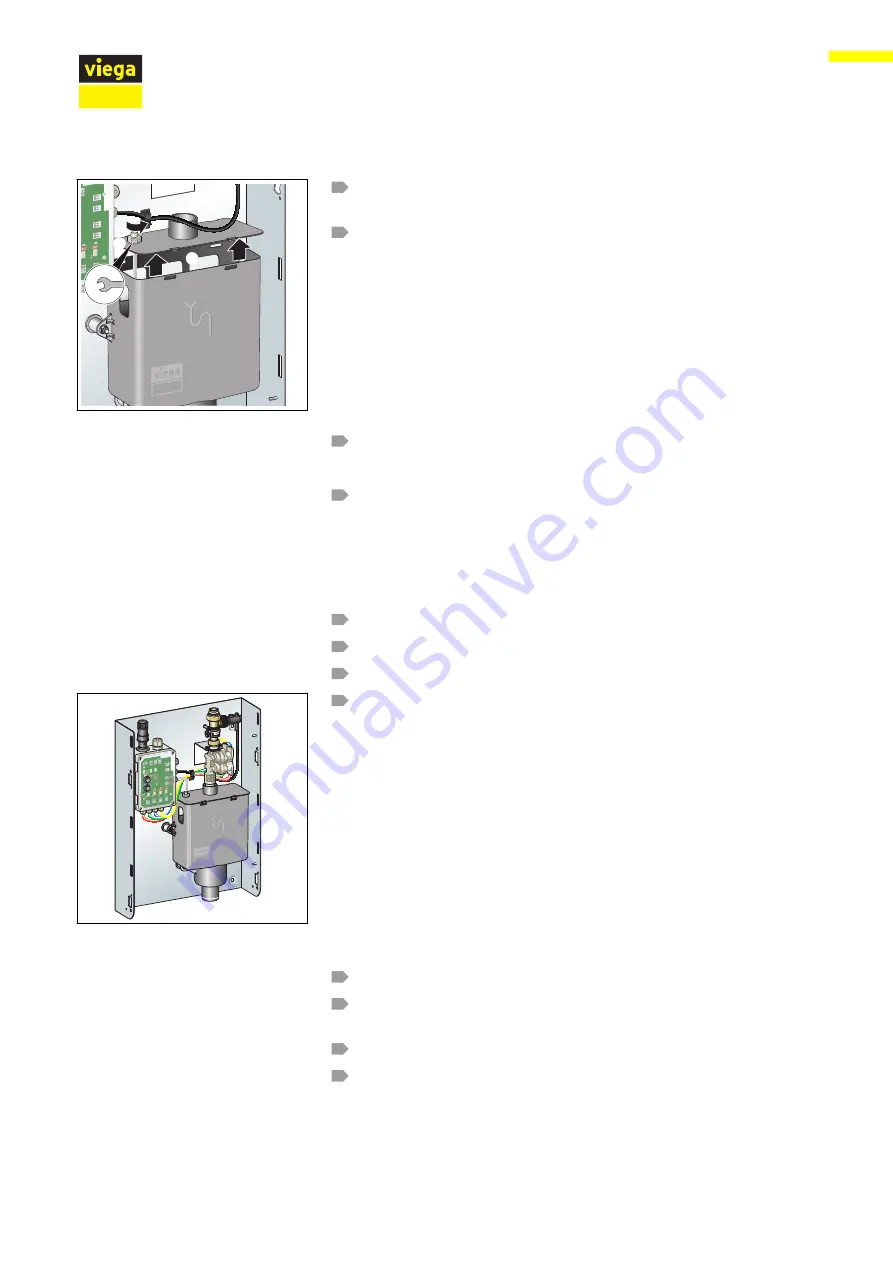
Lift the siphon lid and disconnect the cables of the floating switch at
the lid (1).
Check the floating switch (note the indicators) and replace if neces-
sary (2).
Re-assemble the components in reverse order.
Screw down the nut of the floating switch not more than hand-tight.
Carry out a test flushing.
Before you start, snap a photo or make a drawing of the existing con-
nections or note their arrangement for proper re-installation later on.
De-energise the flush valve.
Disconnect the mains plug from the control.
Open the lid of the control.
Snap a photo or make a drawing of the existing connections or note
their arrangement for proper re-installation later on.
INFO! Though the connection cables are black in reality, they
are shown coloured in the illustration so that you can easily
identify the respective connections.
Disconnect and remove the cables (screw fitting SW 15).
Unscrew the four fixing screw of the control
(Allen key 3 mm) and remove the control.
Insert and fasten the new control.
Re-assemble the components in reverse order.
15
1.
2.
Replacing the control
Fig. 21: Kabelverbindungen
Handling
Flush valve universal
60 from 62


