Chapter 10
File management
Creating a screenshot
84
User Manual
76100000200 Rev. 001
Choosing this option, you can save the displayed screen in JPG,
PNG or PDF format, exactly as it is displayed on the screen.
Therefore, if you make a zoom on the trace for example, the file will
only show the zoom section.
3
On the line
File format
, select if the exported file will be a
JPG
,
PNG
or
file.
Taking a
screenshot
Once the screenshot parameters are configured:
1
Reach the display which will be saved as a screenshot in a file.
2
If necessary, make modifications on this display (example: zoom on
trace...)
3
Press simultaneously left and right direction keys
or
Click on the upper banner of the screen, and click on
in the
control buttons bar displayed for few seconds.
The icon
displays until the end of process.
4
Press the
F
ILE
key to find the JPG, PNG or PDF file in the Explorer
For trace results, the file is saved in the same directory than the file
used for screenshot.
For other page open and used for a screenshot, the file is saved in
the directory
Stratasync
, into the disk.
Name of the
screenshots
files
The screenshot is saved in a file, which is automatically named as follow:
–
Print_date (year/month/day)_time (hour/minut/second).jpg/png/pdf
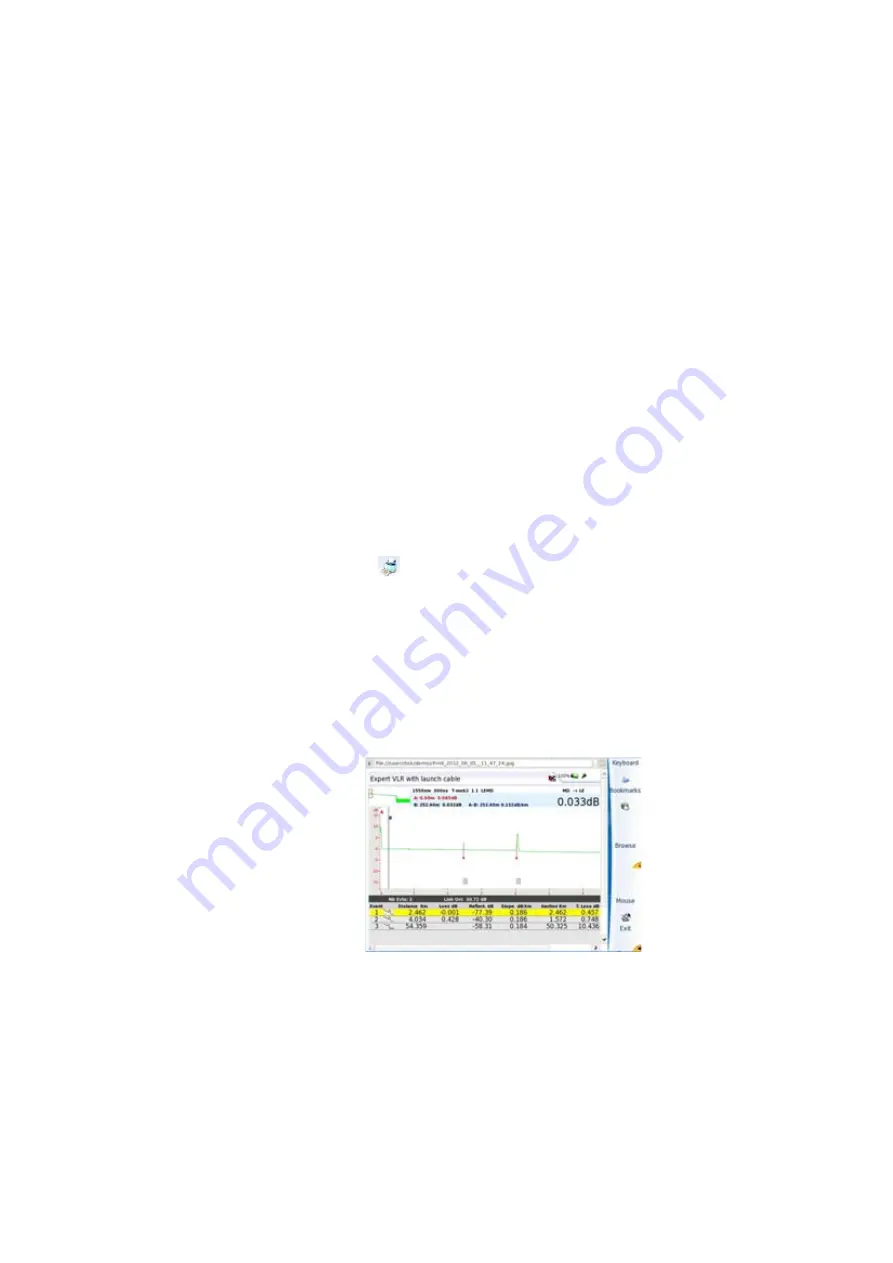
Fig. 51
Example of screenshot, open in the Web Browser of
the 6000A V2 Platform
Summary of Contents for T-BERD 6000A V2
Page 2: ......
Page 4: ......
Page 16: ...Table of Contents xvi User Manual 76100000200 Rev 001 ...
Page 68: ...Chapter 6 Scope File menu 48 User Manual 76100000200 Rev 001 ...
Page 78: ...Chapter 7 Applications File Explorer 58 User Manual 76100000200 Rev 001 ...
Page 114: ...Chapter 10 File management Storage media 94 User Manual 76100000200 Rev 001 ...
Page 187: ......


