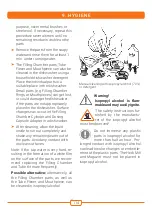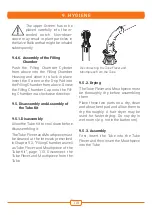
The upper Screen has to be
placed carefully into the in-
tended notch. Non-obser-
vance may result in plant particles in
the Valve Balloon that might be inhaled
subsequently.
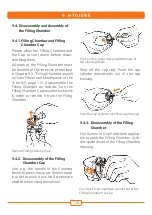
9.4.6. Assembly of the Filling
Chamber
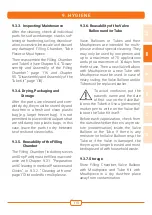
Push the Filling Chamber Cylinder
from above into the Filling Chamber
Housing and allow it to lock in place.
Insert the Screen or the Drip Pad into
the Filling Chamber from above. Screw
the Filling Chamber Cap onto the Fill-
ing Chamber in a clockwise direction.
9.5. Disassembly and Assembly of
the Tube Kit
9.5.1. Disassembly
Allow the Tube Kit to cool down before
disassembling it.
The Tube Flexer and Mouthpiece must
be cleaned at the intervals prescribed
in Chapter 9.3. “Filling Chamber as well
as Tube Flexer and Mouthpiece of the
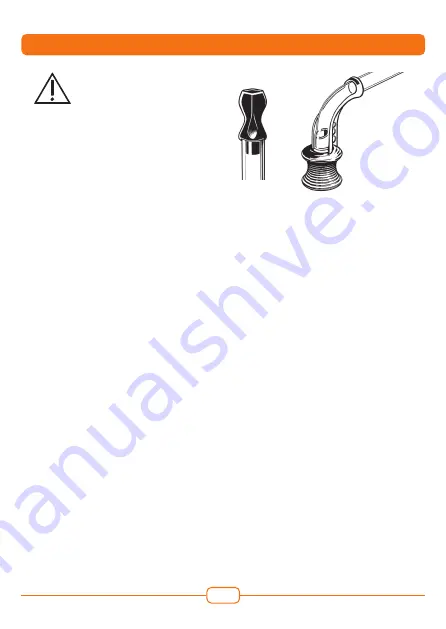
Tube Kit”, page 113. Disconnect the
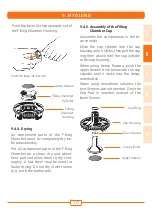
Tube Flexer and Mouthpiece from the
Tube.
118
9. H YGIEN E
Disconnecting the Tube Flexer and
Mouthpiece from the Tube
9.5.2. Drying
The Tube Flexer and Mouthpiece must
be thoroughly dry before assembling
them.
Place these two parts on a dry, clean
and absorbent pad and allow them to
dry thoroughly. A hair dryer may be
used for faster drying. Do noy dry in
wet rooms (e.g. not in the bathroom).
9.5.3. Assembly
First, insert the Tube into the Tube
Flexer and then insert the Mouthpiece
into the Tube.
Summary of Contents for Volcano MEDIC 2
Page 2: ......
Page 69: ...69 de en fr es it nl...

