12-1
Valco Cincinnati, Inc.
SECTION 12 - DIAGNOSTIC MENU
SECTION 12 - DIAGNOSTIC MENU
SECTION 12 - DIAGNOSTIC MENU
SECTION 12 - DIAGNOSTIC MENU
SECTION 12 - DIAGNOSTIC MENU
Accessing the
Diagnostic
Menu
Figure 12-1. Diagnostic-
Menu Icon Button
The diagnostic menu allows you to print a diagnostic report.
To access the diagnostic menu, follow these steps:
1.
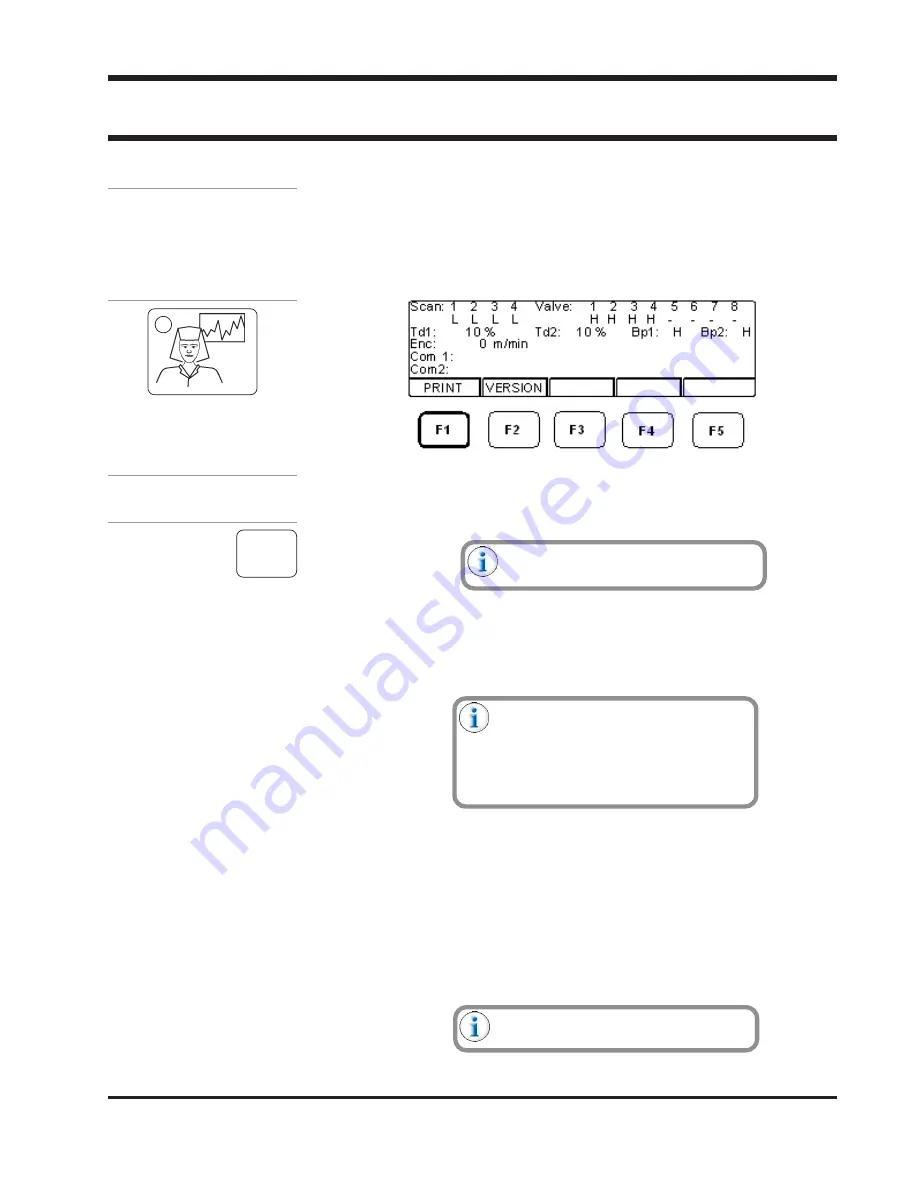
Press the diagnostic icon button (Figure 12-1). The diagnostic
menu displays (Figure 12-2).
Figure 12-2. Diagnostic Menu
F1
The “PRINT” command allows you to obtain a printout of all important control
data and current job information. The data can then be evaluated by your
service personnel or Valco technical service personnel.
The printout is only available in English.
To obtain a printout, follow these steps:
1.
Connect a printer (IBM-character-set-compatible with a serial
connection) to the rear-panel printer connection (COM 3) (see
Section 5—Installation).
Either a laptop or a PC with a terminal
software can be used to enter setup
parameters into a file (serial interface).
Options: TTY-emulation, 9600, 8, 1, N.
(9600bps,8 Data bits, 1 Stop bit, no
parity)
2.
Insert paper into the printer.
3.
Ensure that the printer is on line.
4.
Press F1 (PRINT).
5.
Press F2 (YES) to confirm the print function. (Press F4 to cancel
the print function.)
See the following page for diagnostic
menu parameter descriptions.


