


5-42
Operation on the Machine > Scanning using TWAIN
The settings that appear in the TWAIN dialog box are as follows.
3
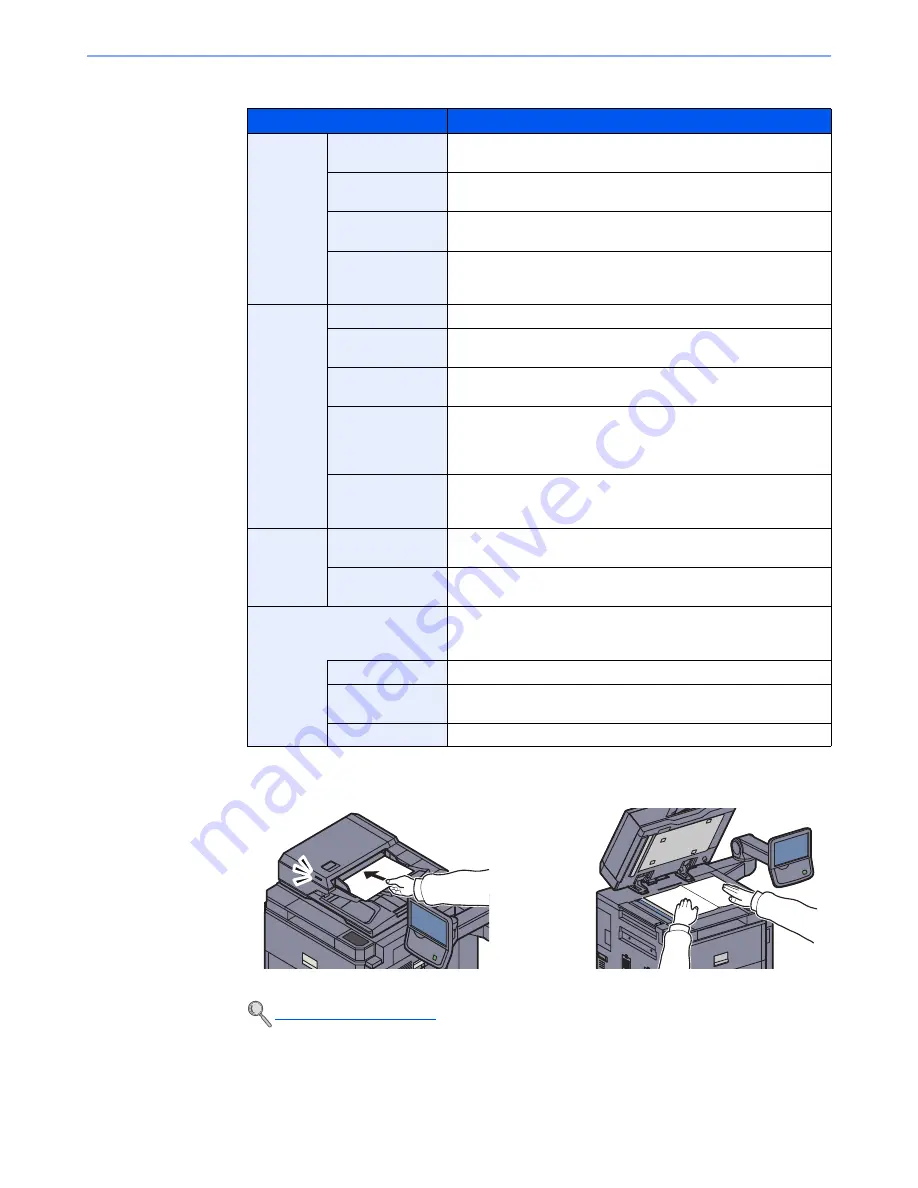
Place the originals.
4
Scan the originals.
Click the [
Scan
] button. The document data is scanned.
Item
Detail
Basic
Original Size
This setting sets the size of the scan area. The available sizes
vary based on the scanner model and the size of the original.
Feed Method
This setting specifies the feed method of the original. Select the
feed method from the list.
Original
Orientation
This setting specifies the orientation of the original.
Sending Size
This setting specifies the image size. The available sizes vary
based on the scanner model and the scan area selected in the
preview panel.
Imaging
Color Settings
This setting specifies the type of color for the image.
Resolution
This setting specifies the dpi (dots per inch), or sharpness, for the
image.
Image Quality
This setting specifies the overall image quality. Make sure your
selection matches the original that you are scanning.
Exposure Level
This setting specifies the sharpness and clarity of the image. If the
"
Auto
" check box is selected, then the slider bar and edit box are
unavailable, and the exposure level is automatically set to the
default setting.
Contrast
This setting specifies the contrast between light and dark areas of
the image. This feature cannot be used when [Black & White] is
selected in the [Color Settings].
Advanced
Reverse Image
This setting scans images like a photo negative, reversing the
black and white areas of the image.
Prevent Bleed-
through
This setting prevents the image on one side of the paper from
showing through to the other side when scanned.
Scan Profiles
This is used to check current settings and store frequently used
settings. When the [
Configuration
] button is clicked, a setting
screen opens with buttons for [Add], [Edit], and [Delete].
Add
The current settings can be saved as a Scan Profile.
Edit
The name and comments of the selected Scan Profile can be
changed.
Delete
Delete saved Scan Profiles.
Loading Originals (page 5-2)
Summary of Contents for 6555i
Page 1: ...USER MANUAL 6555i 8055i Copy Print Scan Fax A3 DIGITAL MULTIFUNCTIONAL SYSTEM ...
Page 22: ...xxi Banner Tray Option 11 28 Glossary 11 29 Index Index 1 ...
Page 42: ...xli Menu Map ...
Page 104: ...2 48 Installing and Setting up the Machine Transferring data from our other products ...
Page 176: ...4 18 Printing from PC Printing Data Saved on the Printer ...
Page 436: ...9 42 User Authentication and Accounting User Login Job Accounting Unknown ID Job ...
Page 443: ...10 7 Troubleshooting Regular Maintenance 3 4 5 6 CLICK ...
Page 476: ...10 40 Troubleshooting Troubleshooting Cassettes 3 and 4 1 2 3 4 2 1 B1 B2 ...
Page 477: ...10 41 Troubleshooting Troubleshooting Multi Purpose Tray 1 2 3 4 ...
Page 479: ...10 43 Troubleshooting Troubleshooting Duplex unit 1 2 ...
Page 480: ...10 44 Troubleshooting Troubleshooting Duplex Unit and Cassette 1 1 2 3 CLICK ...
Page 482: ...10 46 Troubleshooting Troubleshooting Fixing unit 1 2 A1 ...
Page 484: ...10 48 Troubleshooting Troubleshooting Right tray 1 2 3 A1 ...
Page 485: ...10 49 Troubleshooting Troubleshooting Bridge Unit 1 2 ...
Page 488: ...10 52 Troubleshooting Troubleshooting Tray B 1 2 3 Tray C 1 D2 D3 ...
Page 489: ...10 53 Troubleshooting Troubleshooting Conveyor 1 2 Mailbox Option 1 D2 D3 1 2 ...
Page 492: ...10 56 Troubleshooting Troubleshooting 5 Cassette 5 Option Side Feeder 3 000 sheet 1 2 2 1 ...
Page 498: ...10 62 Troubleshooting Troubleshooting Staple cartridge holder B C 1 2 3 4 2 1 CLICK ...
Page 539: ......


