DS1093-095
47
2.4.6
DEVICE
2.4.6.1
HDD Set
Click [Main menu
Device
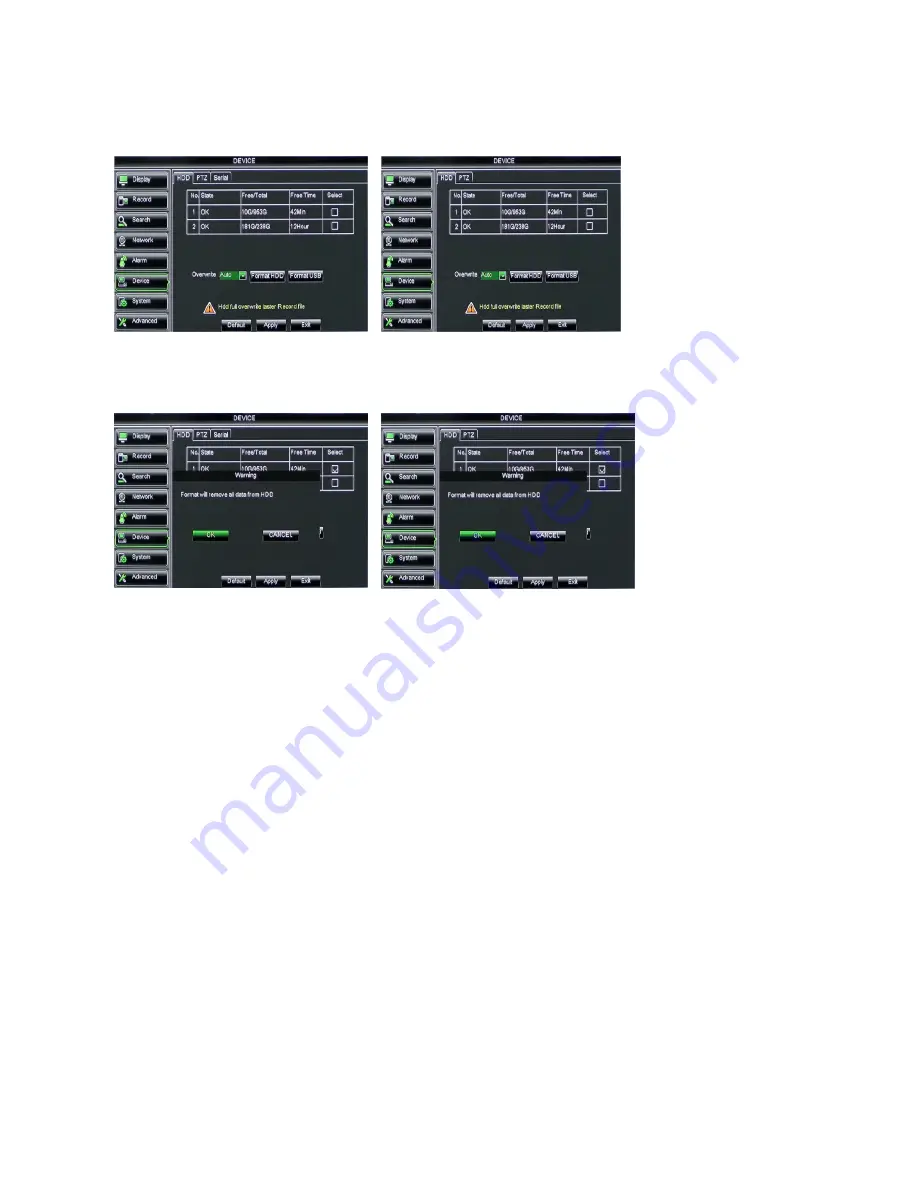
HDD] to enter into the interface shown as below.
When DVR is connected to a HDD, the system will automatically detect if HDD is normal or not;
If the cable connected to HDD is loosen or HDD is abnormal, HDD status will be shown as “No Disk”, or, If HDD need to be
formatted, status will be shown as “no format”, otherwise, the HDD status will be shown as “Normal”
•
NO:
indicate HDD no pre-seted by system.
•
Status:
It will be available only when HDD have been formatted.
•
Total Space –
Total size of the hard drive currently installed.
•
Free Space –
Total amount of free space available on the hard drive currently installed.
•
Useable Rec. Time –
Free space currently available in hours.
•
Overwrite –
When set to AUTO the DVR will record over the oldest files on the hard drive. The DVR will always be able to
record events as they happen, however, it does means that you’ll need to get important events off the HDD before they’re
overwritten; and if overwrite is set to DISABLE the DVR will stop record once the DVR is full. Whilst you won’t lose old
footage, you run the risk of missing new events as they happen. Be sure you want to do this before selecting it. It is also
possible to define the time (i.e. in days) that the recording file can be displayed in “SEARCH RECORDING”. Select the value
(i.e. days) between the suggested options.
•
HDD Format –
Formatting the HDD will erase all data (i.e. footage) which is stored on it, and re-create the FAT (file
allocation table).
•
USB Format -
If you have a USB flash drive connected to the DVR, you can format that, too. To do this, click the [USB
Format] button and click [OK].
Note: It is an important first step when configuring your DVR to make sure that the hard drive (HDD) options are
correctly set. So, strongly suggest that you do format the HDD before start the first record.


