


DS1093-095
27
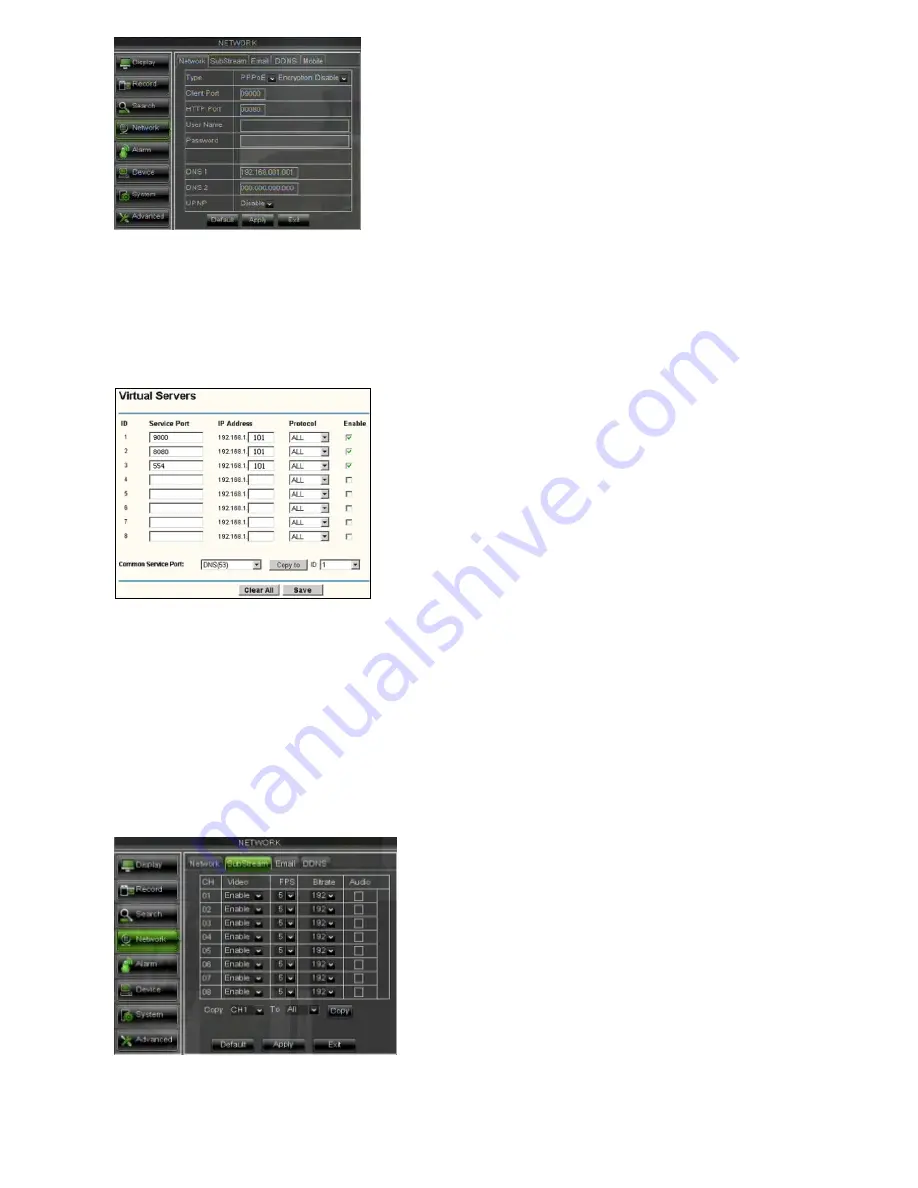
When selecting PPPoE form the Type, user can input user name and password provided by ISP and set Media and Web port.
And now you can visit your remote DVR by using the IP address captured after registering a domain name and web port and
connect to your DVR via public network.
Friendly Reminder:
•
All the parameters you set are available only when you click [Apply] and after system are restarted.
2.4.4.2
Router’s Port Forwarding
Port forwarding is required when you want to access the DVR connected to the router from outside of the router’s network.
If PPPoE is selected, port forwarding is not required.
1.
Input router’s IP address from IE-based browser to open the Router configuration interface shown as above;
2.
Click [Transmittal rule] option to take you to the port forwarding instructions for your router;
3.
The DVR IP address for the intranet should be <192.168.1.101>, you should forward server port and web port to this IP
address respectively.
4.
Now user can visit the DVR remotely.
Friendly Reminder:
The router’s port forwarding interface may be different, however, when entering into virtual server, user will
always need forward port (range: 1025~65535) of router to IP address of DVR allocated or automatically captured, and select [All]
or [Both] in corresponding protocol column and save the above setting.
Above steps may differ from the router device depending on the manufacturer.
2.4.4.3
Sub stream
Go to [Main menu
Network
Sub Stream] to enter into the interface shown as below:
•
Video:
allow you open or close the sub stream output in
CIF
Resolution
. If you select “Enable” system will select sub-
stream preview and guarantee image quality once network is unstable.


