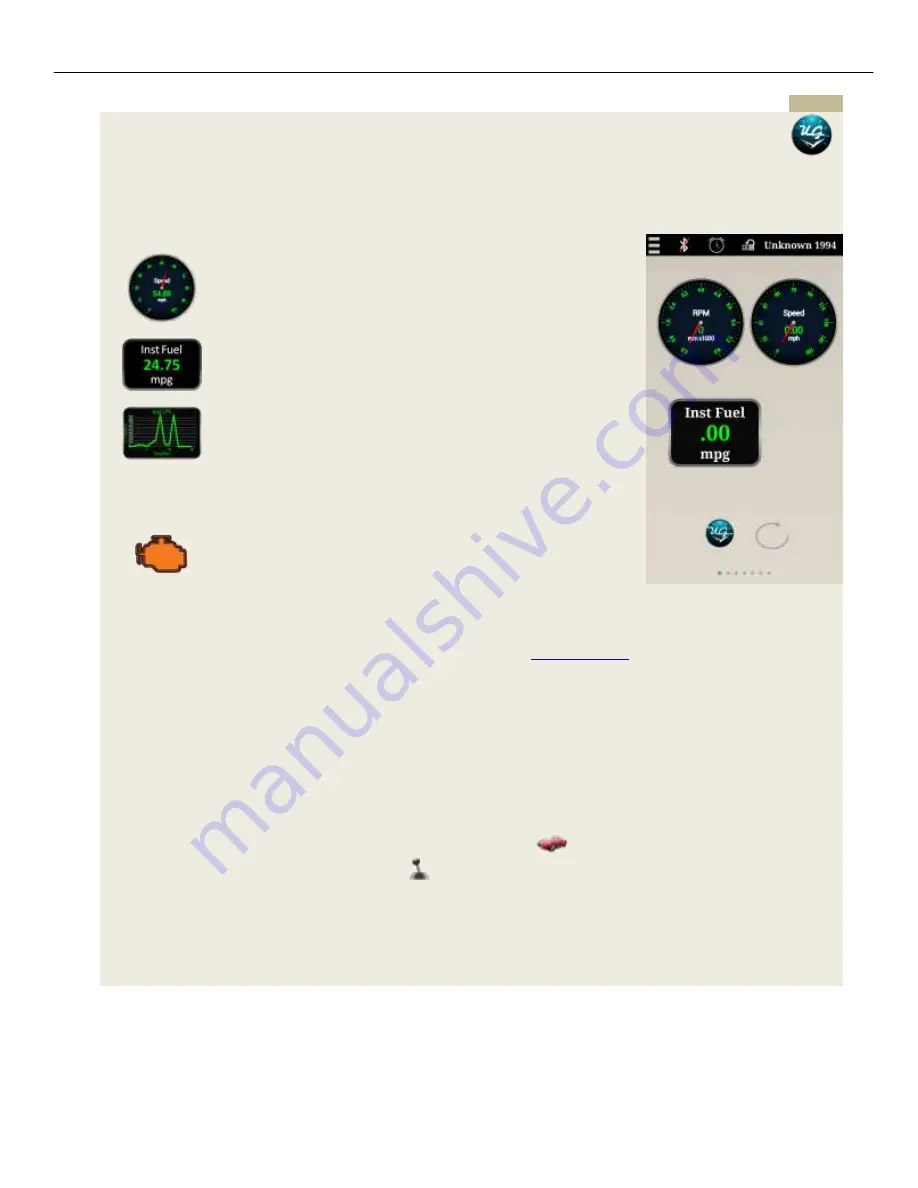
UltraGauge Screens
Gauge Screen
______________________________________________________________________________________
Page 22/83
UltraGauge
Blue
™
User Manual www.ultra-gauge.com
Navigate
Add New Gauge
To add a gauge on the current page, “long-press” (hold your finger down for approx. ½ second, or longer) on the
background of one of the Gauge screens (be sure you are not pressing on one of the existing gauges or the title bar).
This will cause the Application to prompt you for the type of gauge you want to create (Analog, Digital, Graph, or Alert
Icon).
Analog
Analog gauge with a floating needle which sweeps between the
min/max configured values of the selected OBDII gauge. Can be
displayed as a full gauge, ½ gauge (or any percentage from 0-
360
o
).
Digital
Digital readout of current value of the given OBDII gauge.
Graph
Line graph which can range from the min/max values configured.
Alert Icon
The Alert Icon behaves similar to the dashboard warning lights.
Set a threshold value for a particular OBDII gauge
Set a Min Alert Icon
Set a Max Alert Icon
As UltraGauge monitors this OBDII gauge, anytime the threshold
value is exceeded, the Max Icon will be displayed. Otherwise, the
Min Icon will be displayed. Could be used for warning lights such
as: check engine, over temp… or anything else you like.
Once the gauge type has been selected, an expandable list of all of the
: those
marked with an asterisk are not supported by the current vehicle
). The expandable list will display gauges under group
type titles. This allows UltraGauge to group gauges by “type”. For example, all the temperature gauges are under the
“Temperature Gauges” list title, gauges like RPM/KPH/MPH are under the “Speed/RPM Gauges” title. This makes it
quick to locate a given gauge without having to scan through all the gauges in one long list.
If you are creating an Alert Icon, you have one additional step. Select a “threshold” value and min/max Icons. The
threshold will default to the Min value for this gauge. It can be set to any value between min/max for the given gauge
(this range will be specified on the Alert Icon menu). Whenever the OBDII value read is less than or equal to the
threshold value, then UltraGauge will display the “Min Icon”. Whenever the value is greater than the threshold, then the
“Max Icon” will be selected. As an example, you might want to monitor the RPM gauge on a given vehicle. If RPMs
are less than or equal to 4000 (your threshold value) RPMs, an icon of
(your Min Icon) is shown. Whenever the
value exceeds 4000 RPMs the shift icon is shown
(your Max icon) indicating it’s time to shift
.
Once a gauge has been selected, the gauge will appear in the center of the current Gauge screen.
See Sections below for how to modify/move this gauge.
The process above can be repeated to create up to 10 gauges on each page.


