86
Ulead COOL 3D Production Studio
Motion Blur
With this effect, you can make an object speed across the screen, bouncing with energy. It’s so
easy. You can also try this with an animated object (for this particular type of procedure, it is
recommended that you use the simplest settings for the animation). The following tutorial takes
a look at combining object position with the Motion Blur effect. (Settings: 30 frames, 15 fps.)
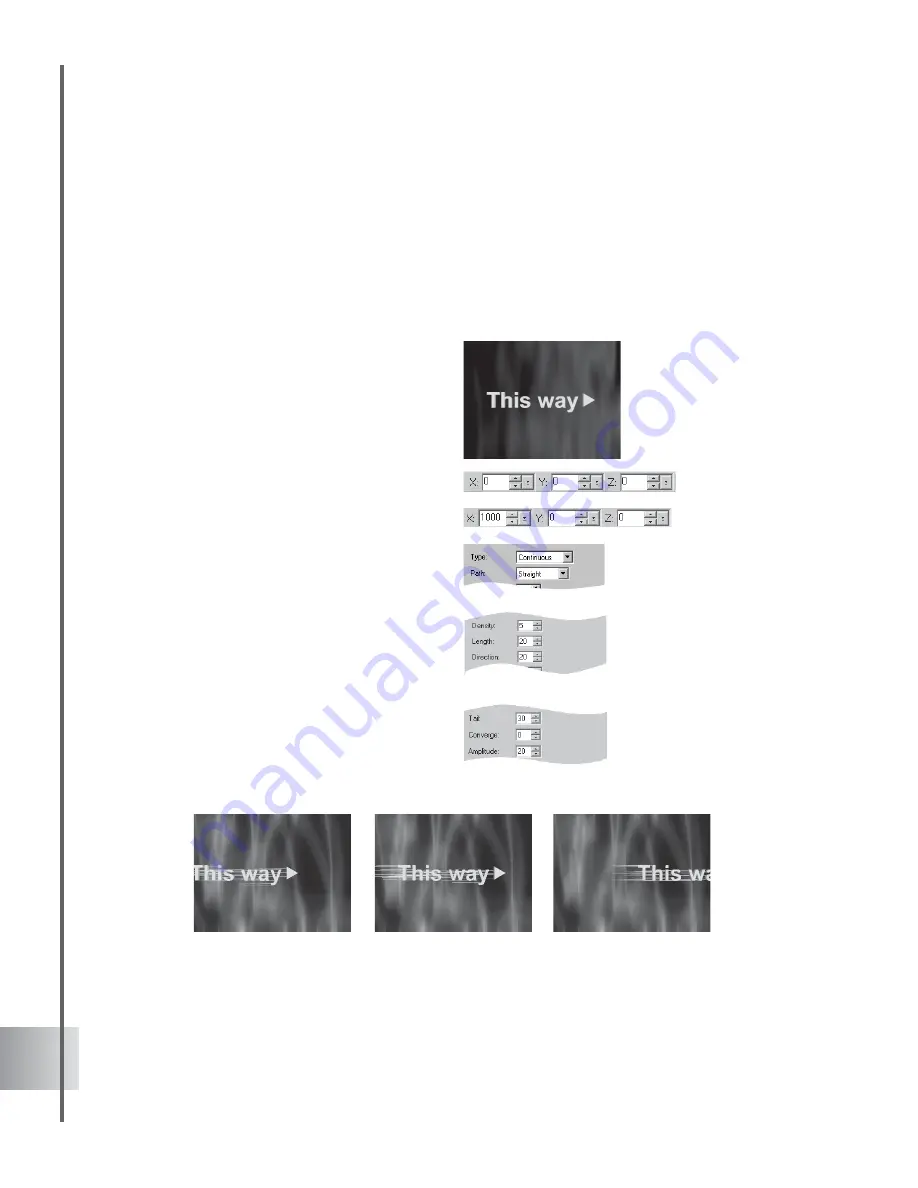
To apply Motion Blur to an object:
1
Make a bright-colored title against a dark
background in the Edit Window. Click Add
plug-in and select Motion Blur in the
Attribute Panel.
2 At frame 1, set the X coordinate to
-600 on the Location Toolbar. The Y and Z
values should be 0. At frames 12 and 18,
change the X coordinate to 0. At frame 30,
change the X coordinate to 1000.
3
In the Attribute Panel, select Continuous
as the Type, and set the Path to Straight.
4
Set Density to 5, and Length to 20. Set the
Direction to 180, which makes the lines
horizontal.
5
Set Tail to 30 and the Converge value to 0.
6
Add key frames at frames 10, 12, 18, 20,
and 30. They should all have the same
attributes as in frame 1.
7
For frames 12 and 18, change the Tail
length to 0.
8
Click Play to preview the animation.


