79
User Guide
Fire
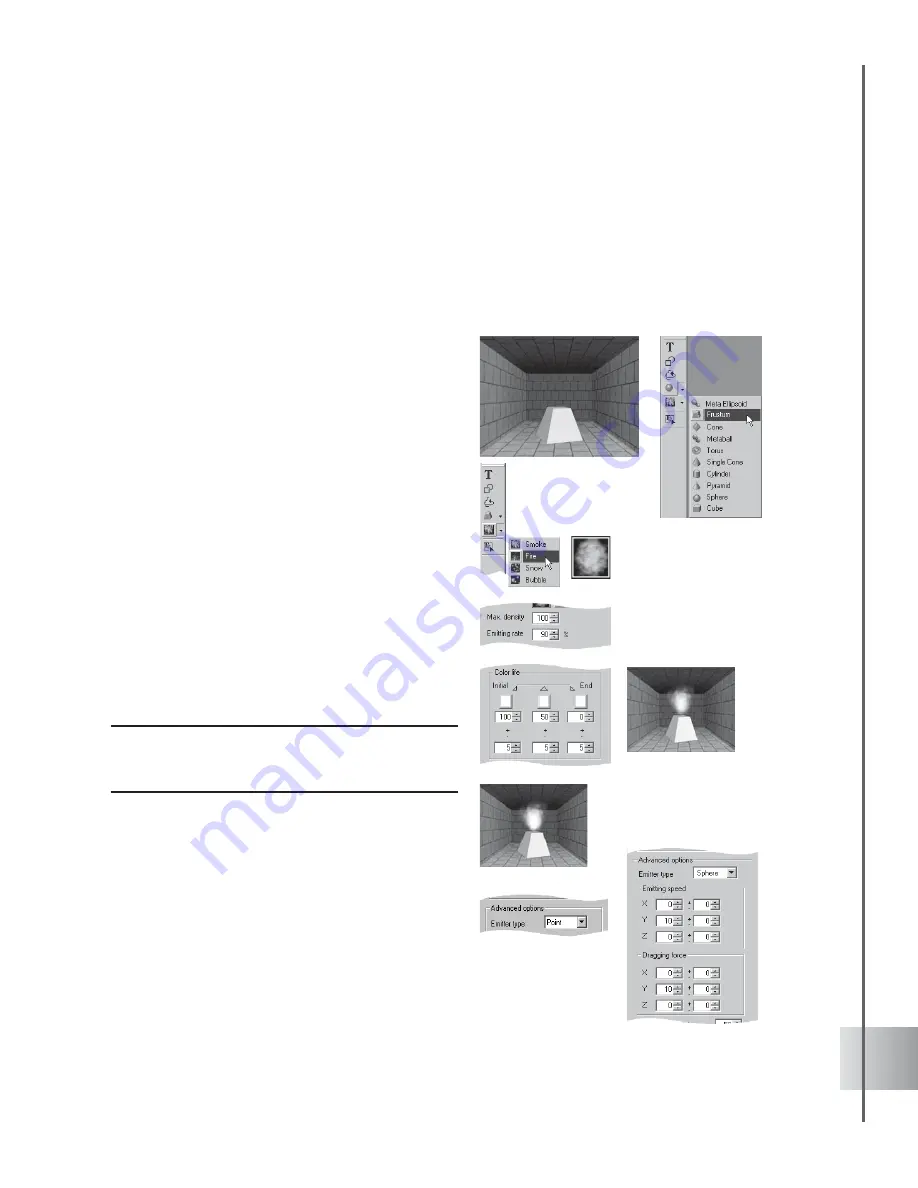
Rendering images of flames in COOL 3D is as easy as lighting a match. You can instantly light
up a dark outdoor setting with a bonfire. Adding to the realism is the radiance of the image
reflected on its surroundings, which you can control through the color, density and emission
settings. To demonstrate this effect, the following tutorial will guide you to create a dungeon
scene. (Settings: 40 frames, 10 fps.)
To simulate Fire in a dungeon setting:
1
Select Scene: Image Background in the
EasyPalette file directory and double-click
the brick wall image.
2
Click Insert Geometric Object and select
Frustum. Move the object to rest it on the
floor then rotate it to give it depth.
3
To start simulating fire, click the Particle
Effects down arrow on the Object Toolbar
and select Fire.
4
Click Texture in the Attribute Panel and
select an image file to apply your own
texture to the particles.
5
Set the Max. density to 100 and the
Emitting rate to 90.
6
Under Color life, set the colors of the
particle from Intial to End by using the color
boxes. The combination of colors allows a
gradual change of color.
Note: Initial color is the color at the time the particle is
emitted. End color is the color at the time the particle
disappears.
You can also control the color differences
between particles from Initial to End by
editing the values in the spin boxes.
7
For the Advanced options, choose Point as
the Emitter type.
Adjust the emitting speed and initial
acceleration of particles along the X-, Y-,
and Z-axes by editing Emitting speed and
Dragging force.


