68
Chapter 6
Customize Your Network Settings
4
When the WPS LED is on, the client device has successfully connected to the router.
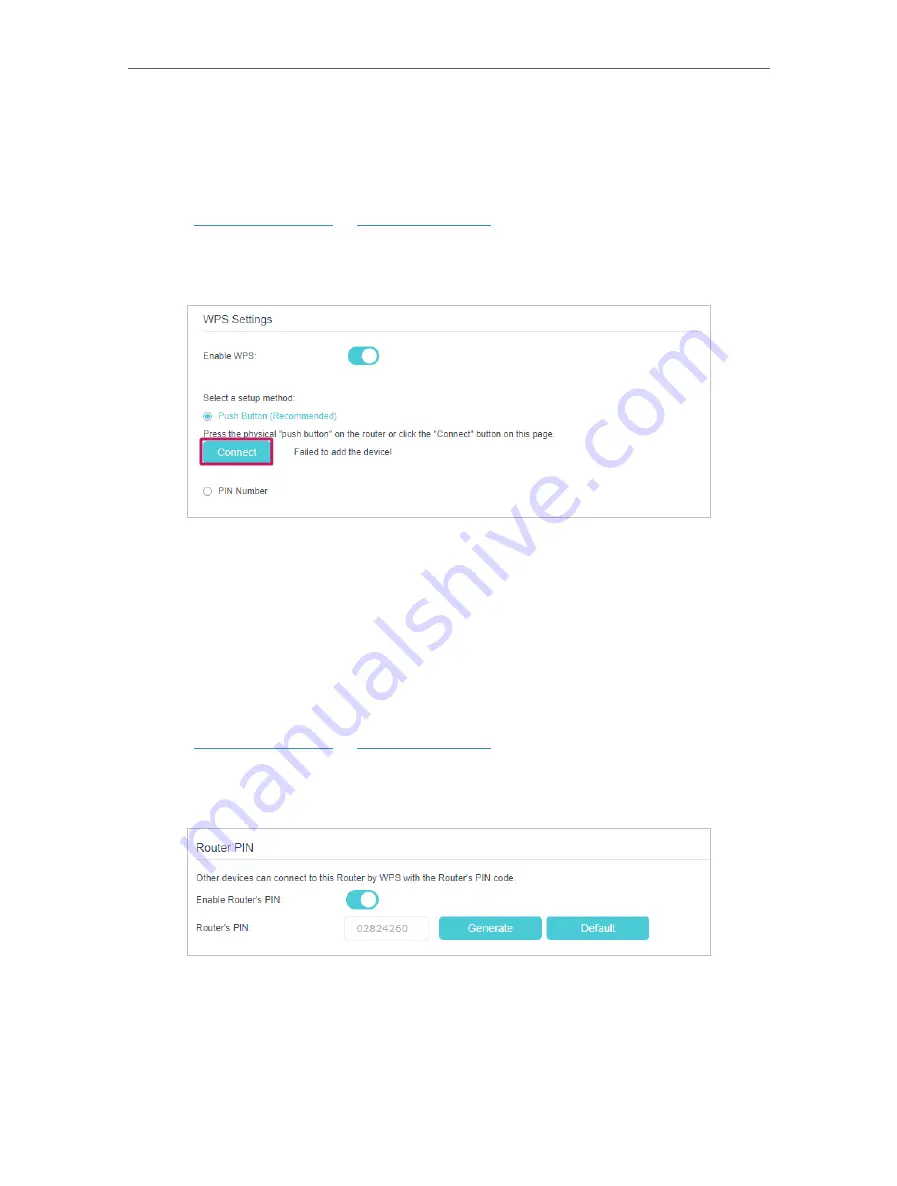
Method 2: Use the “Connect” button on the web management page
Use this method if your client device has a WPS button.
1
Visit
http://tplinkwifi.net
or
http://192.168.0.1
, and log in with the password you set
for the router.
2
Go to
Advanced
>
Wireless
>
WPS
page.
3
Click
Connect
on the page.
4
Press the WPS button of the client device directly.
5
The WPS LED of the router flashes for about 2 minutes during the WPS process.
6
When the WPS LED is on, the client device has successfully connected to the router.
Method 3: Enter the router’s PIN on your client device
Use this method if your client device asks for the router’s PIN.
1
Visit
http://tplinkwifi.net
or
http://192.168.0.1
, and log in with the password you set
for the router.
2
Go to
Advanced
>
Wireless
>
WPS
, and enable
Router’s PIN
.
3
Take a note of the current PIN of the router. You can also click the
Generate
button
to get a new PIN.
4
Enter the router’s PIN on the client device. (The default PIN is also printed on the
label of the router.)
5
The WPS LED flashes for about 2 minutes during the WPS process.


